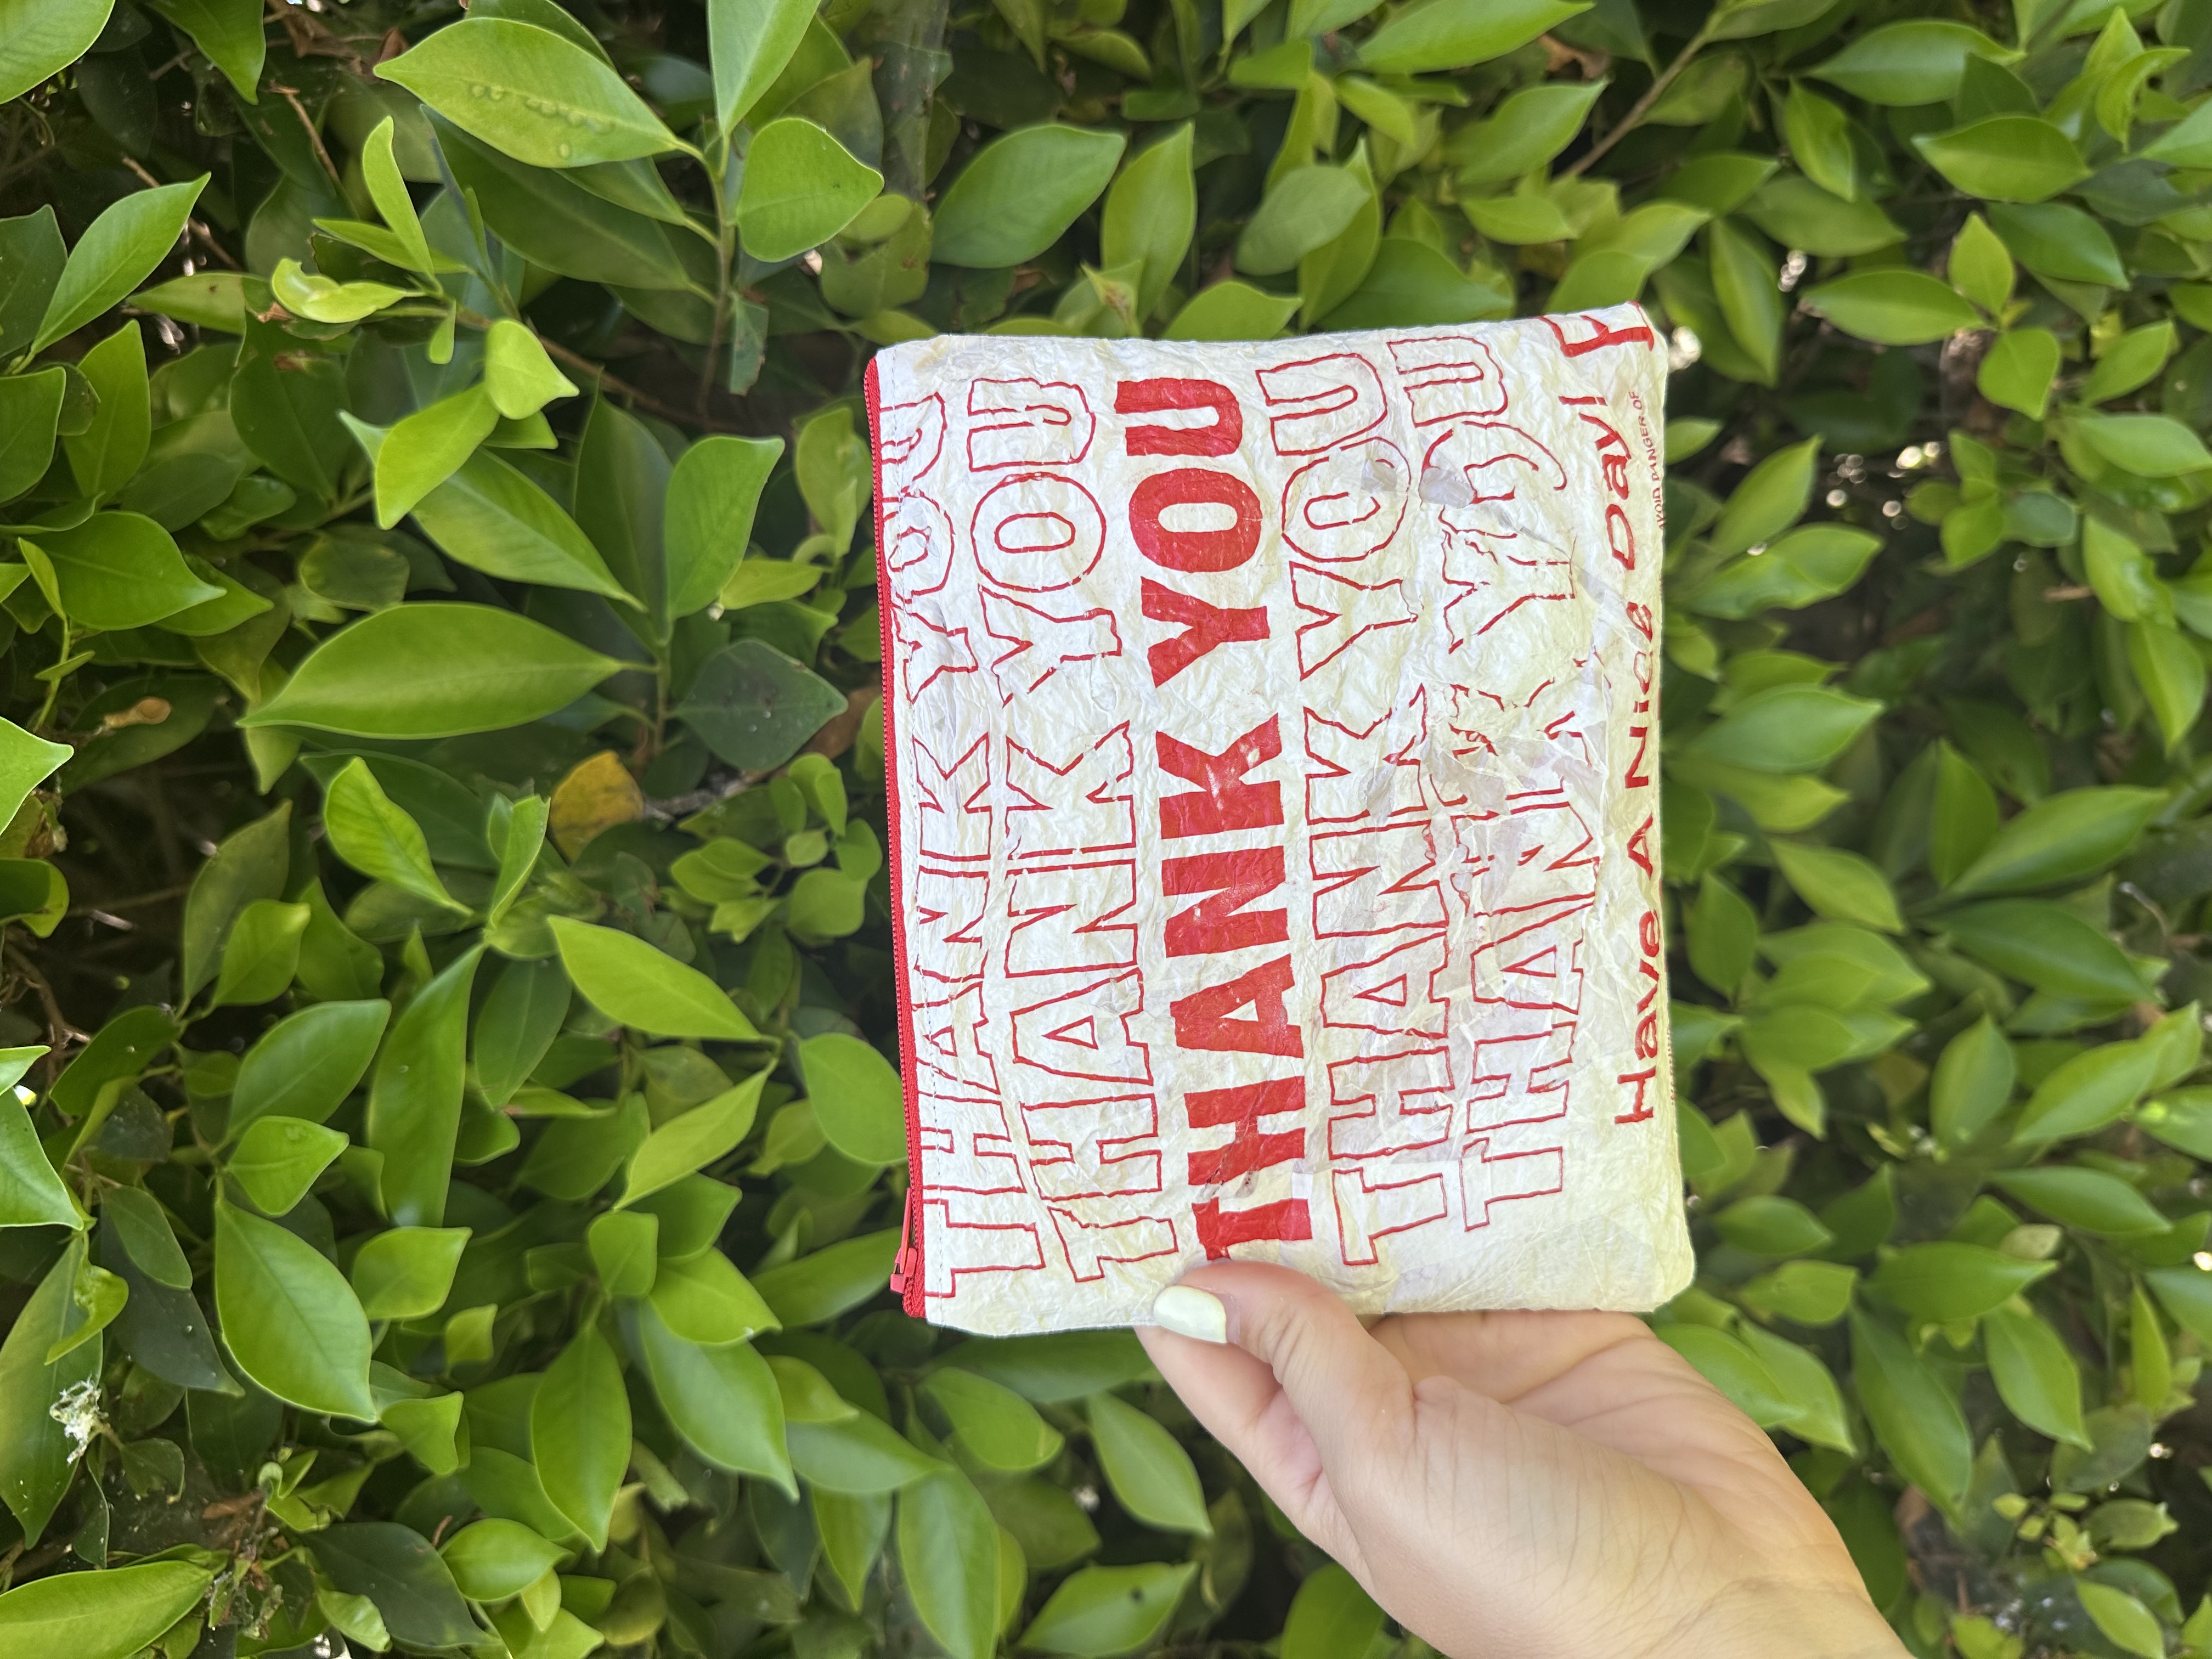
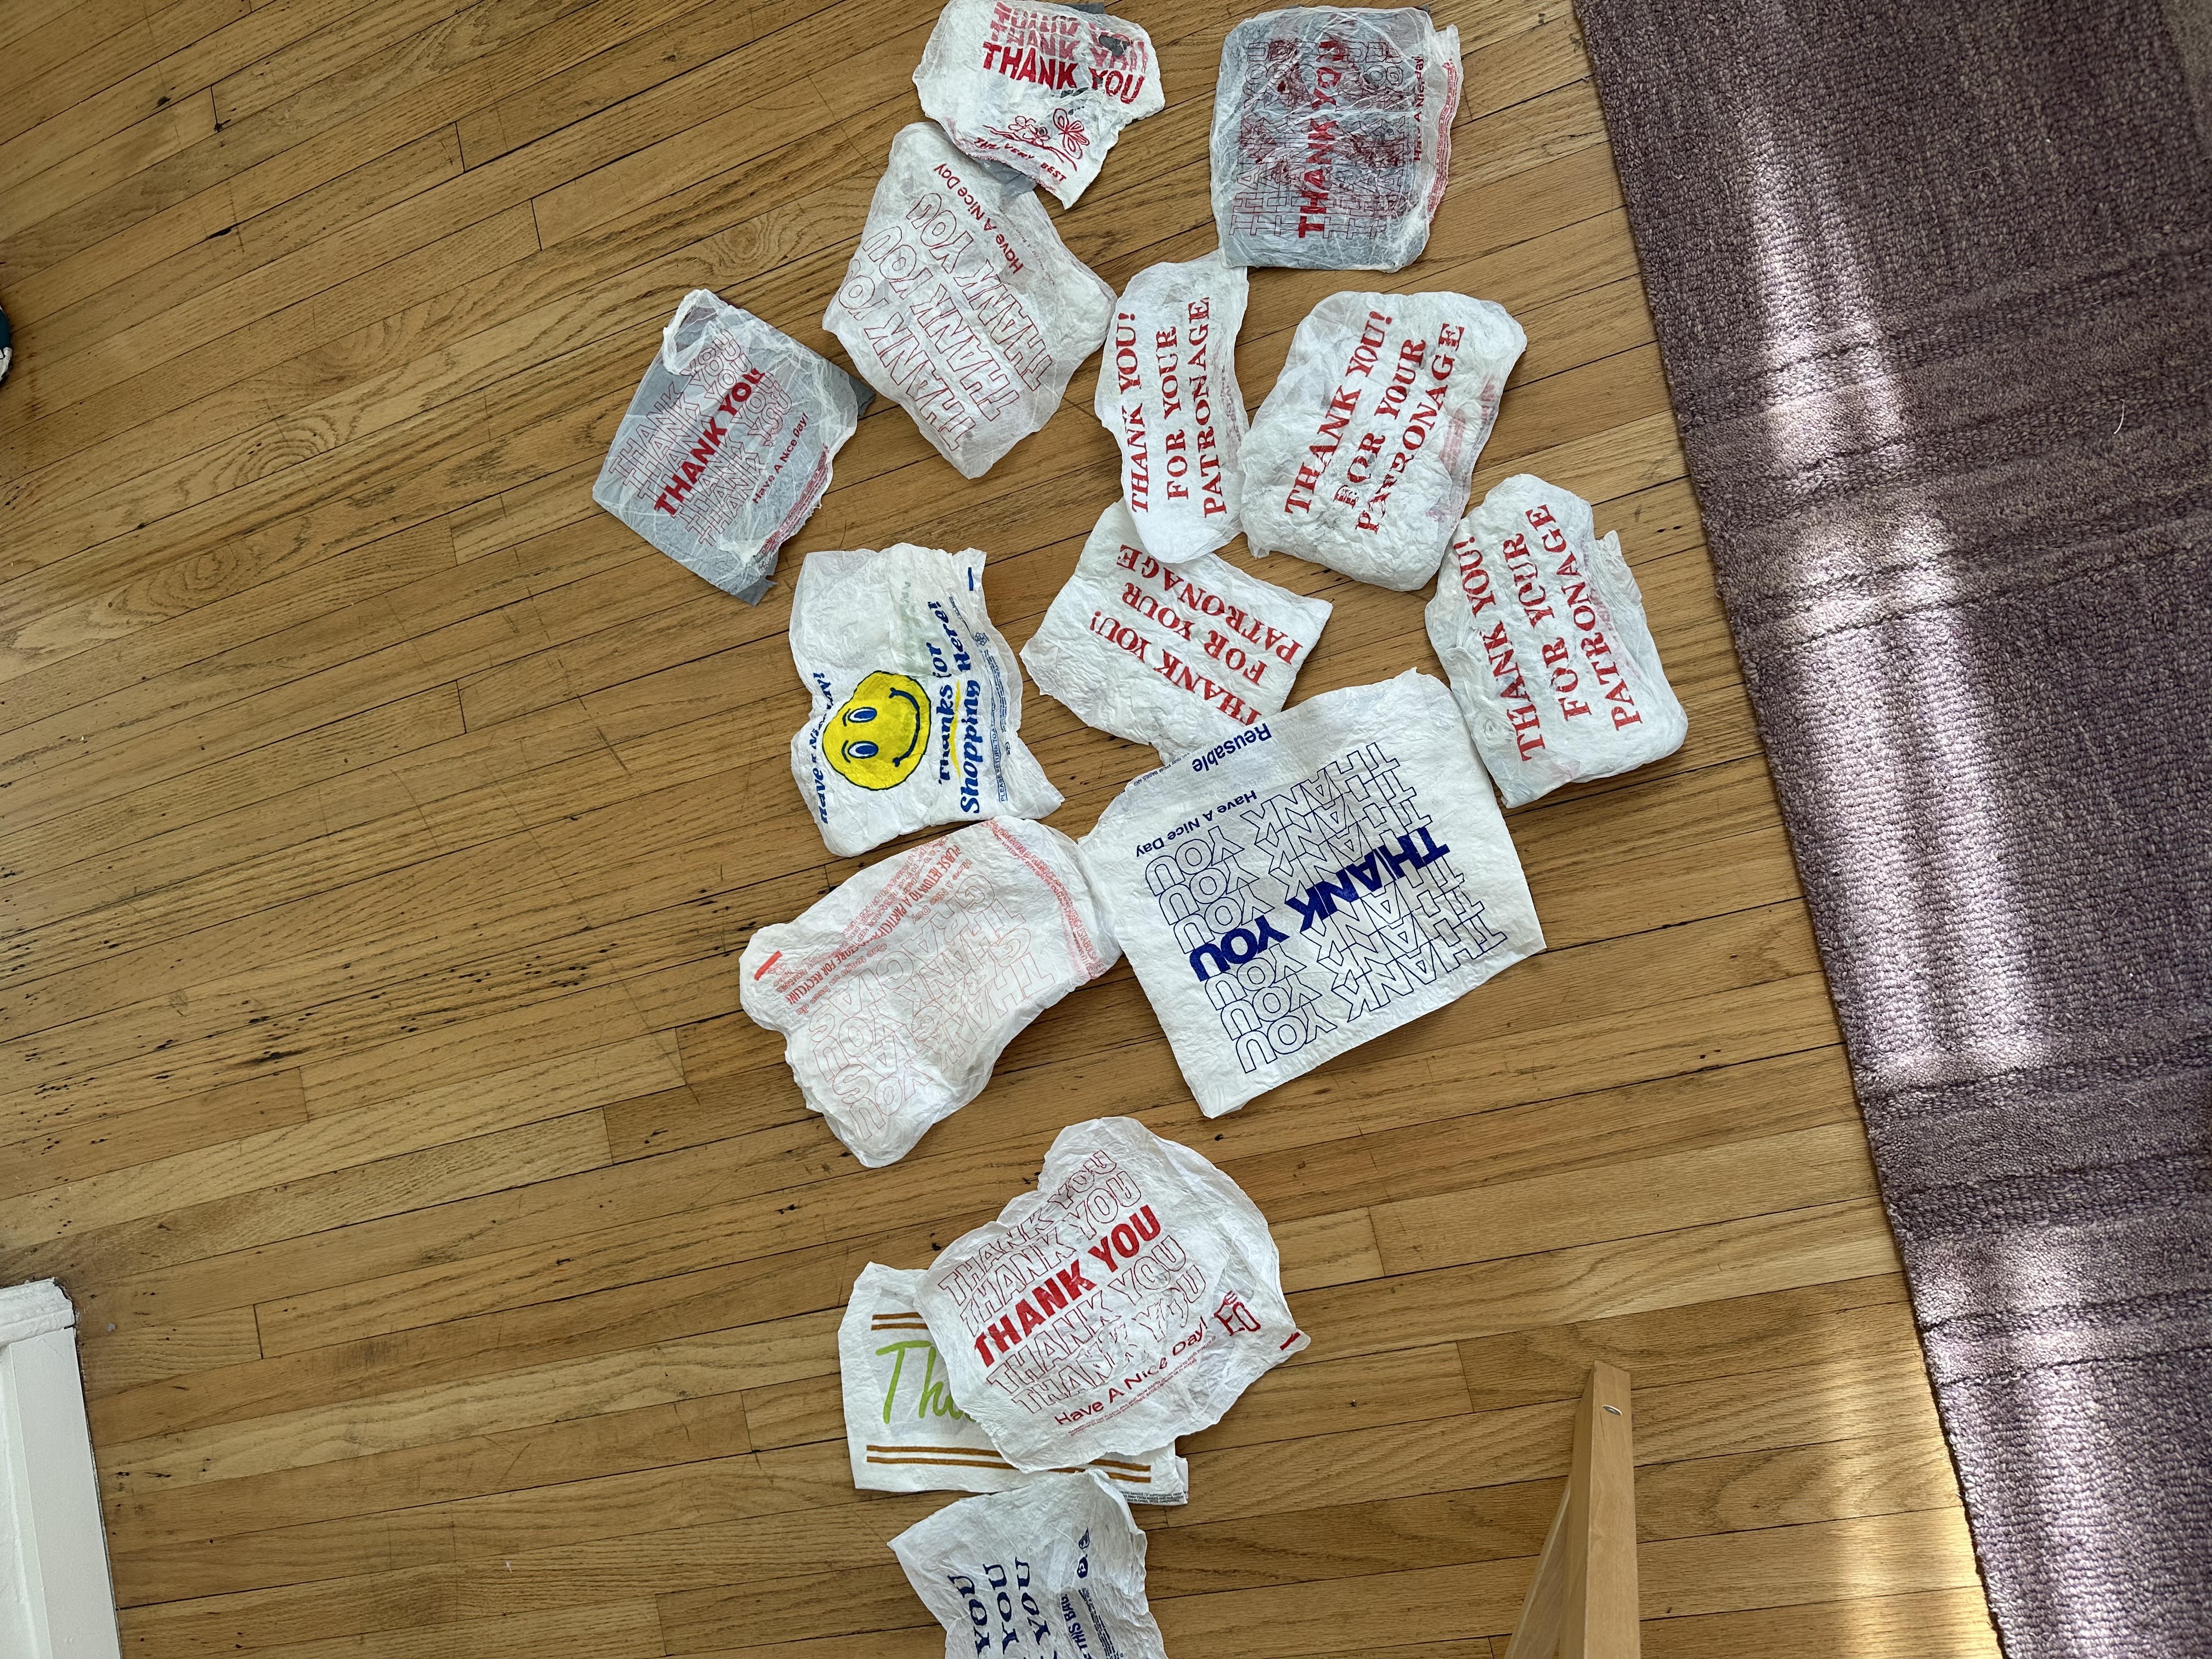
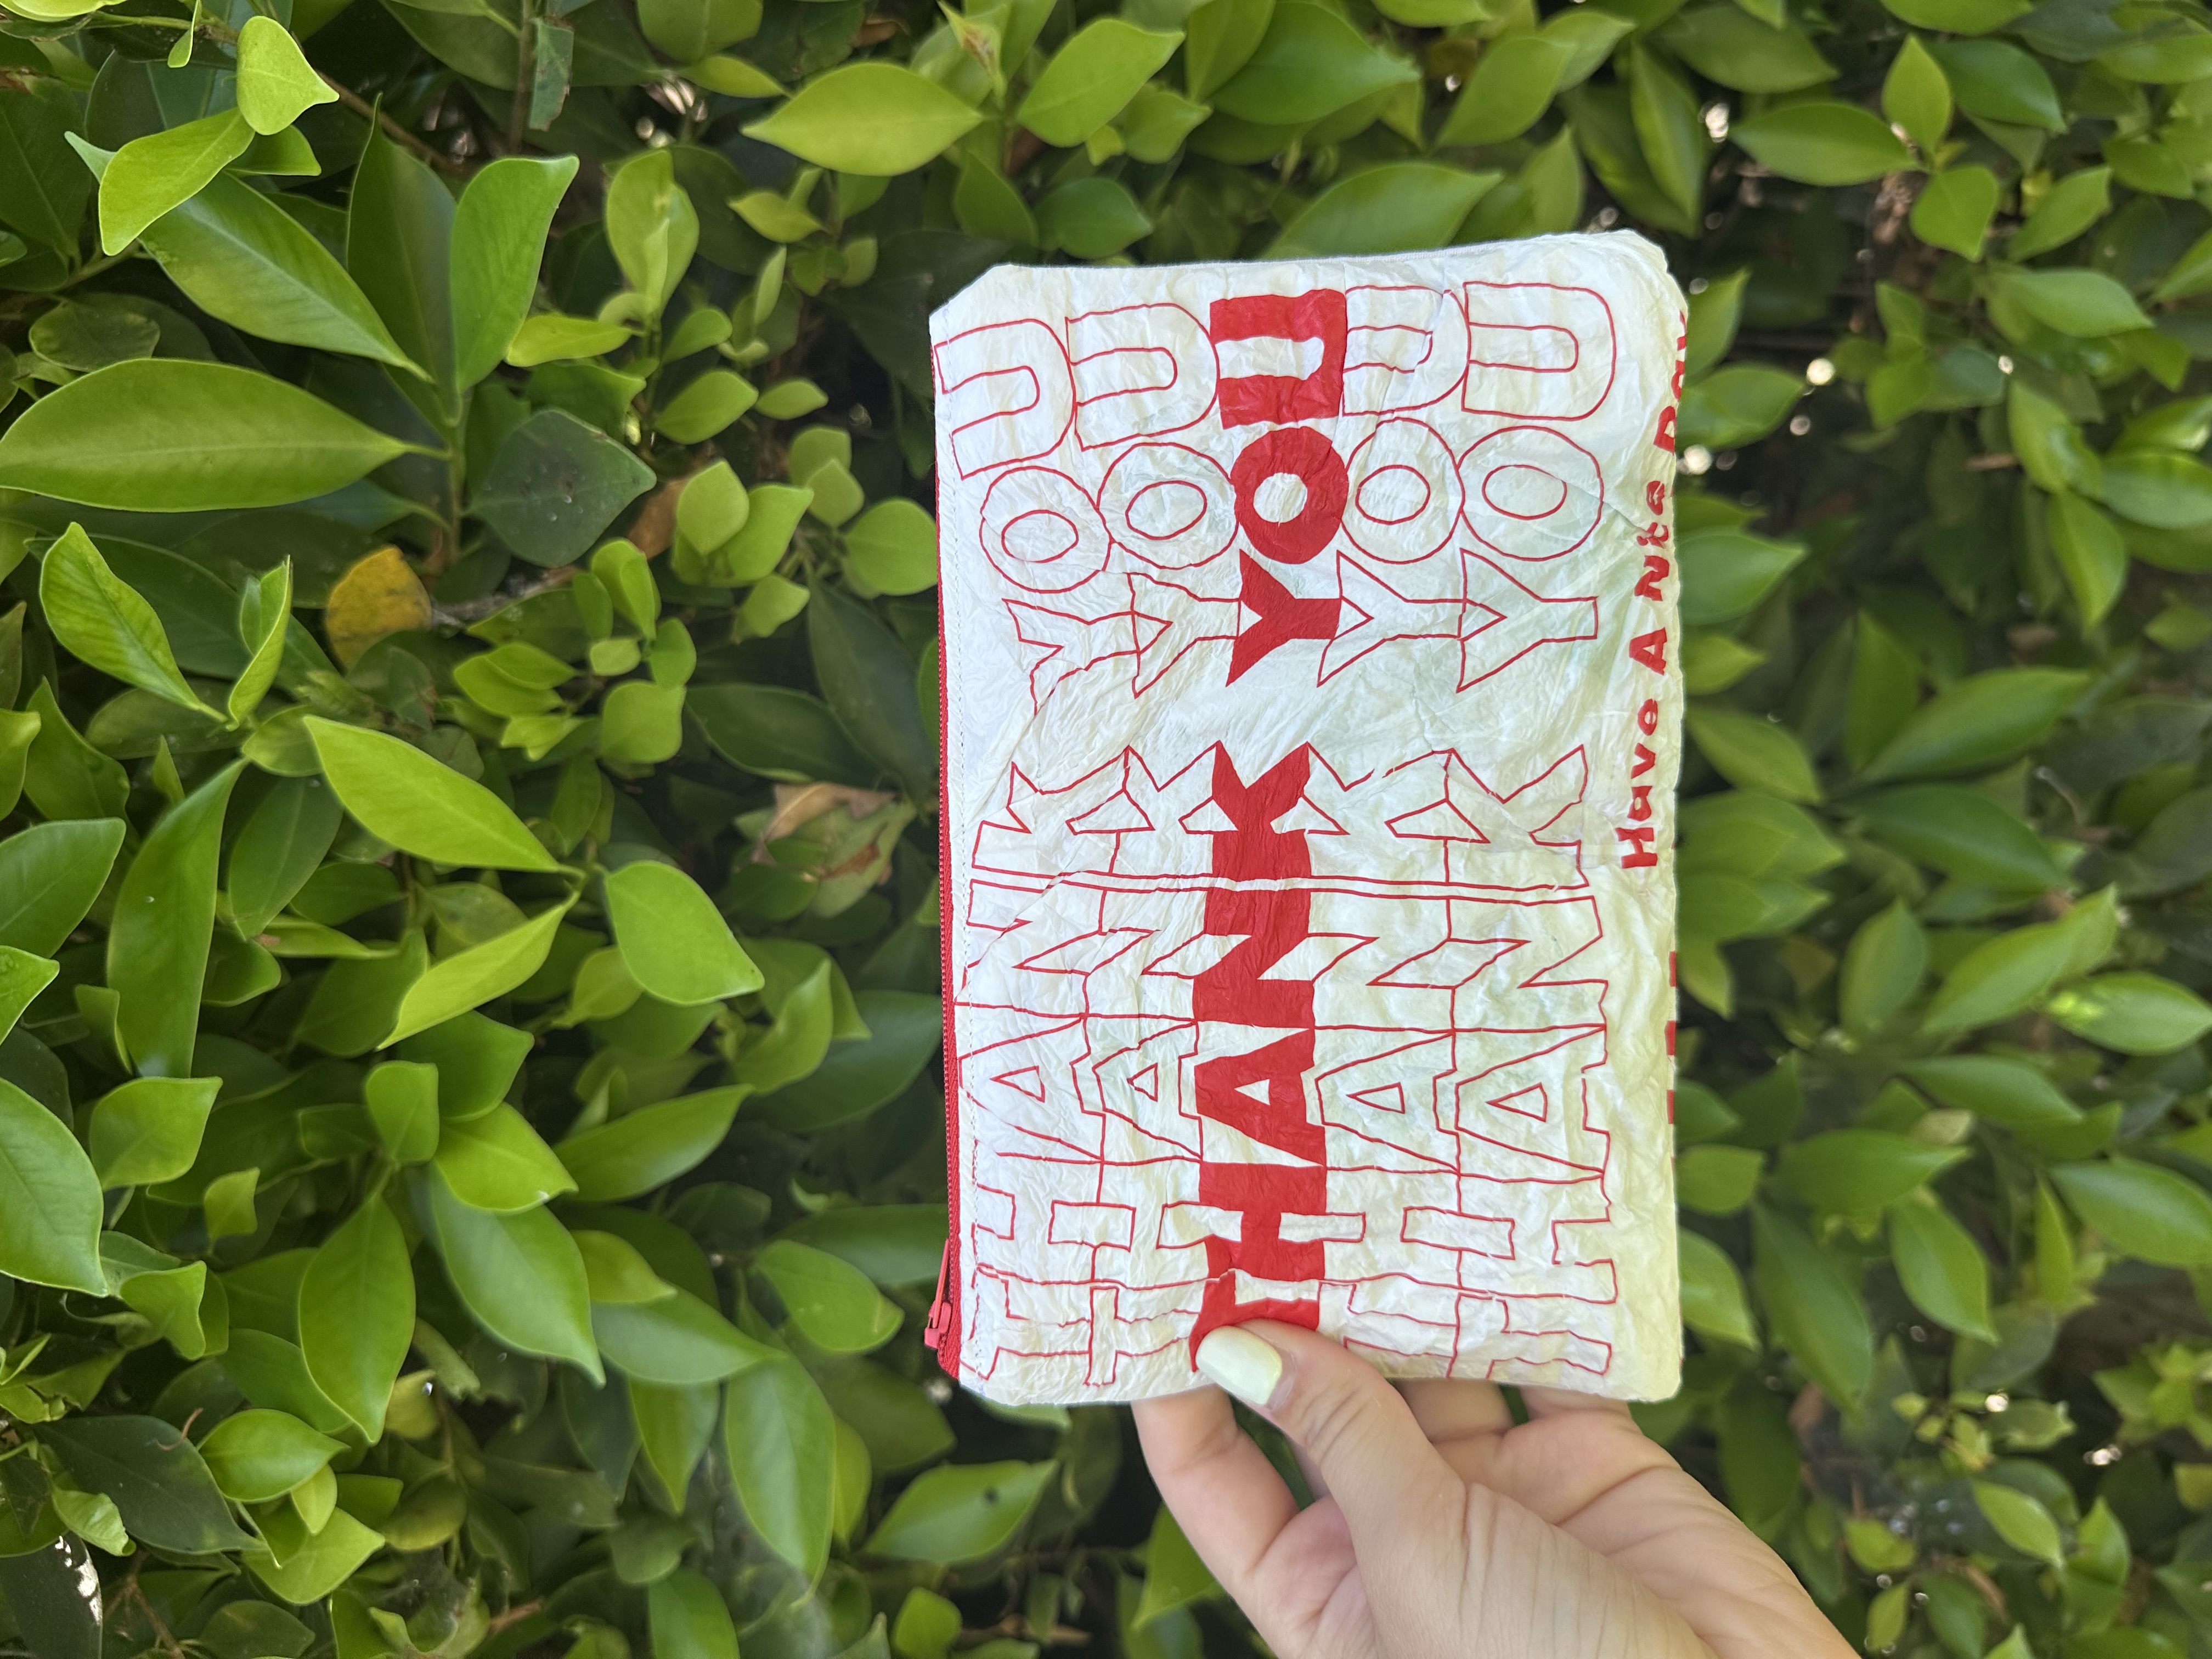
So this is something I've been doing for three or four years now. I started saving the plastic takeout bags that have the "thank you, thank you, thank you" print all over them, because I really liked the look of them, and I kept thinking there had to be a way to reuse them instead of just throwing them out.
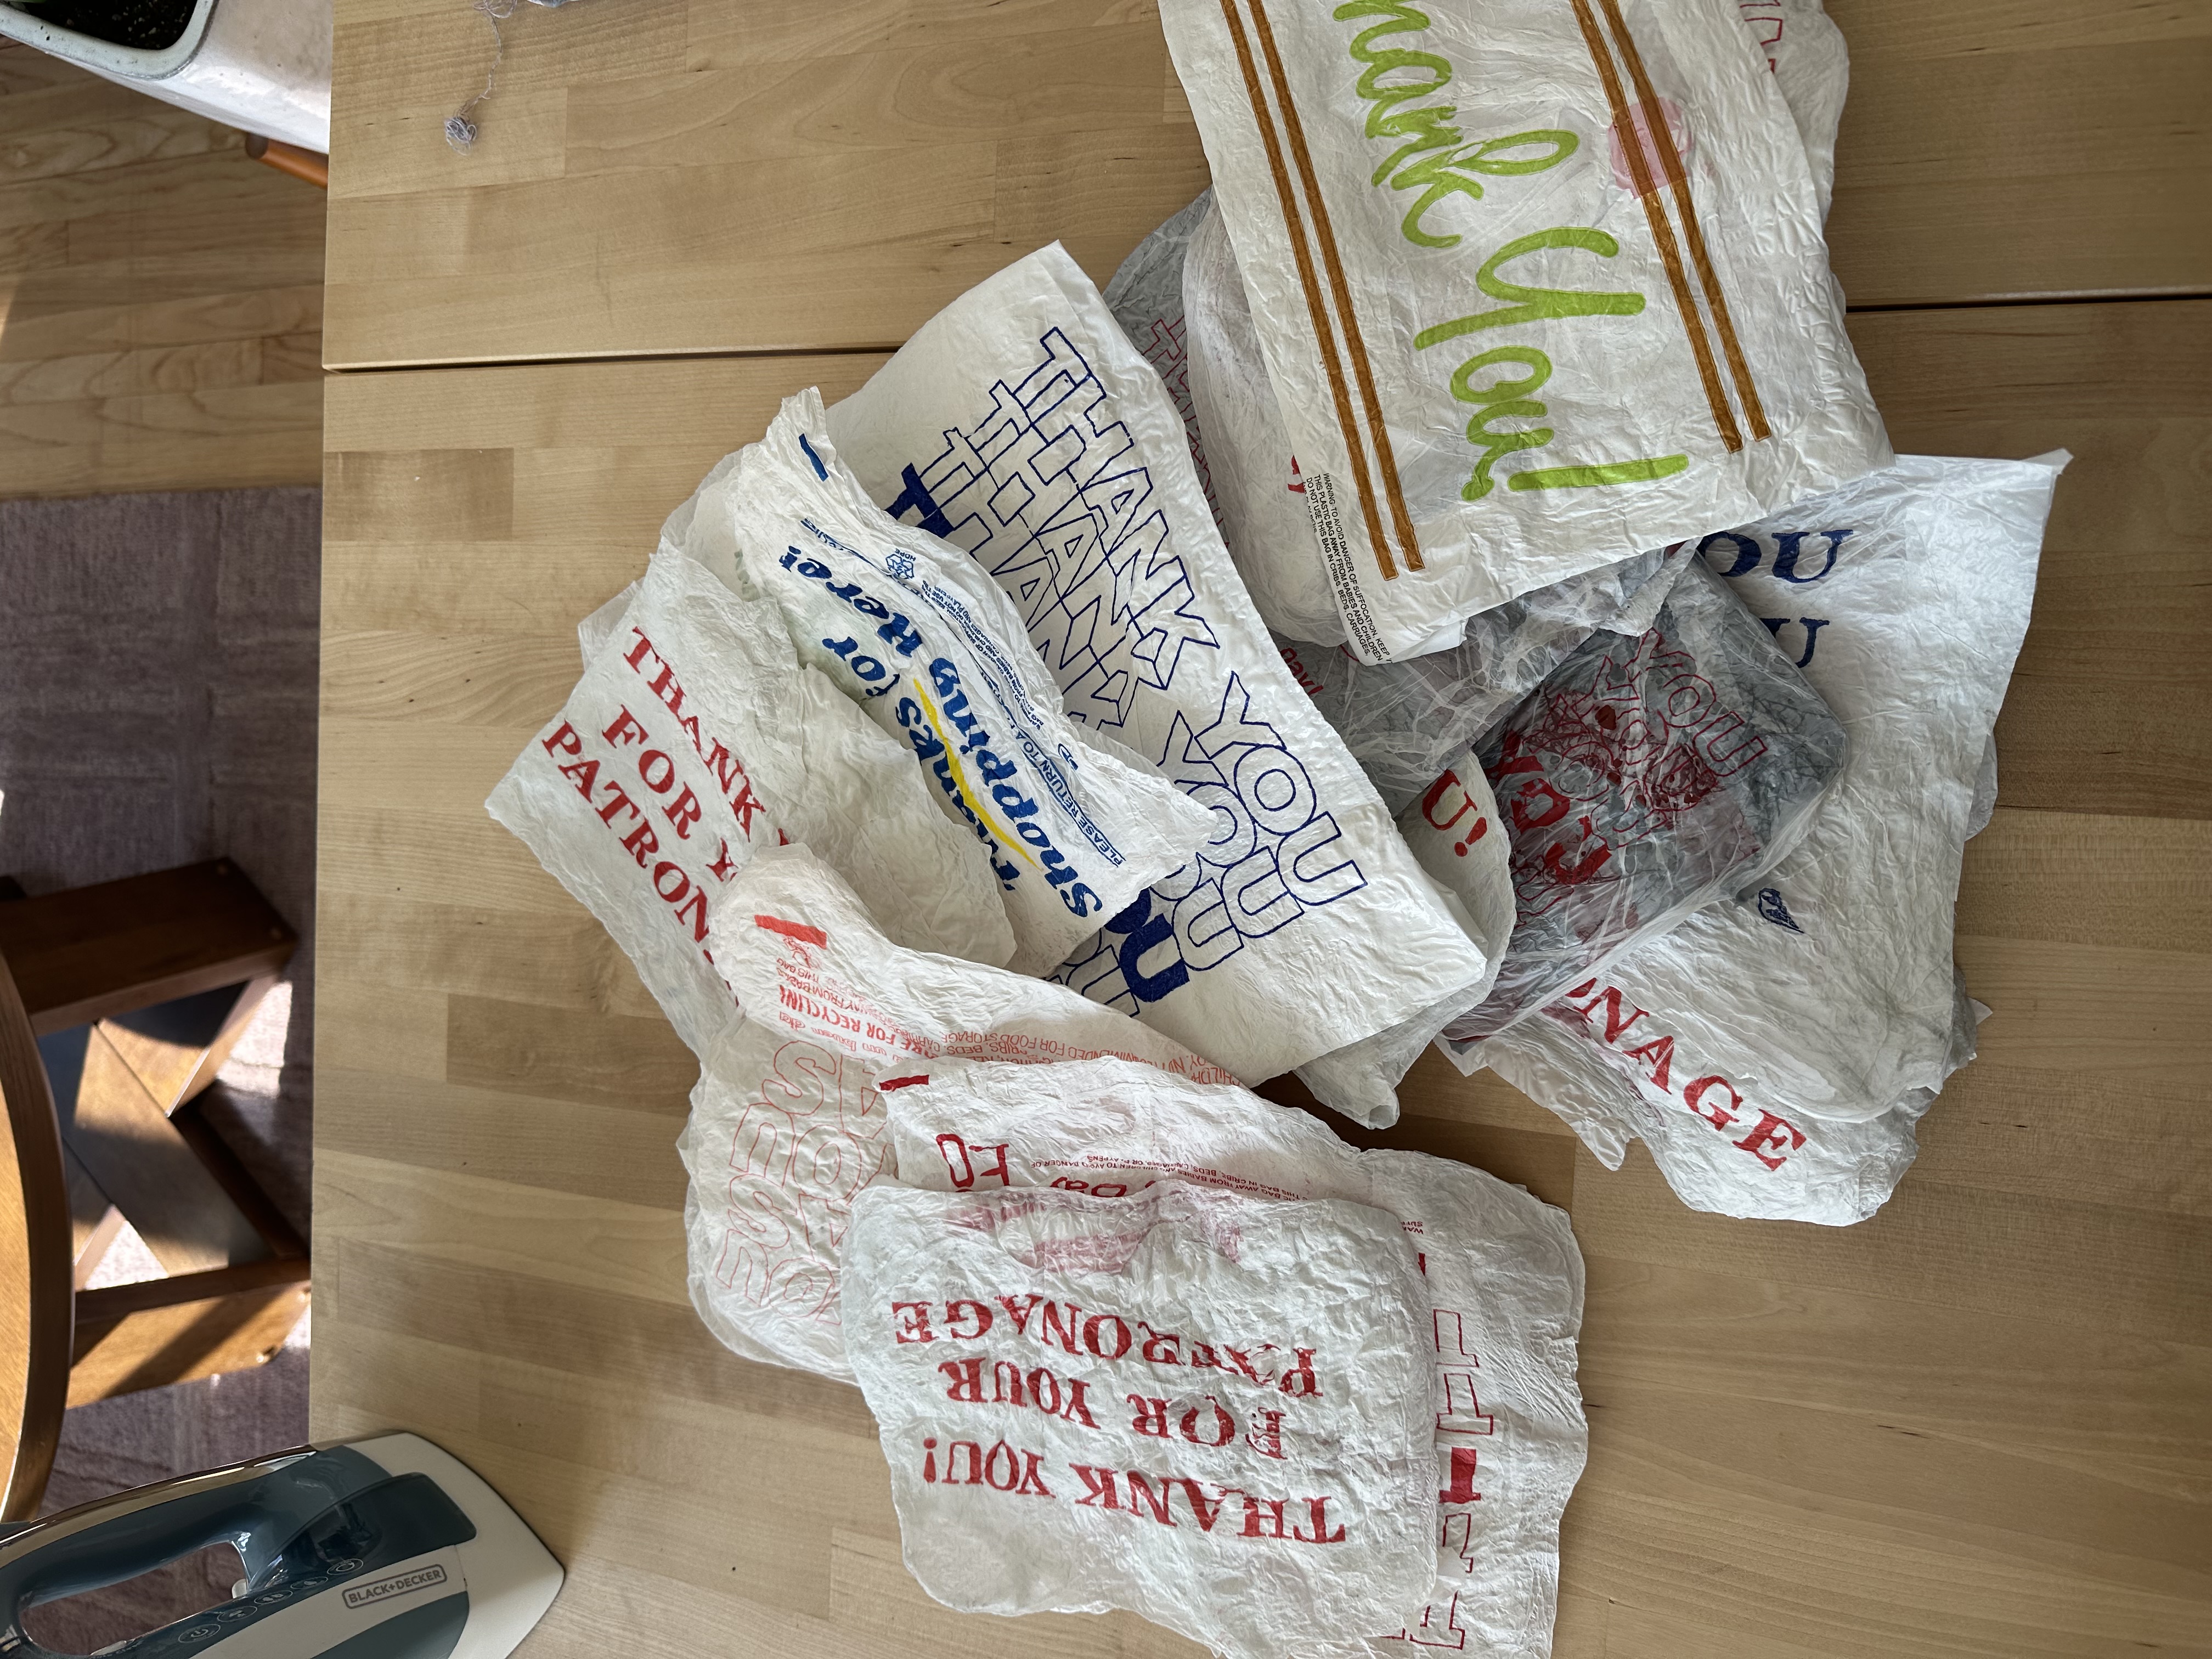
I had seen people doing similar stuff with other kinds of plastic bags, and that's kind of what got me looking into it. That's when I found out that you can actually fuse plastic together and use it as a medium to sew with. So I started saving every thank-you bag I could get my hands on, and my family and friends started saving them for me too.
Why Thank-You Bags?
I just really like the way that design looks. It's everywhere, it's free, and most people don't think of it as a design at all. Putting it on a little pouch that someone actually uses makes for a fun conversation piece. People always end up asking about it.
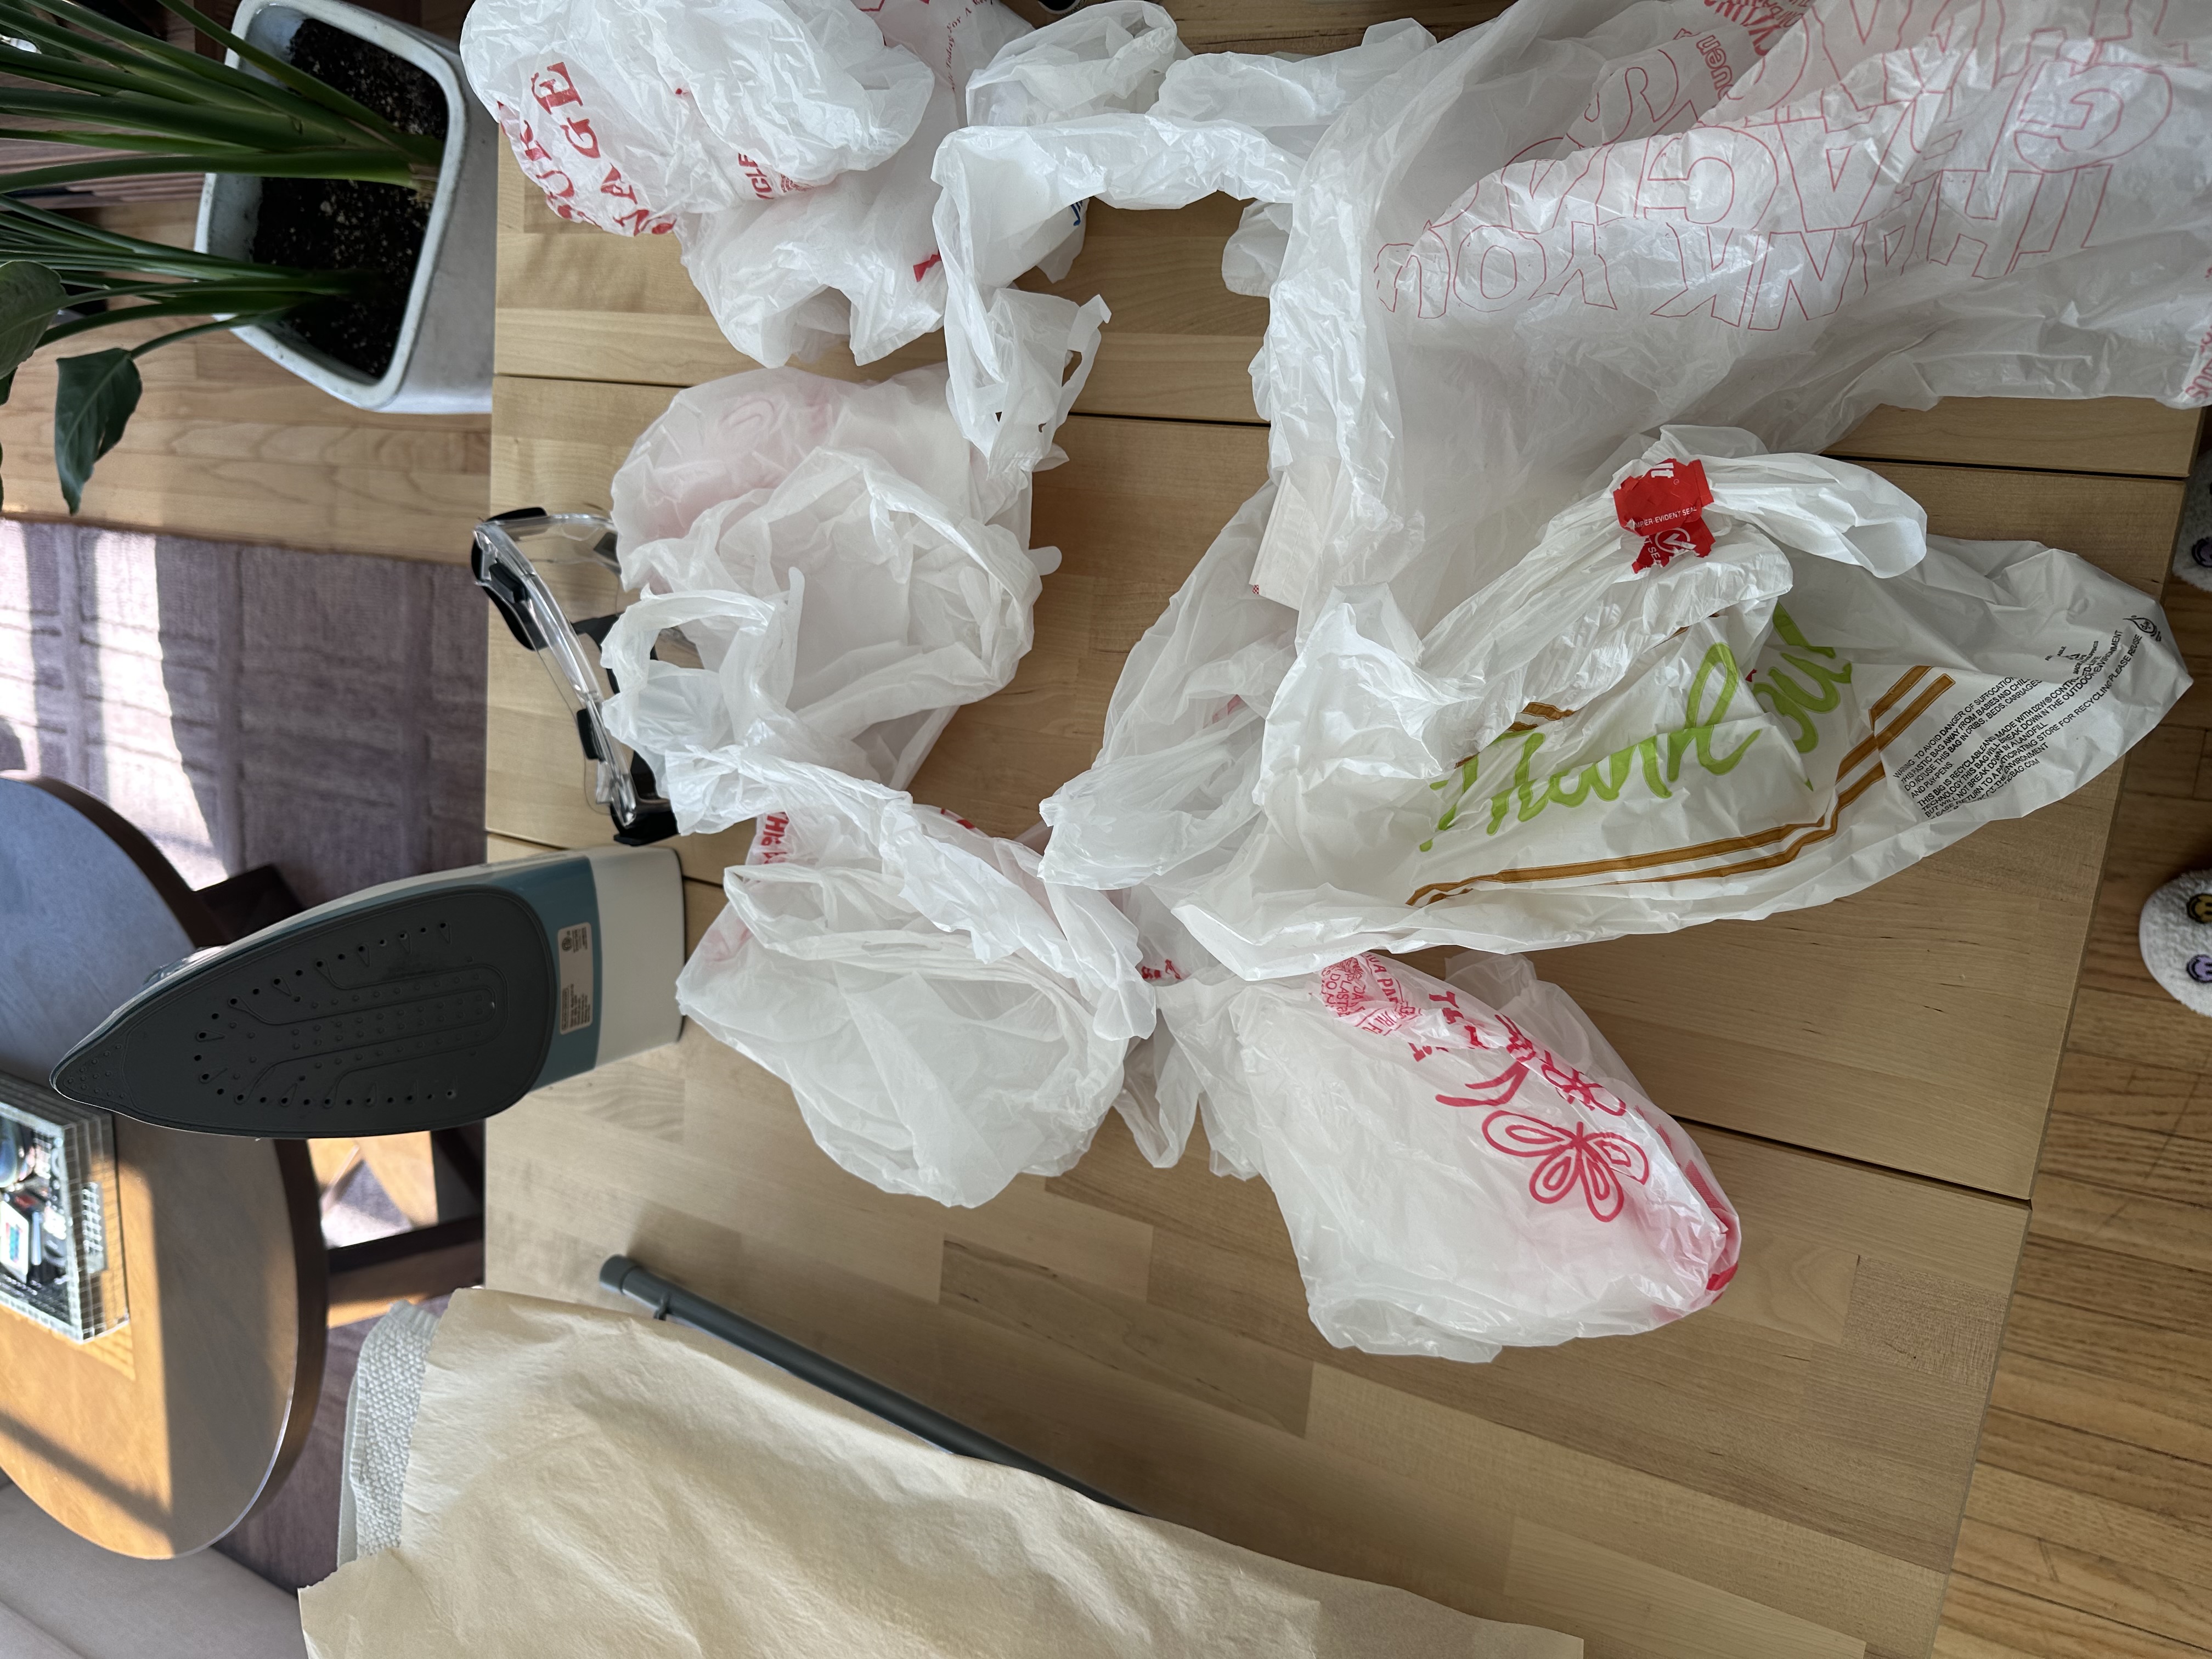
How I Fuse the Plastic
Before I get into this, I want to say that I'm just describing what's worked for me. If you want to try it yourself, definitely look up some other tutorials too, especially for the safety side of things. Fusing plastic puts off fumes that you really don't want to be breathing in, and a hot iron will burn you if you're not paying attention.
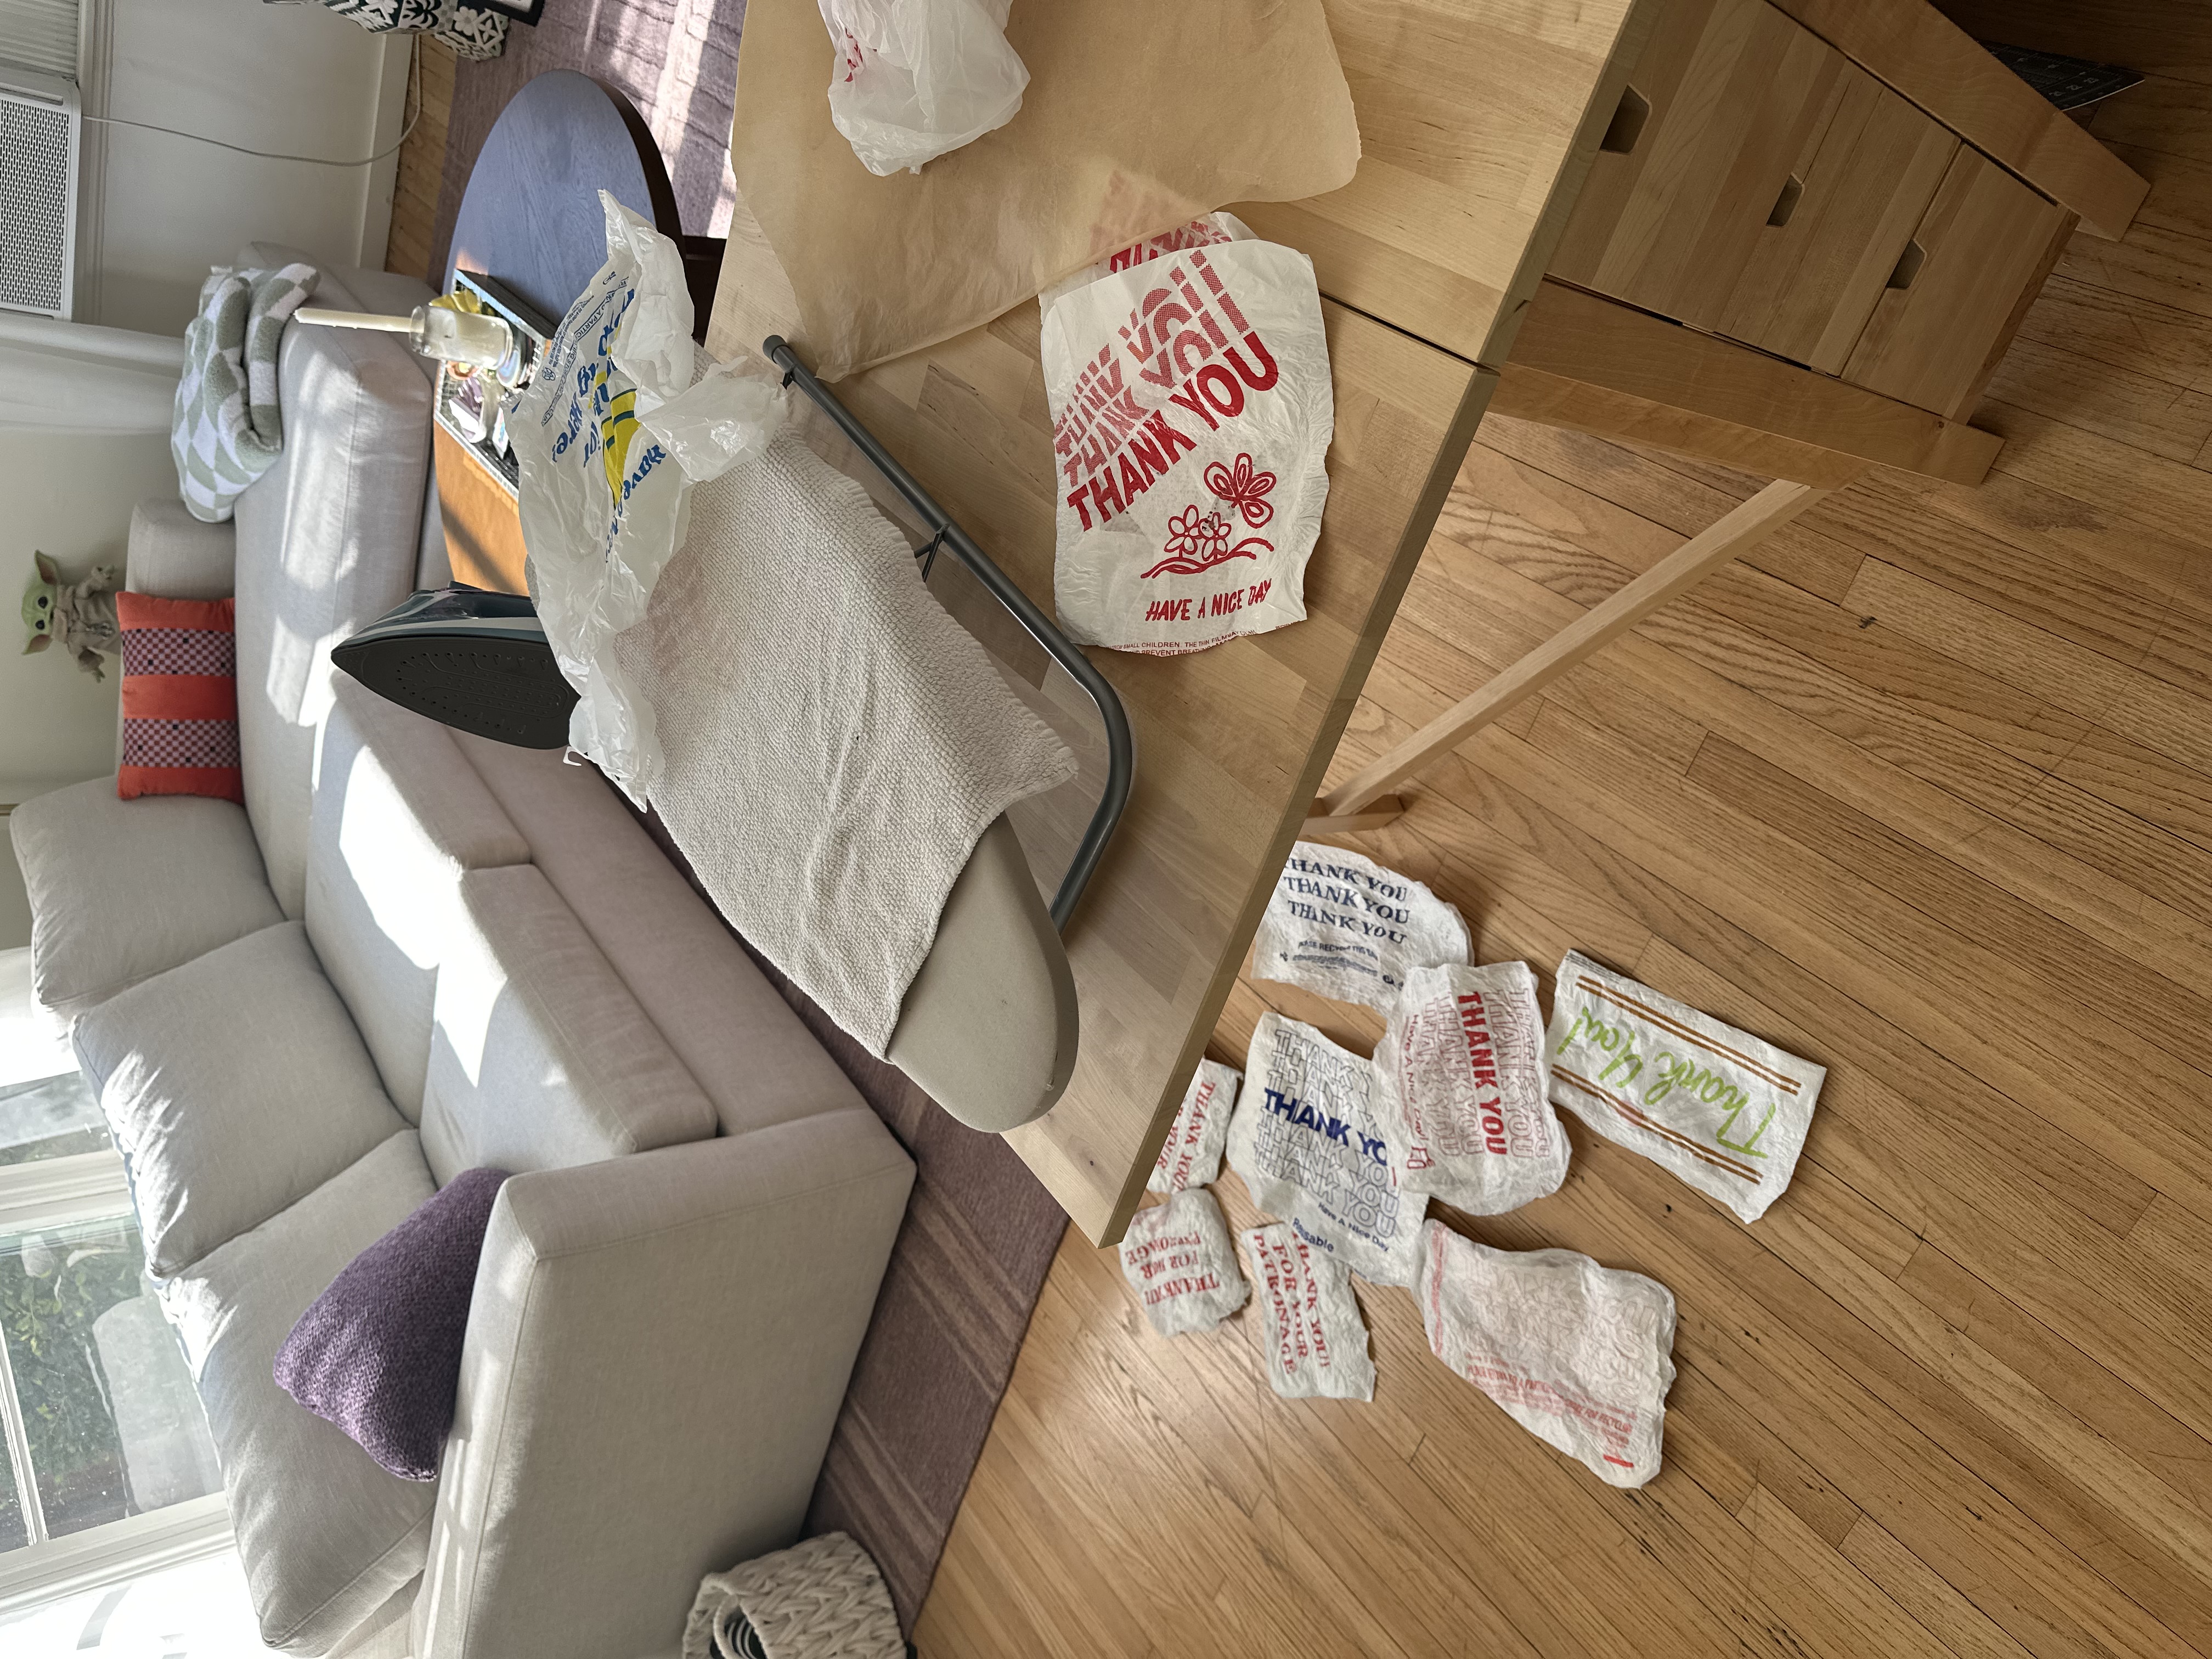
The first thing I do is find the part of the bag I want to use, and I cut around the thank-you print so it ends up as the central piece of my fabric. Then I put a piece of parchment paper down on my ironing board, lay the plastic on top, and put another piece of parchment paper over it so the plastic is sandwiched in between.
To make it a little bit thicker and easier to sew with, I add a few extra layers of plain plastic bag underneath the thank-you side. So the printed side stays on top and the extra layers are giving it body underneath.
Then I set my iron on a really low setting and slowly hold it over the parchment paper. You don't want to leave it in one spot or the plastic will warp, and if the iron is too hot or you leave it on too long it'll actually melt holes right through the plastic. After about a minute you can feel the plastic starting to harden, and that's what you want. Once it cools, peel the parchment off and you've got a sheet of fused plastic you can cut and sew with.
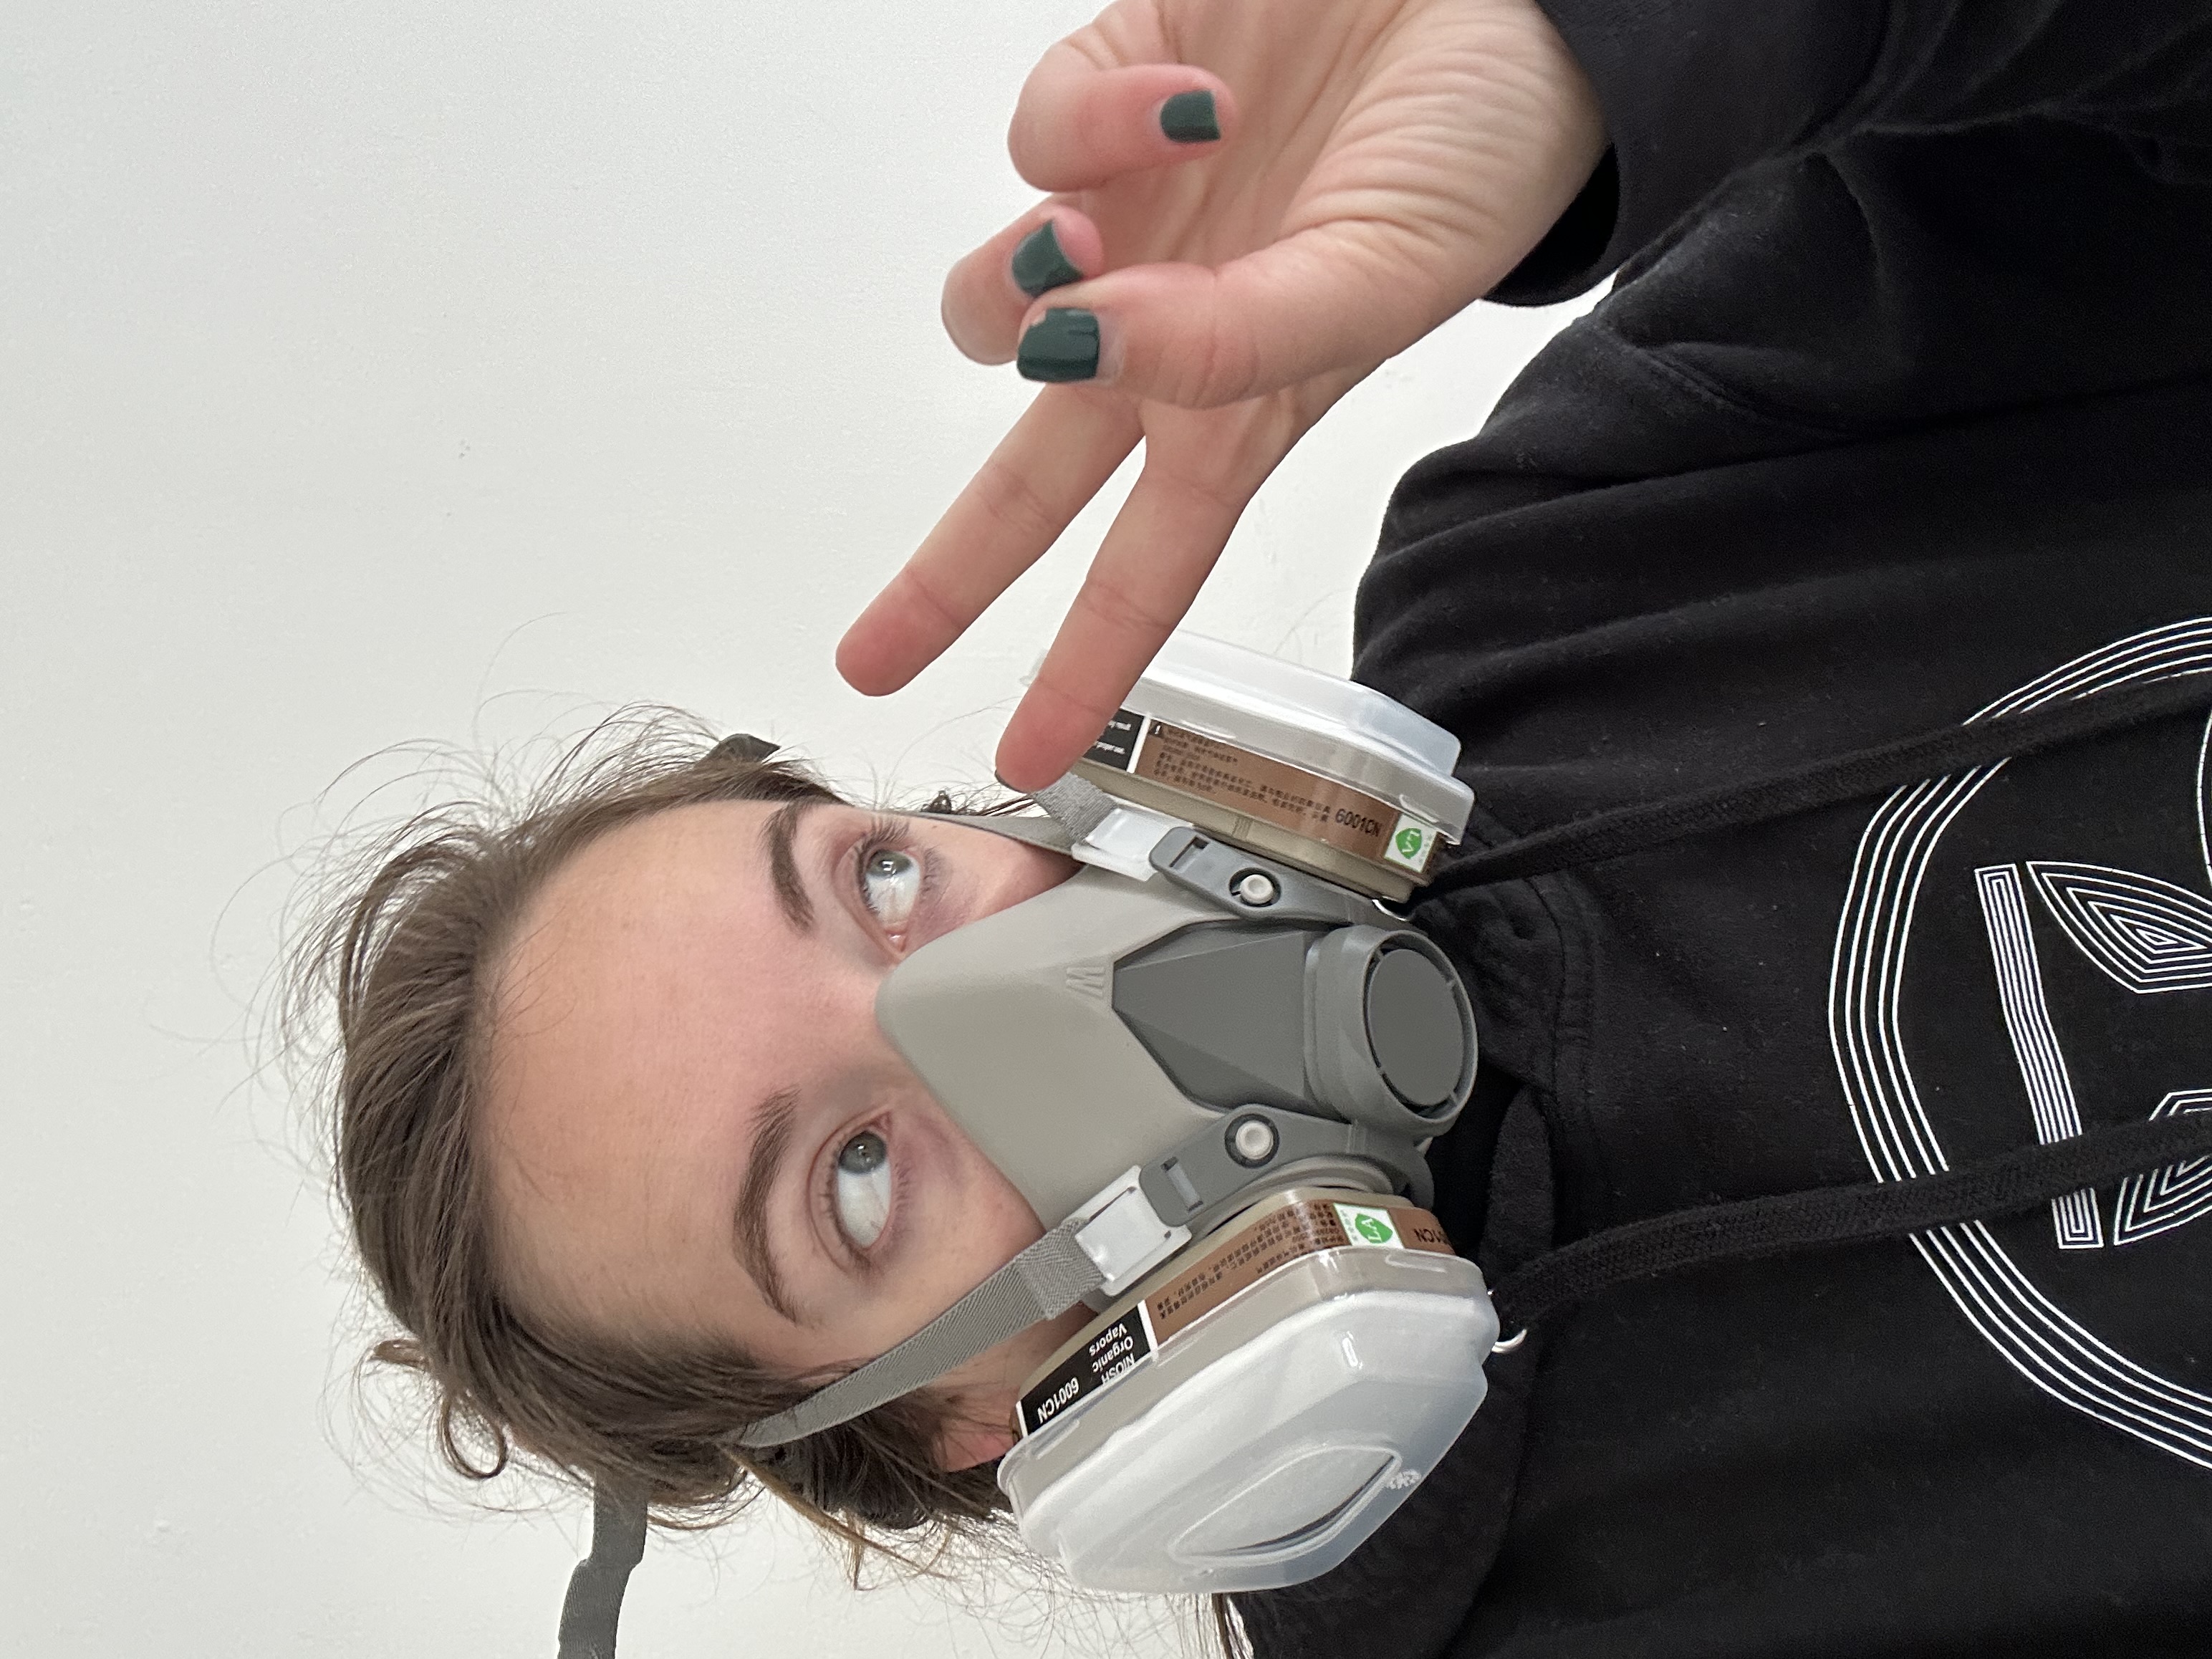
A quick note on safety
Open a window, run a fan, or wear a mask. The fumes aren't good for you. Keep the iron on a low setting and always use parchment paper so you're never touching hot plastic directly. If you've never done this before, do a small test piece first.
From Sheet to Pouch
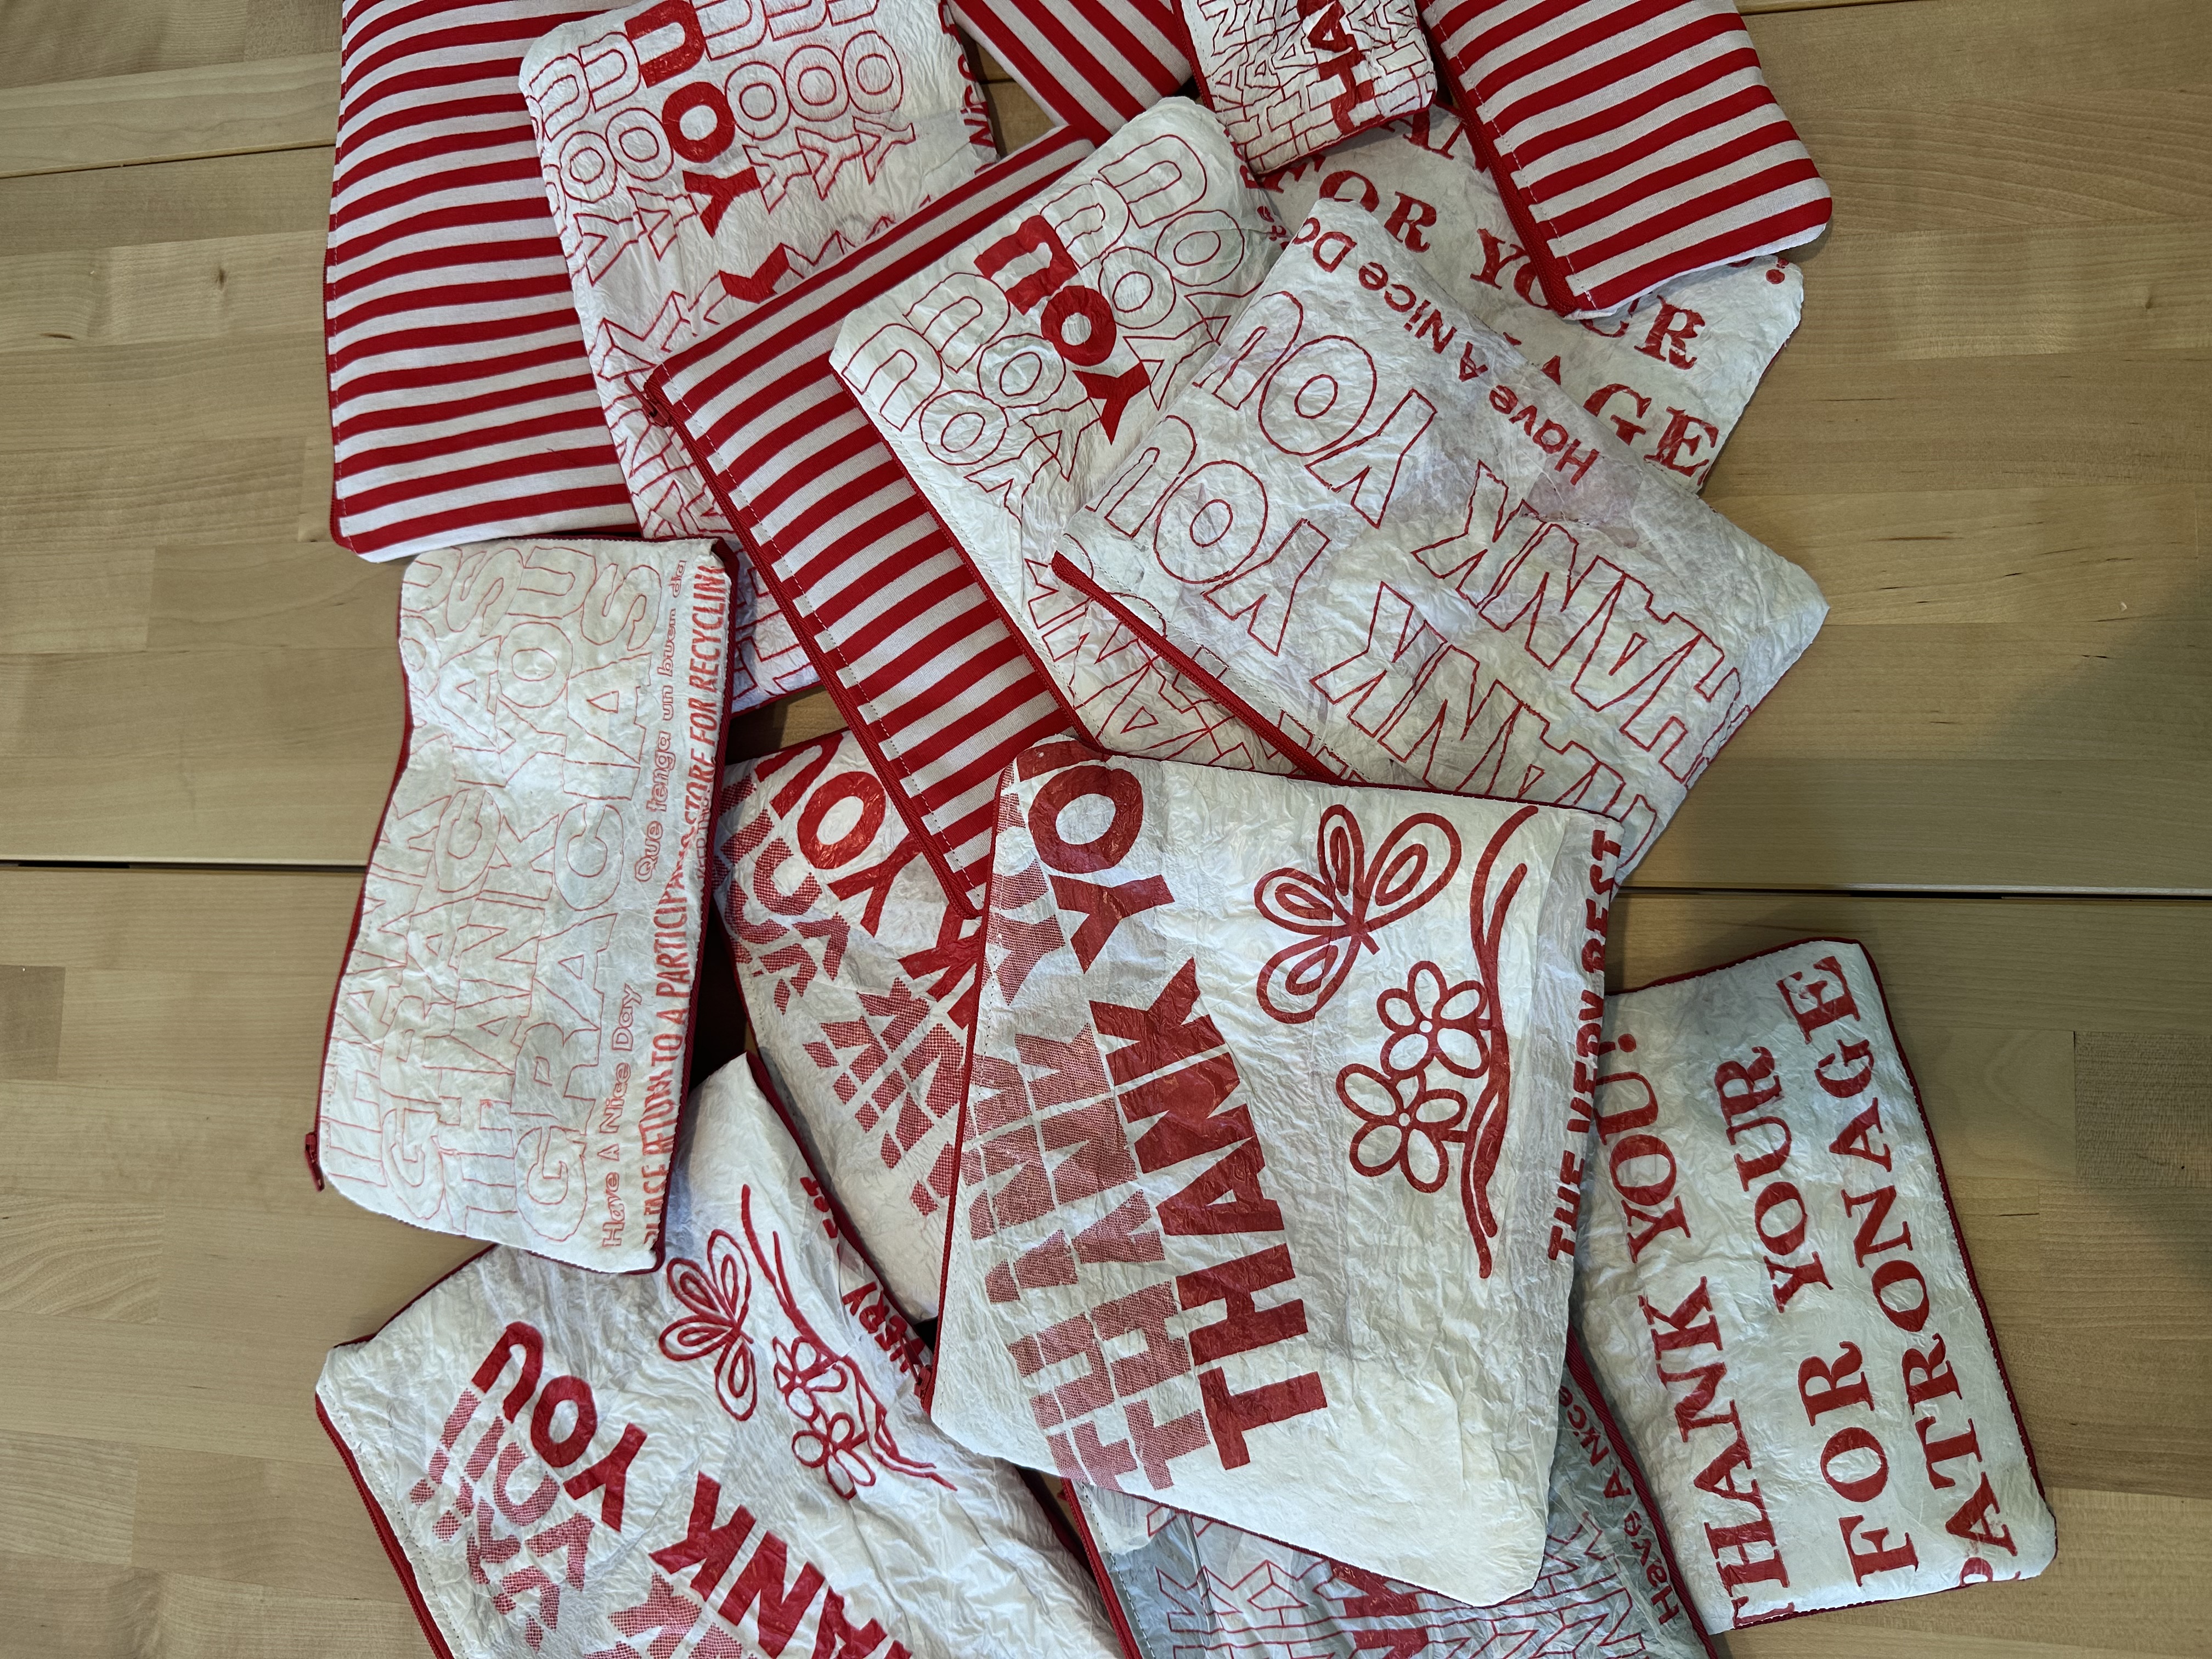
One thing to know is that the plastic shrinks a lot when it fuses, and it doesn't always shrink the same amount. That's kind of why my pouches end up in different sizes. Once I have my fused fabric, I just cut out rectangles that look right and go from there. Some end up really small like coin purses, some come out bigger like a clutch. It honestly makes it kind of fun to experiment and see what you can get.
When I first started, I was using the fused plastic on both sides of the pouch and as the lining. Now I usually mix it up. I'll do the thank-you side as the front, then denim or cotton for the back, and a cotton lining on the inside. I like that look better, and it's also easier to sew.
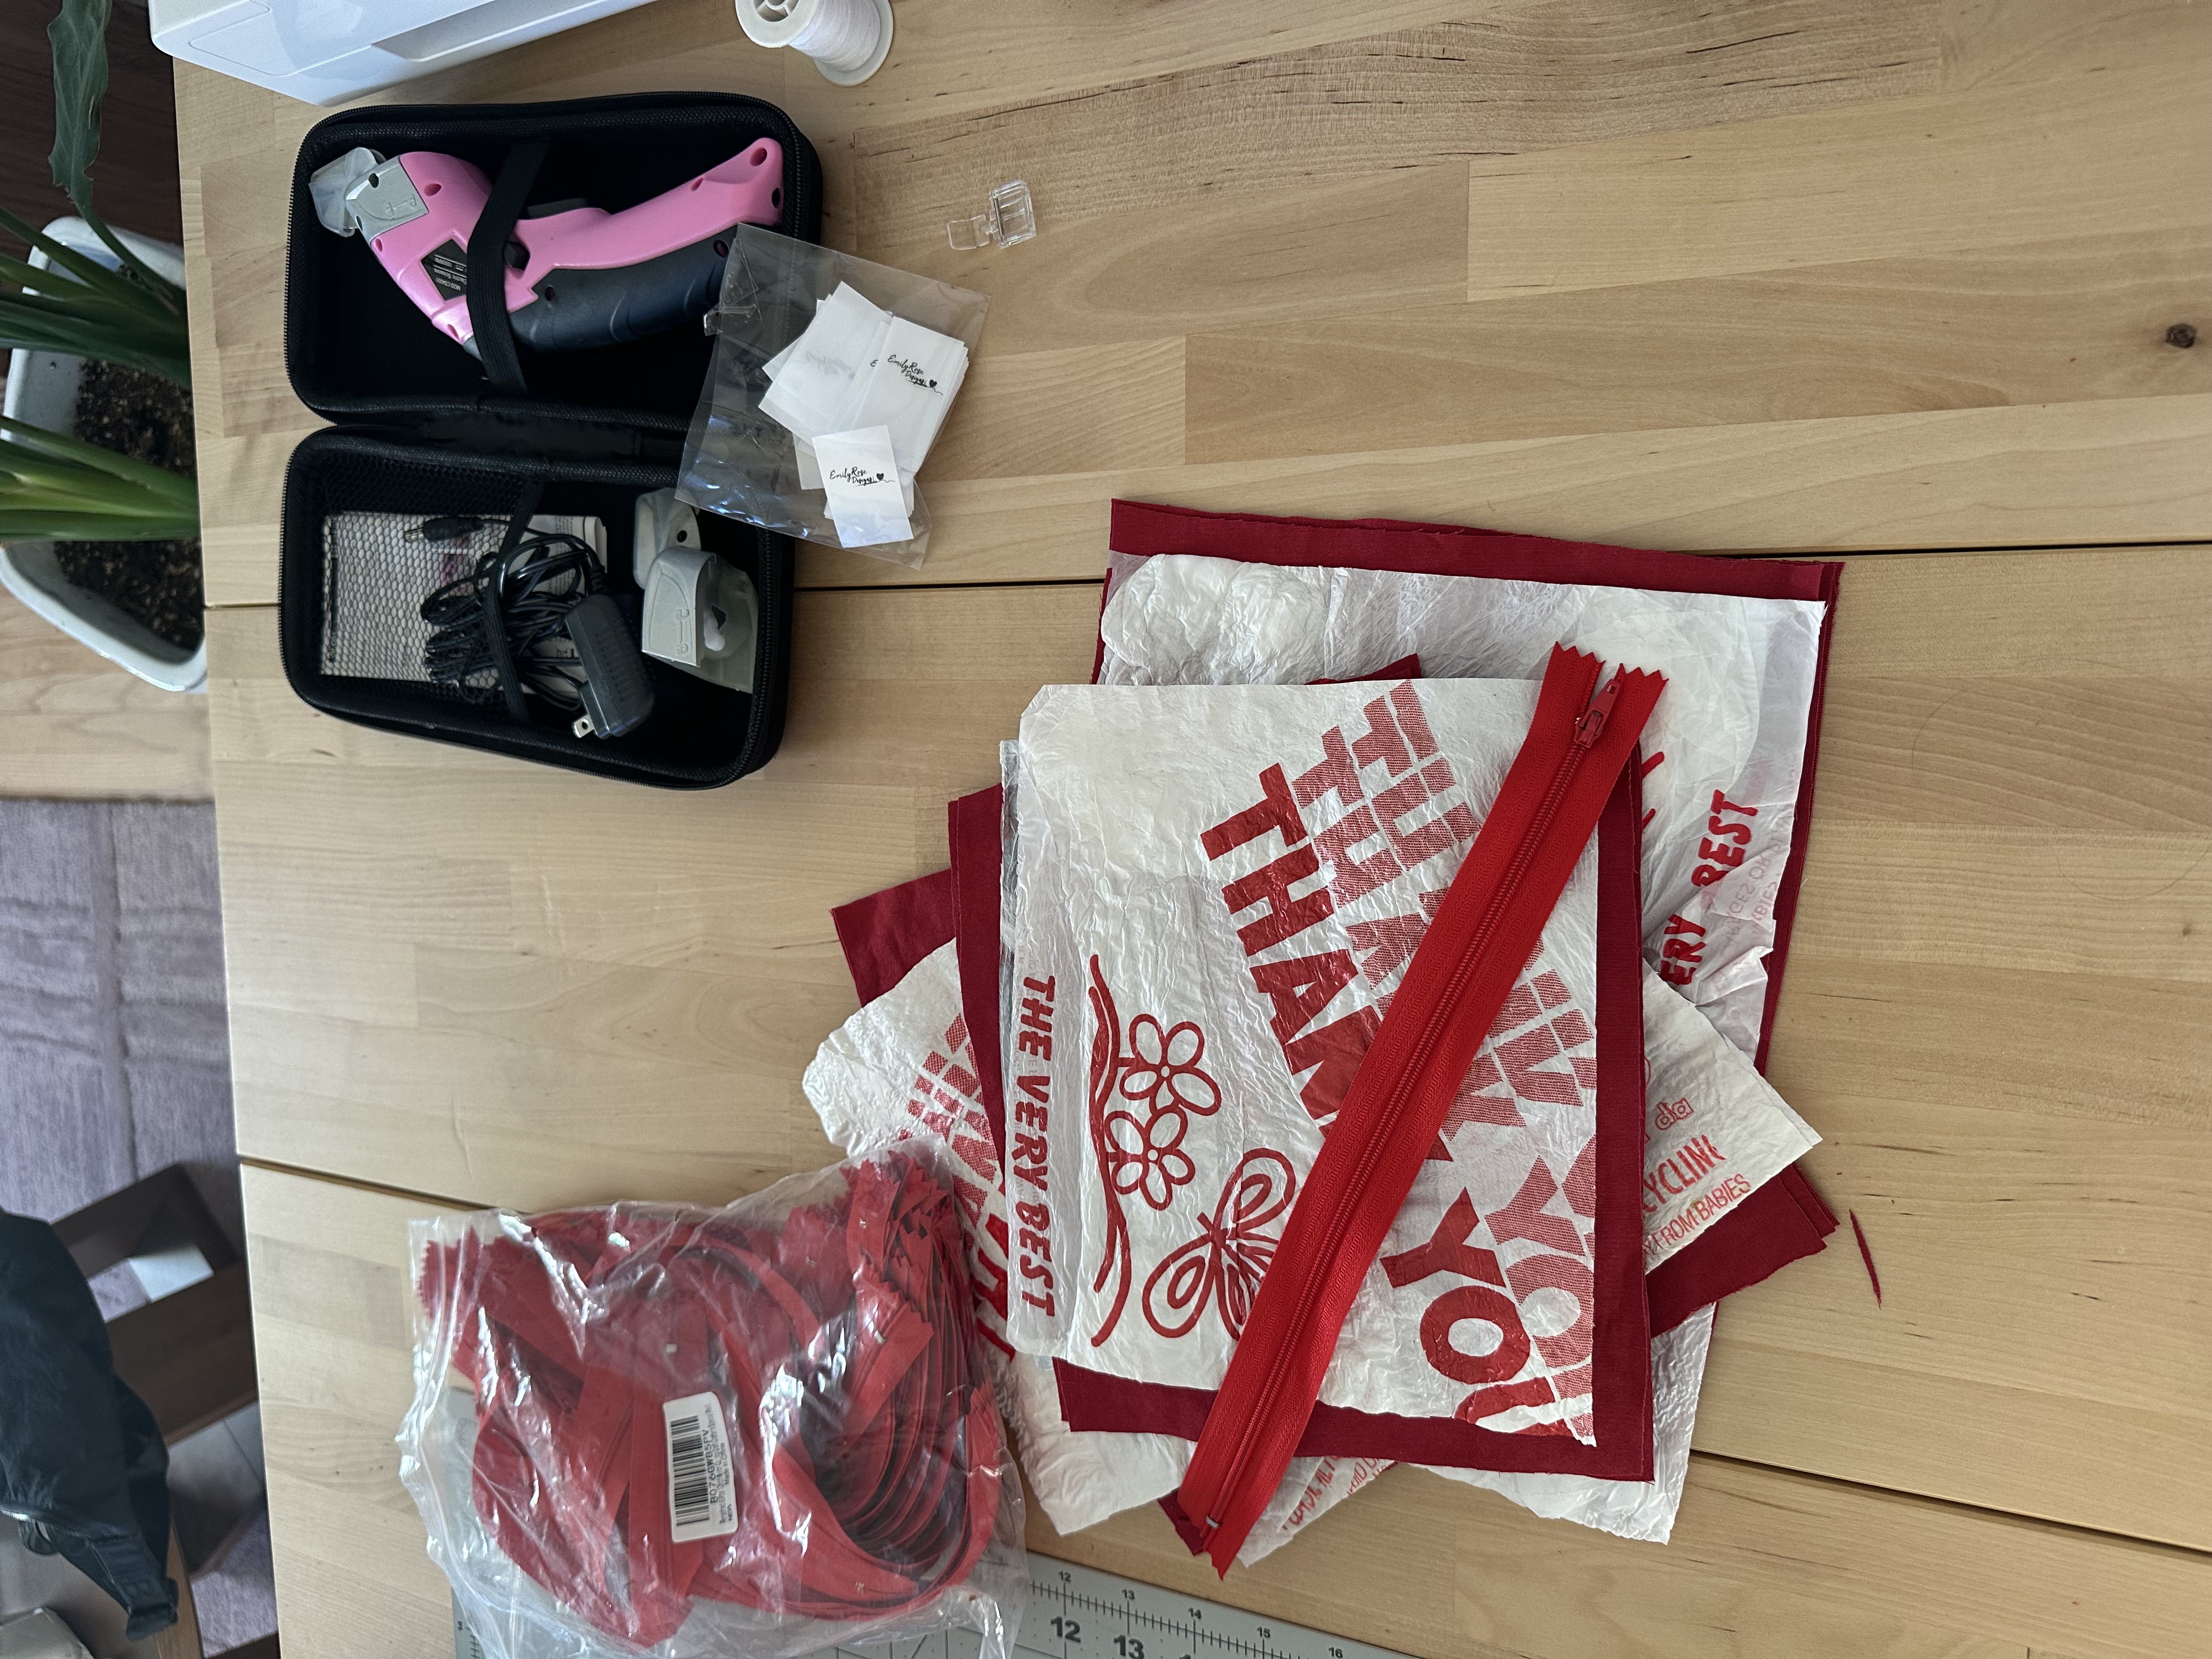
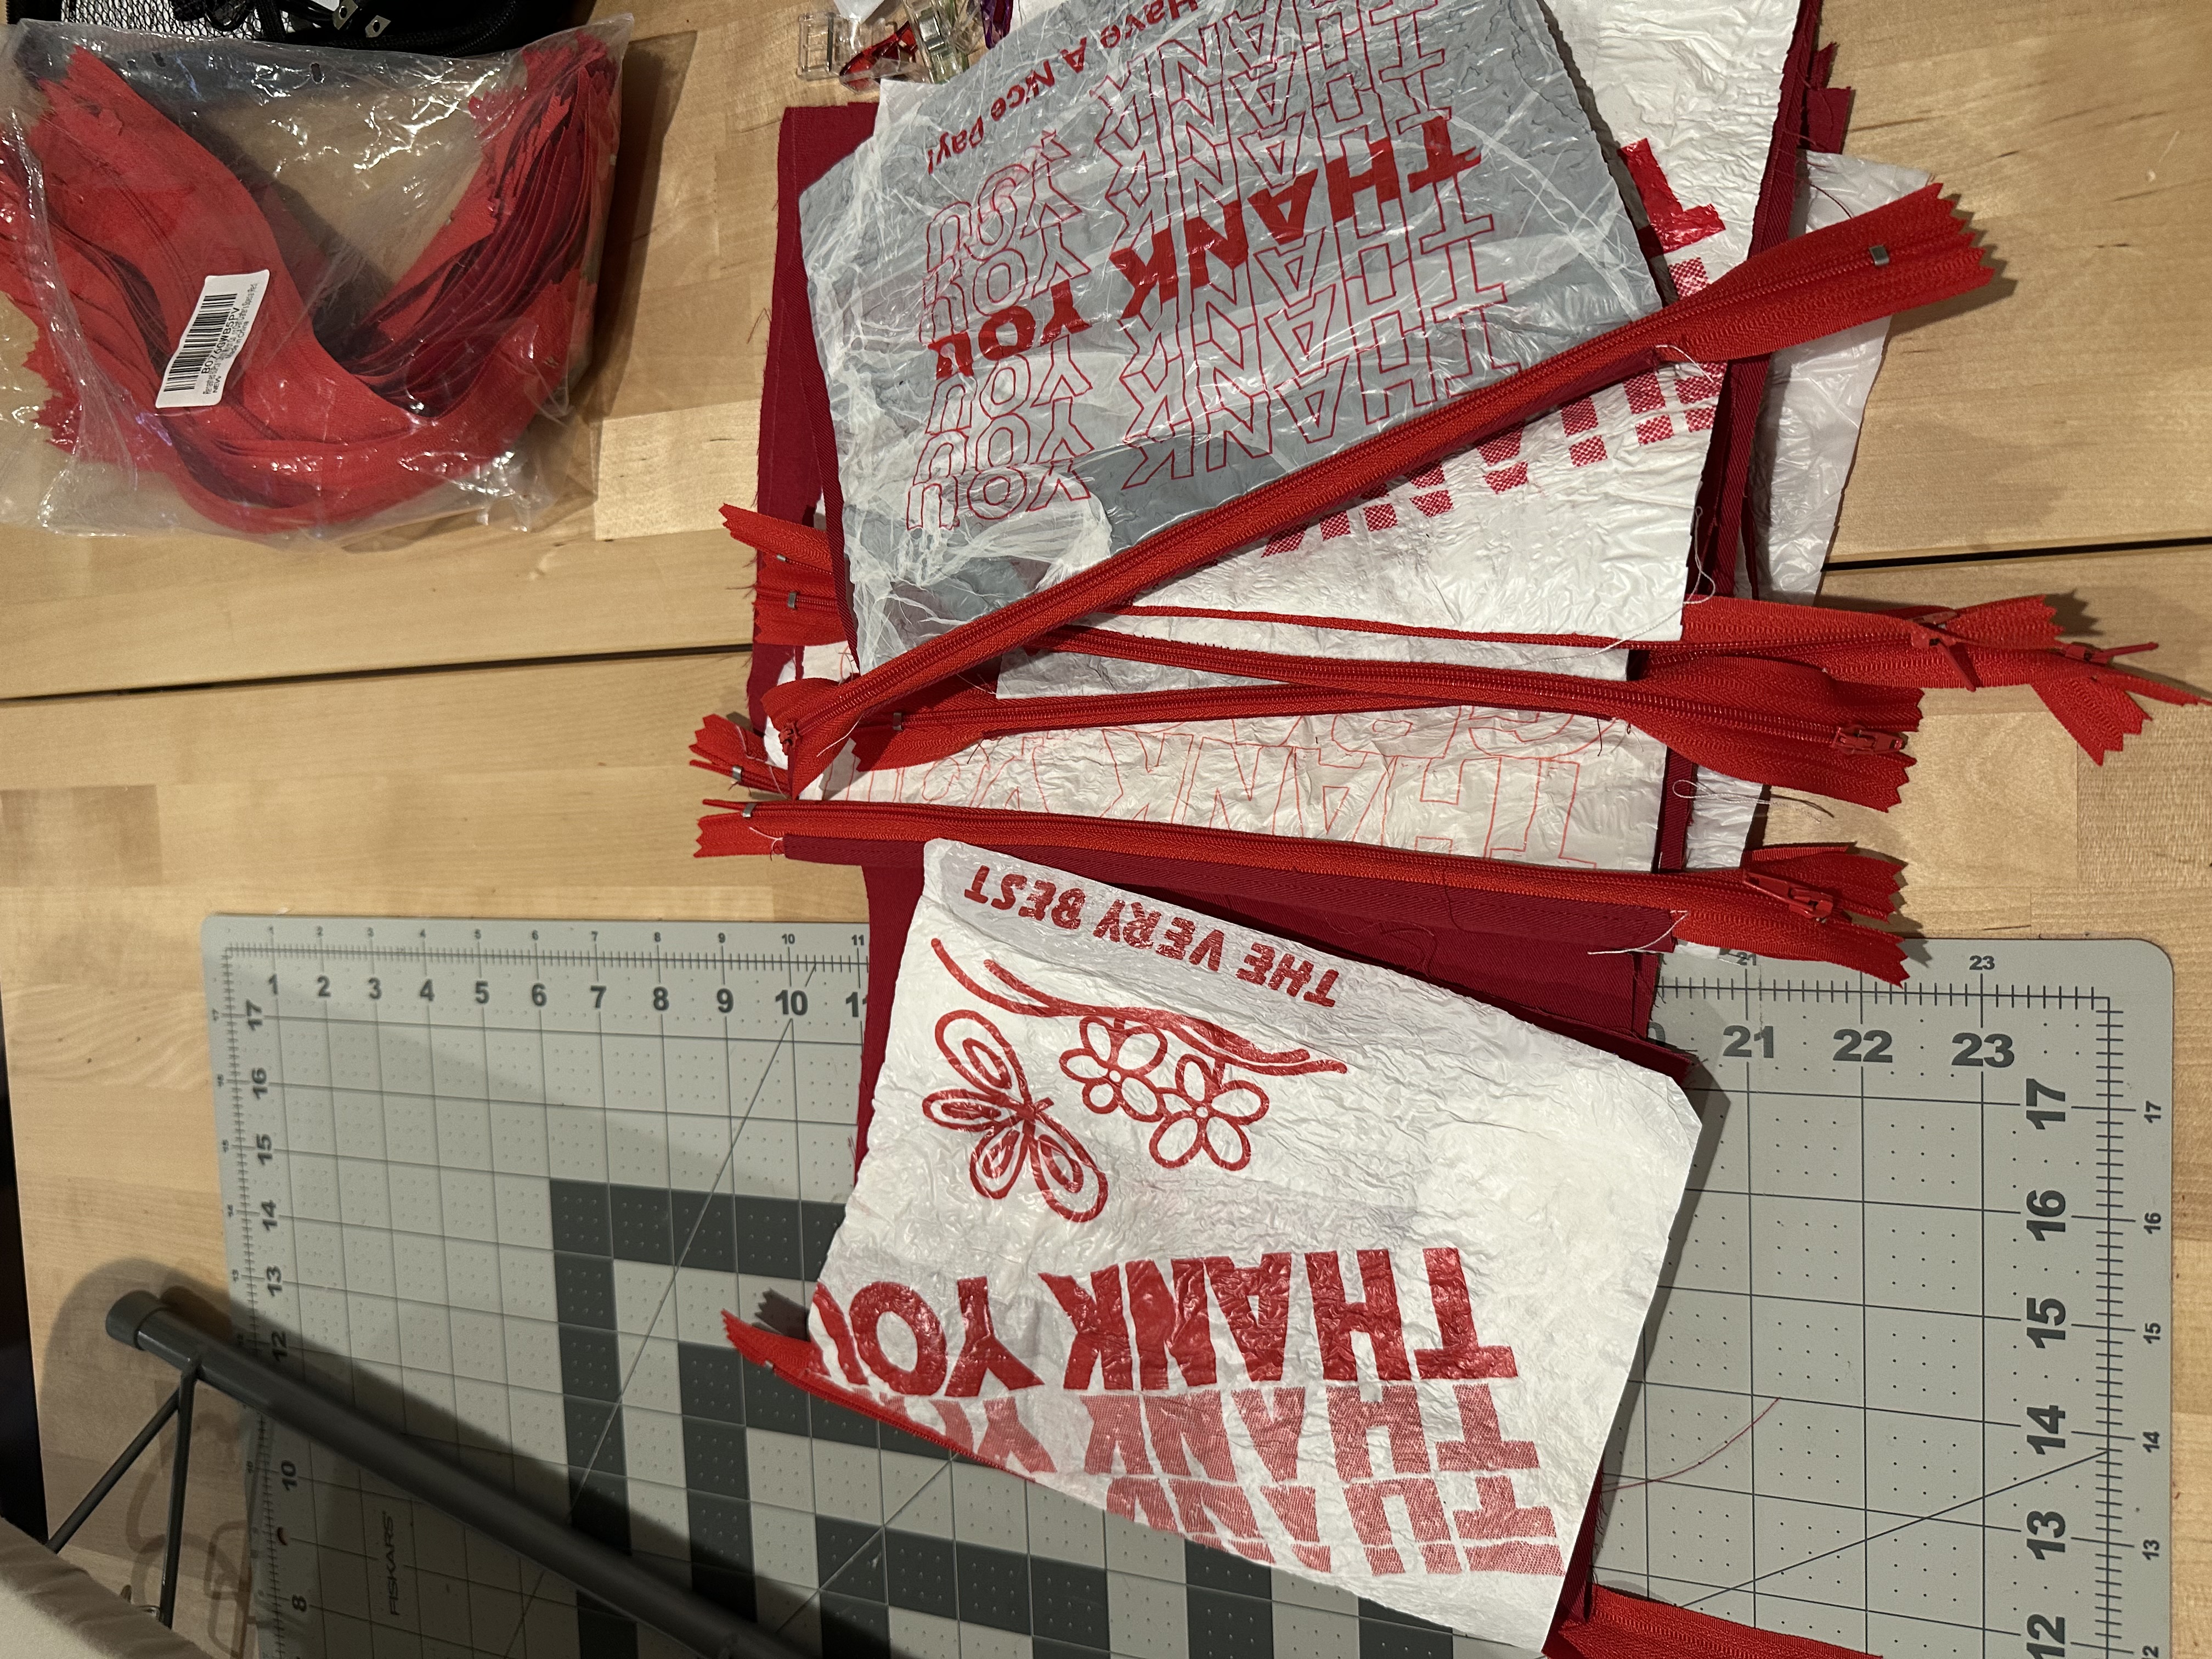
The construction is just a regular lined zipper pouch. If you've made one of those before, you can make one of these. The one adjustment is that you don't want to use pins on the plastic, because the holes don't close back up. I use sewing clips instead, and I make my stitch length a little longer so the needle isn't poking too many holes in the plastic.
Why I Like This Project
What I really like about this is that every pouch ends up a little different. The bags are different, the shrinkage is different, the back panel is whatever scrap of fabric I have on hand. No two are the same.
I'm not sure if I'll be making another batch any time soon, but the ones I have are still up on my Etsy shop if you want one. And if you've never tried fusing plastic before, I really do think it's a cool way to find a new use for something you'd usually throw away.
Quick Tips if You Want to Try This
- Save bags with bold prints. Thank-you takeout bags are my favorite, but any thin plastic bag with a print you like will work. Friends and family will save them for you if you ask.
- Always use parchment paper. Plastic right on the iron is a mess. Sandwich it between two pieces every time.
- Low heat, hover and press. Don't drag the iron, and don't leave it in one spot. Too much heat or too long in one place will melt holes right through the plastic. Stop as soon as the layers feel fused.
- Layer it up. 3 or 4 layers gives you a sheet that's sturdy enough to sew with. Put the printed layer on top so it stays the visible side.
- Ventilate. Open a window, run a fan, or wear a mask. The fumes aren't good for you.
- Use clips, not pins. Pin holes in plastic don't close back up.
- Lengthen your stitch. A longer stitch means fewer needle holes in the plastic.
- Mix your materials. A cotton or denim back panel and a cotton lining make the pouch softer and easier to sew.
If you end up making one, or trying out fusing plastic for yourself, tag me on Instagram @DesignsbyERB. I'd love to see what you come up with.