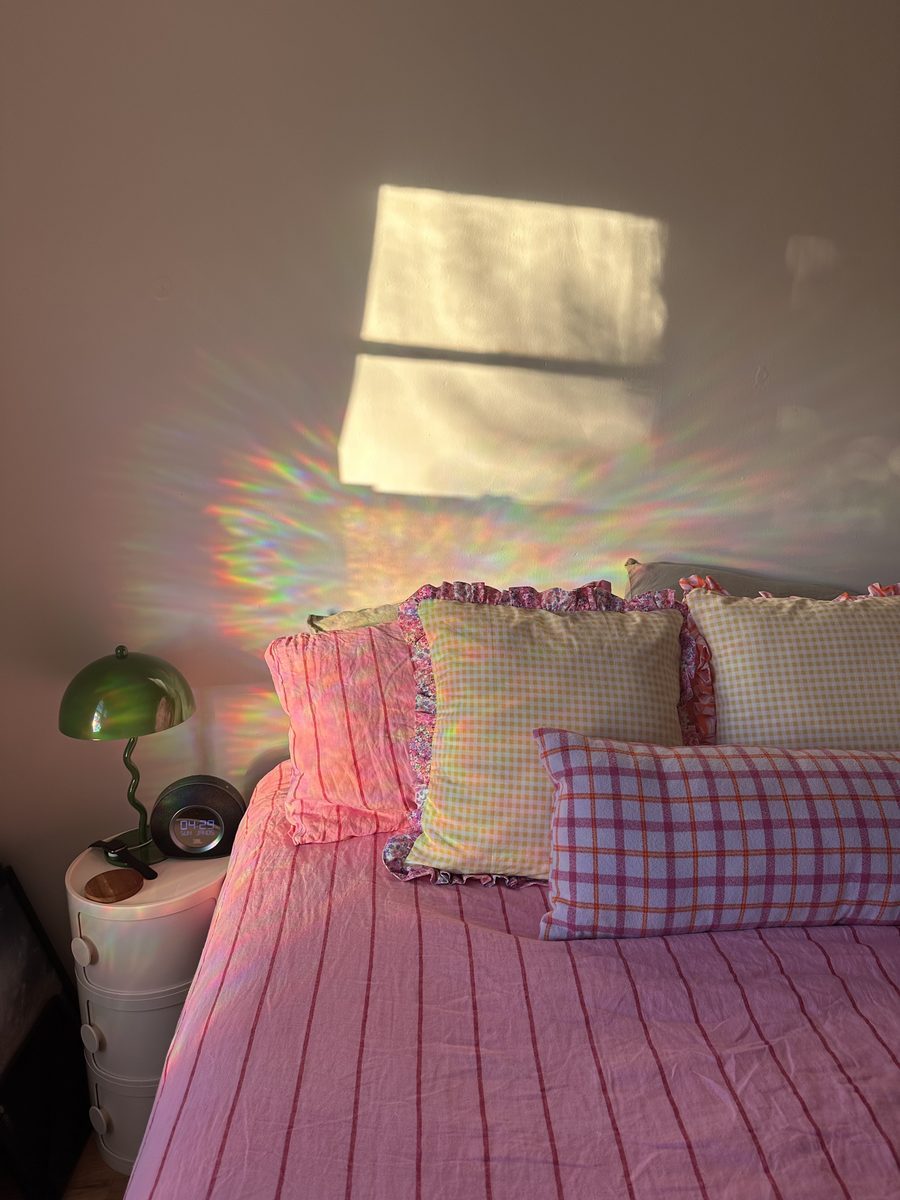
Once you start sewing your own clothes, it's only a matter of time before you start eyeing everything in your home with the same energy. Why buy something when you could make it? That's exactly the spiral I went down — and honestly, I have zero regrets. Home sewing projects are faster than garments, surprisingly satisfying, and they make your space feel genuinely personal in a way that a throw pillow from a big box store just can't.
Here's a roundup of some of my favorite home projects I've made so far.
Pillowcases
Pillowcases were my gateway into home sewing, and I cannot recommend them enough as a starting point. They are dead simple — and the payoff is immediate. You pick a fabric you love, you sew it up in under an hour, and suddenly your bed looks intentional instead of just existing.
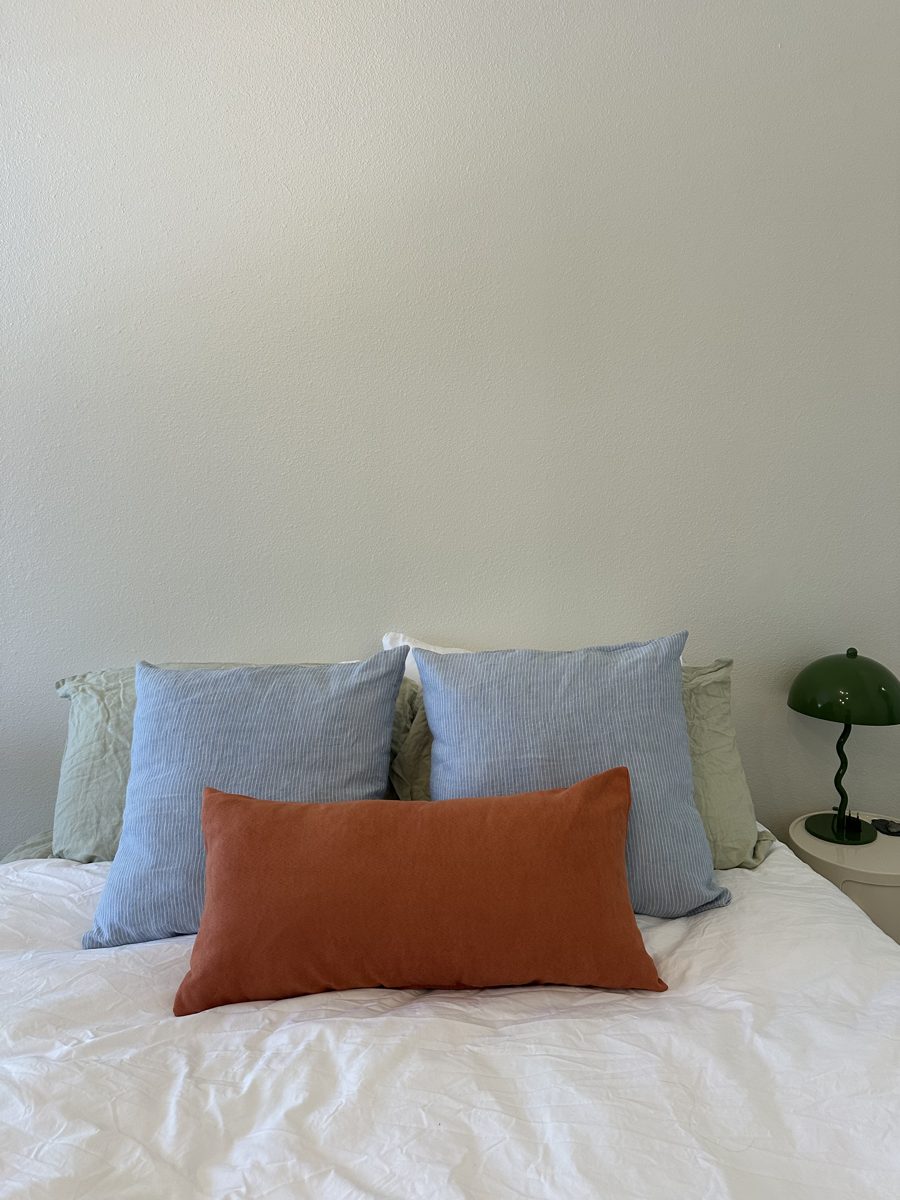
For the construction, there are tons of great tutorials online, but the basic approach is this: measure your pillow insert and add an inch all the way around for seam allowance. One of the easiest closures is an envelope back — instead of a zipper, you cut two overlapping panels for the back that create a pocket opening. No hardware, no fuss. If you're making a traditional bed pillow, look up the burrito roll method — it's a clever inside-out rolling technique that gives you a clean, finished pillowcase with minimal effort, and there are loads of tutorials online that walk you through it step by step.
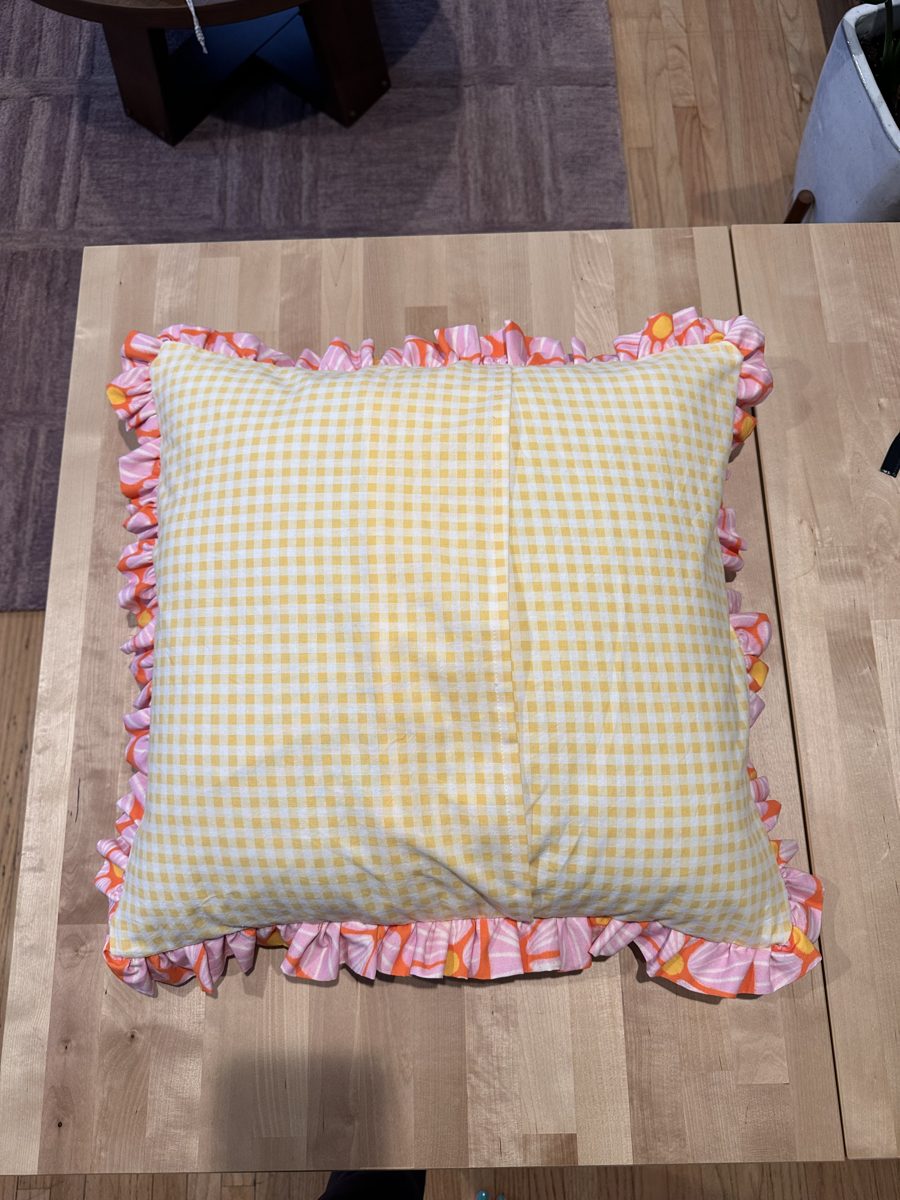
I also made a ruffled version, and it was one of those moments where adding one extra step completely transformed the finished piece. The ruffle takes a bit more time — you need to gather the fabric evenly, which requires patience — but the result is so pretty and feels way more elevated than anything you'd find in a store.
Placemats
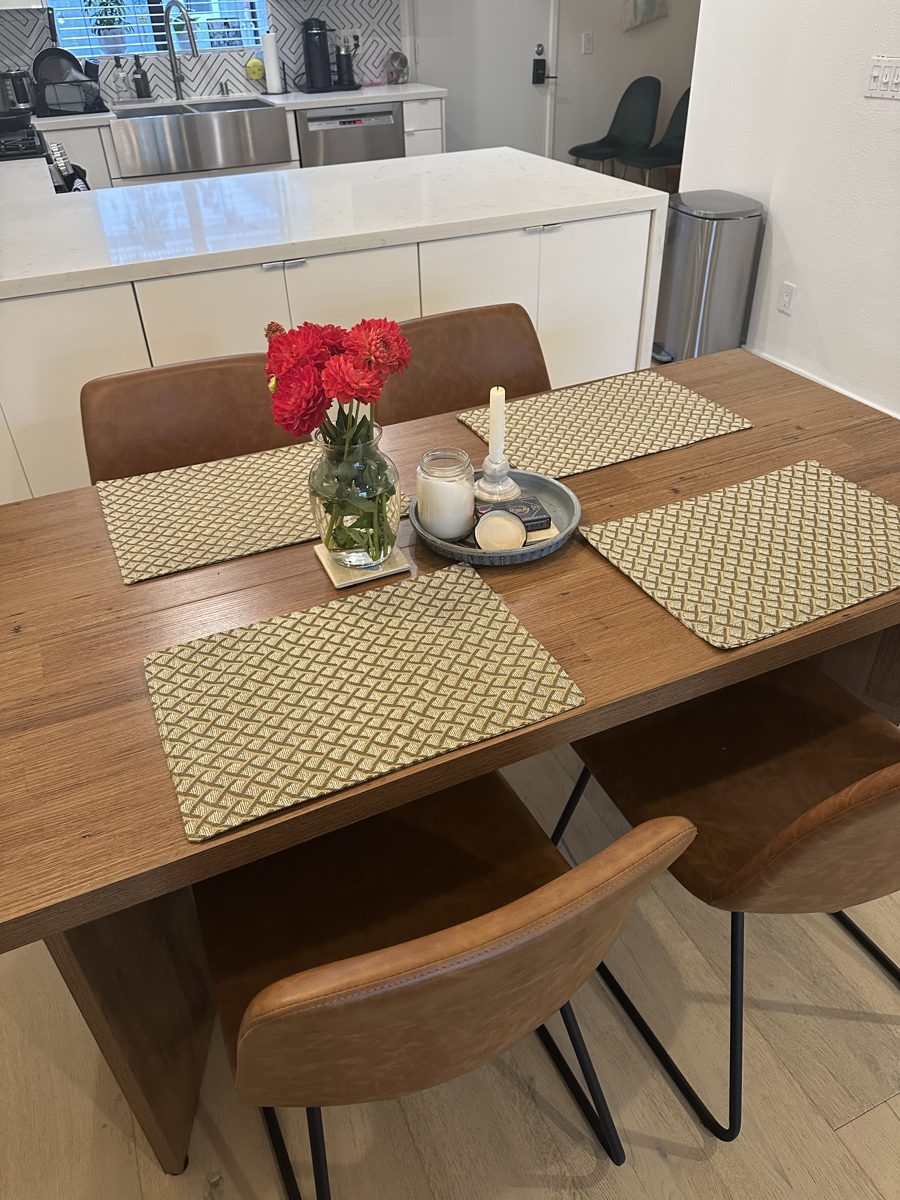
Placemats are another one of those projects that feel almost too easy for how good the result is — and I use mine constantly. The standard finished size is about 12" x 18", so when you're cutting your fabric, just add your seam allowance to each side. If you want something with a little more body and structure (which I'd recommend), add a layer of interfacing before you sew — it makes them feel much more substantial and they'll lie flat on the table the way a proper placemat should.
You can also make yours reversible by using two coordinating fabrics — flip them depending on the season or your mood for double the use out of one project. Either way, press your hems well before topstitching and they'll look polished every time. These are genuinely one of my most-used makes.
The Great Shower Curtain Debate
This one comes with a story. My old apartment had the most beautiful pale yellow vintage bathroom tile — the kind of detail you just can't replicate — and I wanted a shower curtain that felt equally special. Something fun, something that felt like it belonged in that space. The problem is that a shower curtain like that isn't exactly something you can just buy. So I decided to make one. It sounds very ambitious but it's genuinely just a big rectangle with grommets or a rod pocket at the top — so don't let the size intimidate you. The tricky part for me wasn't the sewing. It was the fabric.
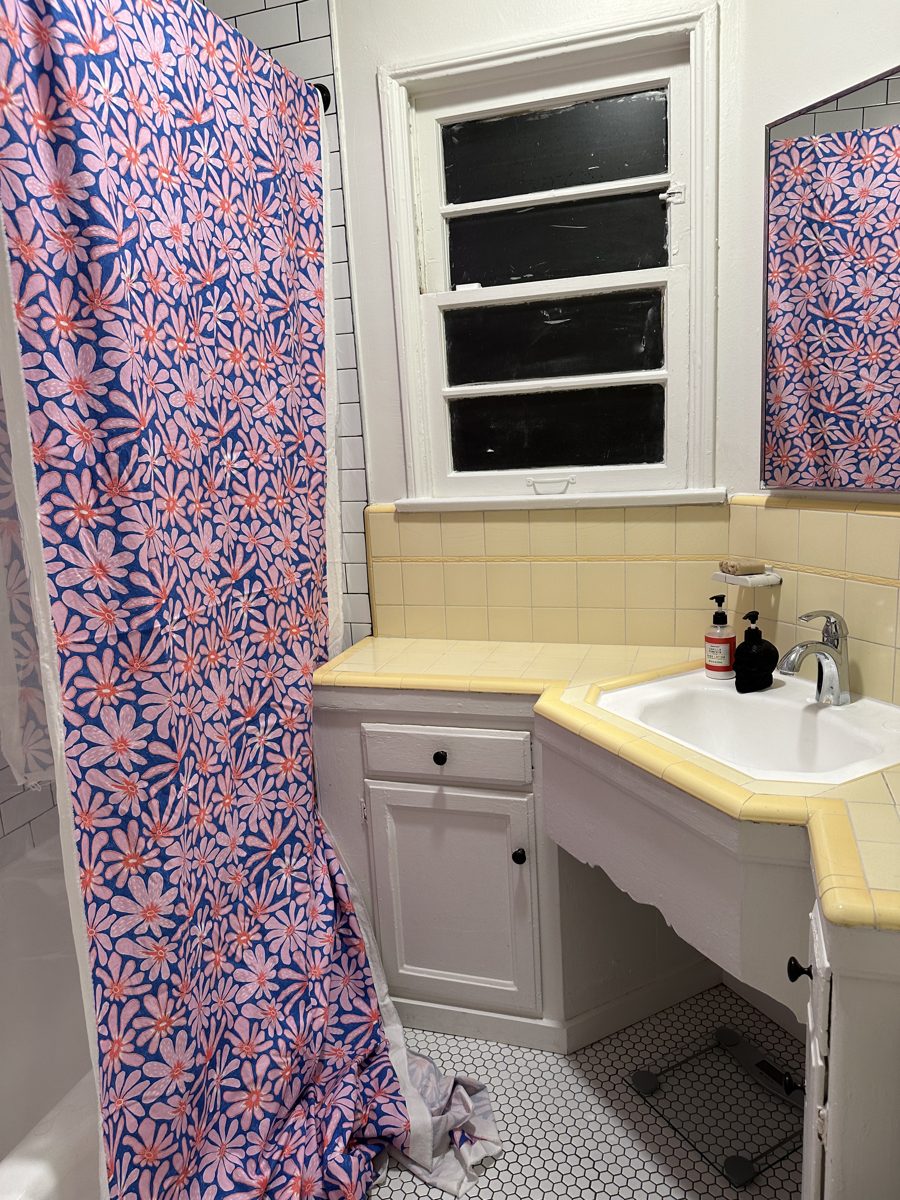
I found both fabrics on Spoonflower, which is where I always go when I want something truly unique — they have thousands of independent designer prints you won't find anywhere else, and it's honestly a dangerous rabbit hole. I narrowed it down to two that I loved equally and absolutely could not choose between. My bathroom has yellow tile, and both options felt like they could work — but I genuinely could not picture it from a swatch. So I did what any completely reasonable person would do: I bought both. My logic was that I'd be able to see them in the actual space and make a proper decision, and if one clearly won, I could use the other fabric for something else. Chaotic? Slightly. But I stand by it.
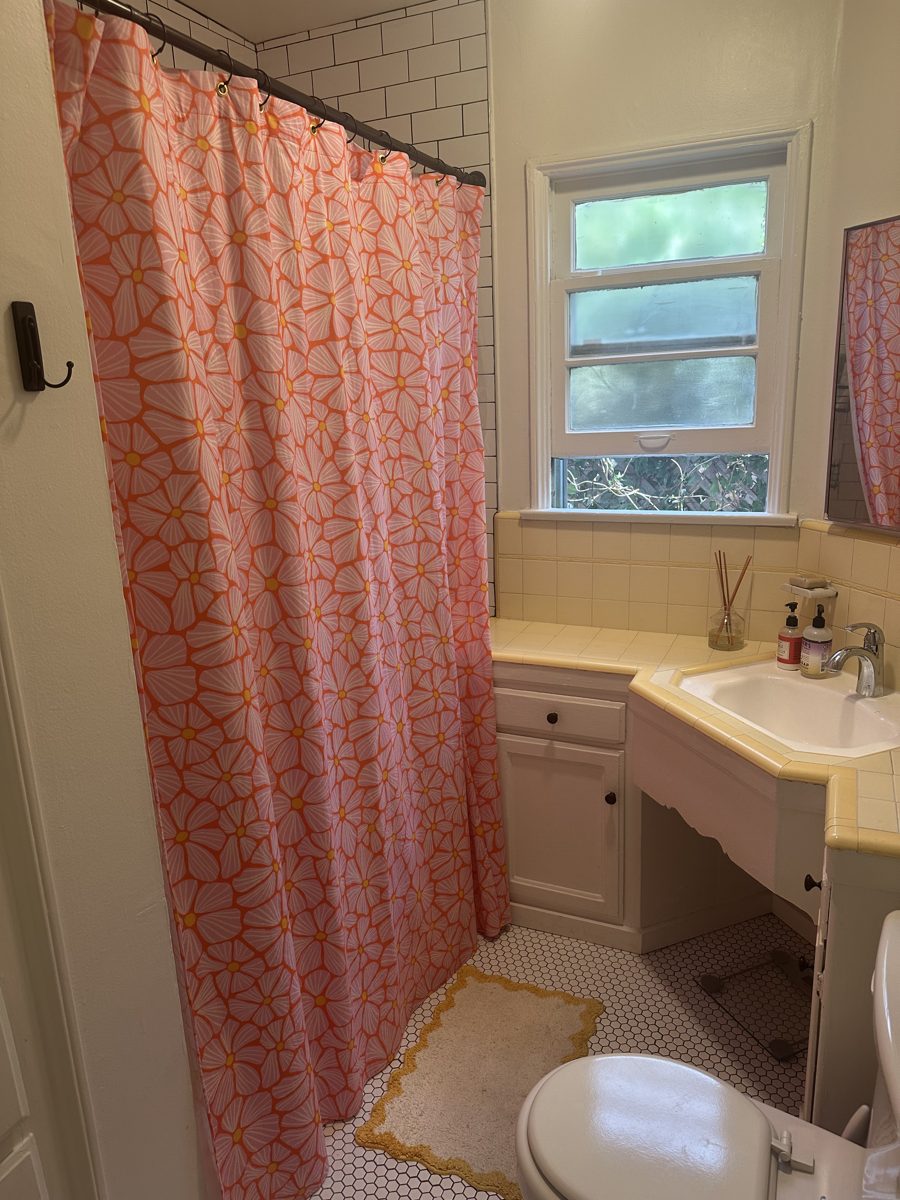
The winner went up in the bathroom and I am genuinely so proud of how it turned out. It fits the space perfectly, the length is exactly right, and it looks so good with the yellow tile. That said — full transparency — in hindsight, buying all that fabric was not exactly budget-friendly. A regular shower curtain from the store would have been significantly cheaper. But you know what? My bathroom has style now, and that's priceless. Mostly.
Tie-Dye Napkins
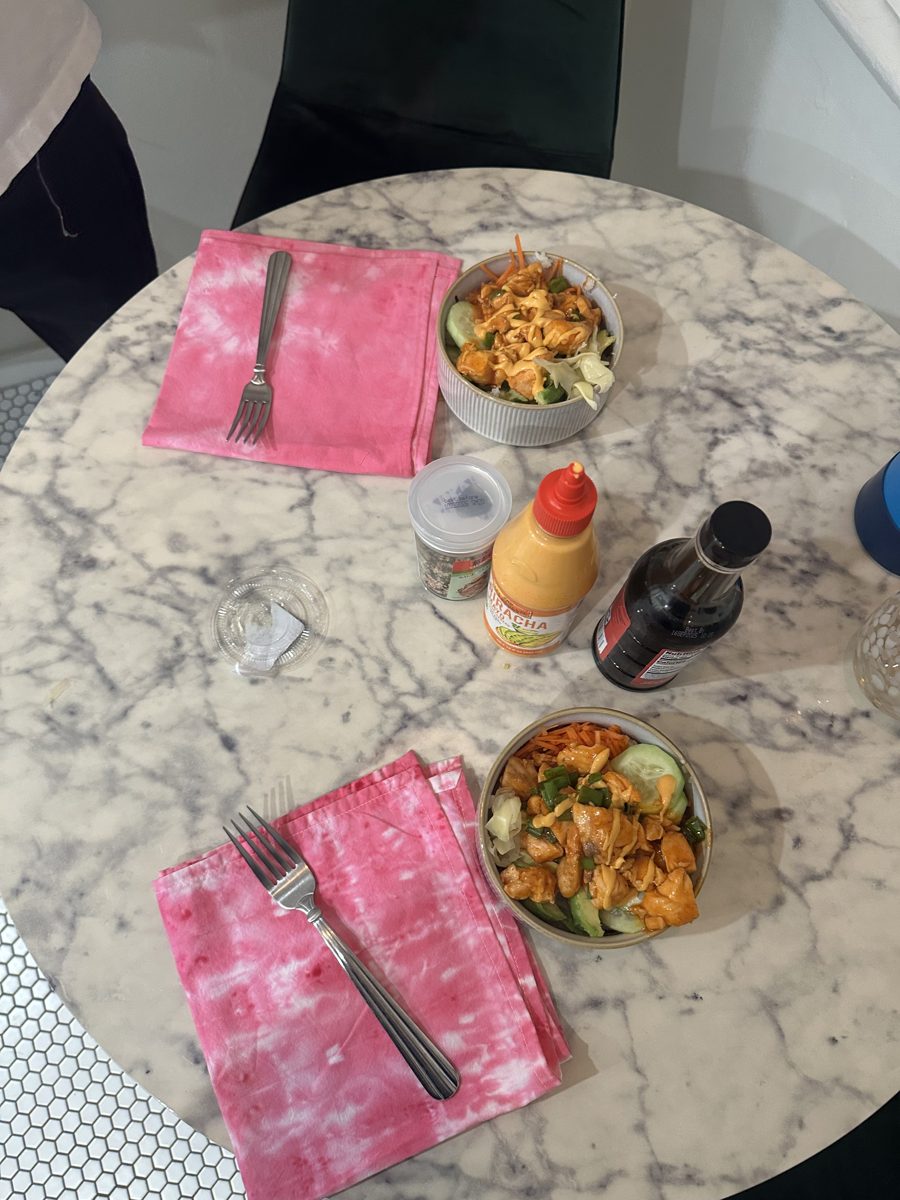
Cloth napkins are one of the simplest things you can sew and a really lovely way to reduce waste at the same time. The standard size is about 18" x 18" — just cut your squares, fold and press a small hem on all four sides, and topstitch all the way around. That's genuinely it. A beginner could knock out a set of four in an afternoon.
I chose to tie-dye mine for a fun pop of color, and that pink came out even better than I hoped. It takes what could be a very plain project and makes it feel like something. There's something about sitting down to a meal with napkins you made — and dyed — yourself that makes even a regular Tuesday dinner feel like more of an occasion. They've become a permanent fixture on our table.
Door Stop
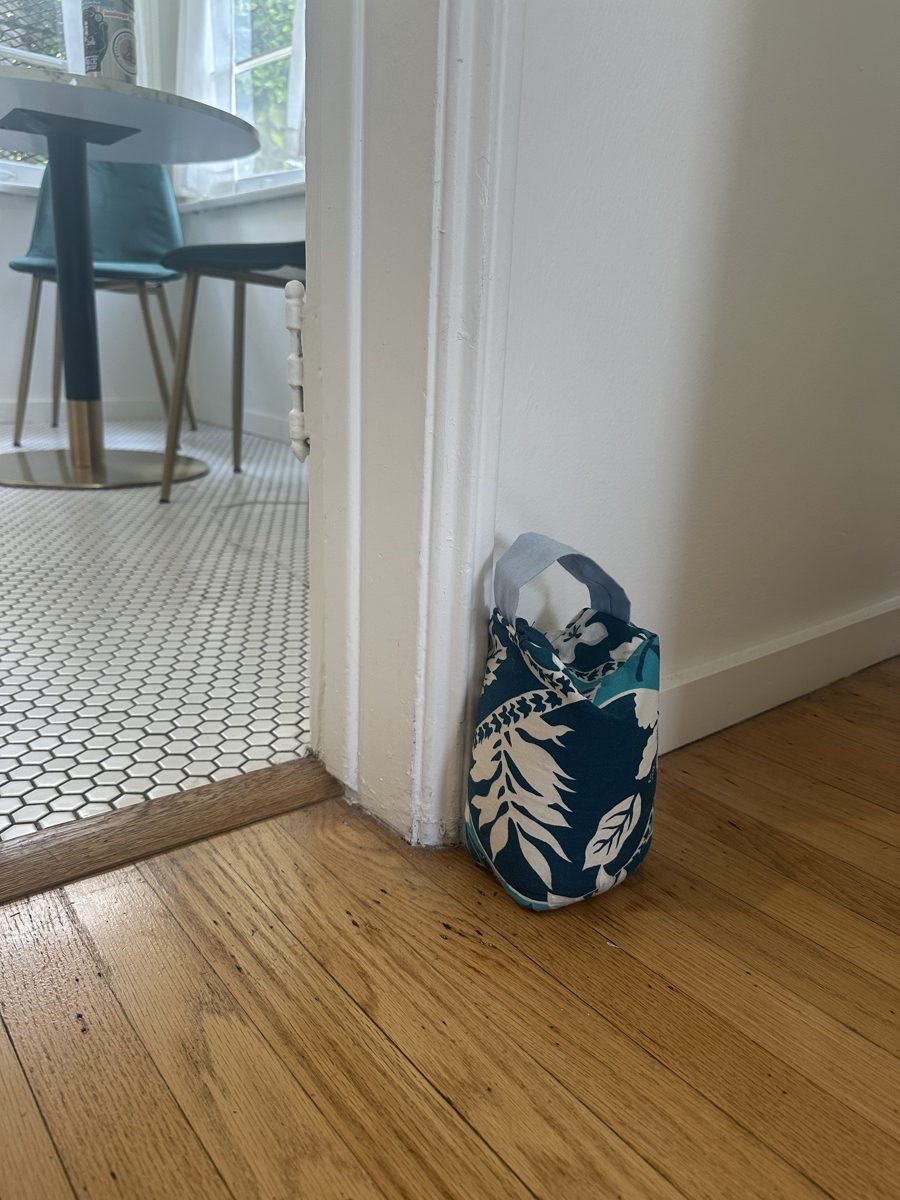
And last but not least — something you'd never think to sew but absolutely should: a door stop. It's one of the smallest, most practical things you can make, and it solves a very real problem. No more door handles leaving marks in the wall. I filled mine with rice, which gives it just the right amount of weight, and added a little loop handle at the top so it's easy to move around. I used a teal floral fabric I'd been holding onto and it is honestly so cute sitting in the doorway.
It's the kind of project that takes maybe 30 minutes, uses up a small scrap of fabric, and makes you feel like you've got your home completely figured out. Every time I prop a door open with it I feel a small, completely unreasonable amount of pride. That's home sewing for you.
Quick Measurements & Tips
- Pillowcases: Measure your pillow insert and add 1" all around for seam allowance. Use an envelope back closure instead of a zipper — much easier, no hardware needed
- Placemats: Cut to roughly 13" x 19" (finished size ~12" x 18"). Add interfacing for structure. Make them reversible to get double the use out of one project
- Shower curtain: Standard size is 72" x 72" — just a large hemmed rectangle with grommets or a rod pocket at the top. Choose your fabric wisely; it adds up!
- Napkins: Cut 19" x 19" squares (finished ~18" x 18"). Fold, press, and topstitch a hem on all four sides. A set of four sews up in an afternoon
- Door stop: Small weighted bag filled with rice. Uses up a scrap of fabric and saves your walls from door handle marks
If you're a garment sewist who hasn't tried home projects yet, I really encourage you to give one a go. The skills transfer completely, the projects are low-pressure, and there is nothing quite like walking into a room and knowing you made the things in it. Tag me on Instagram @DesignsbyERB if you make something — I'd love to see it.