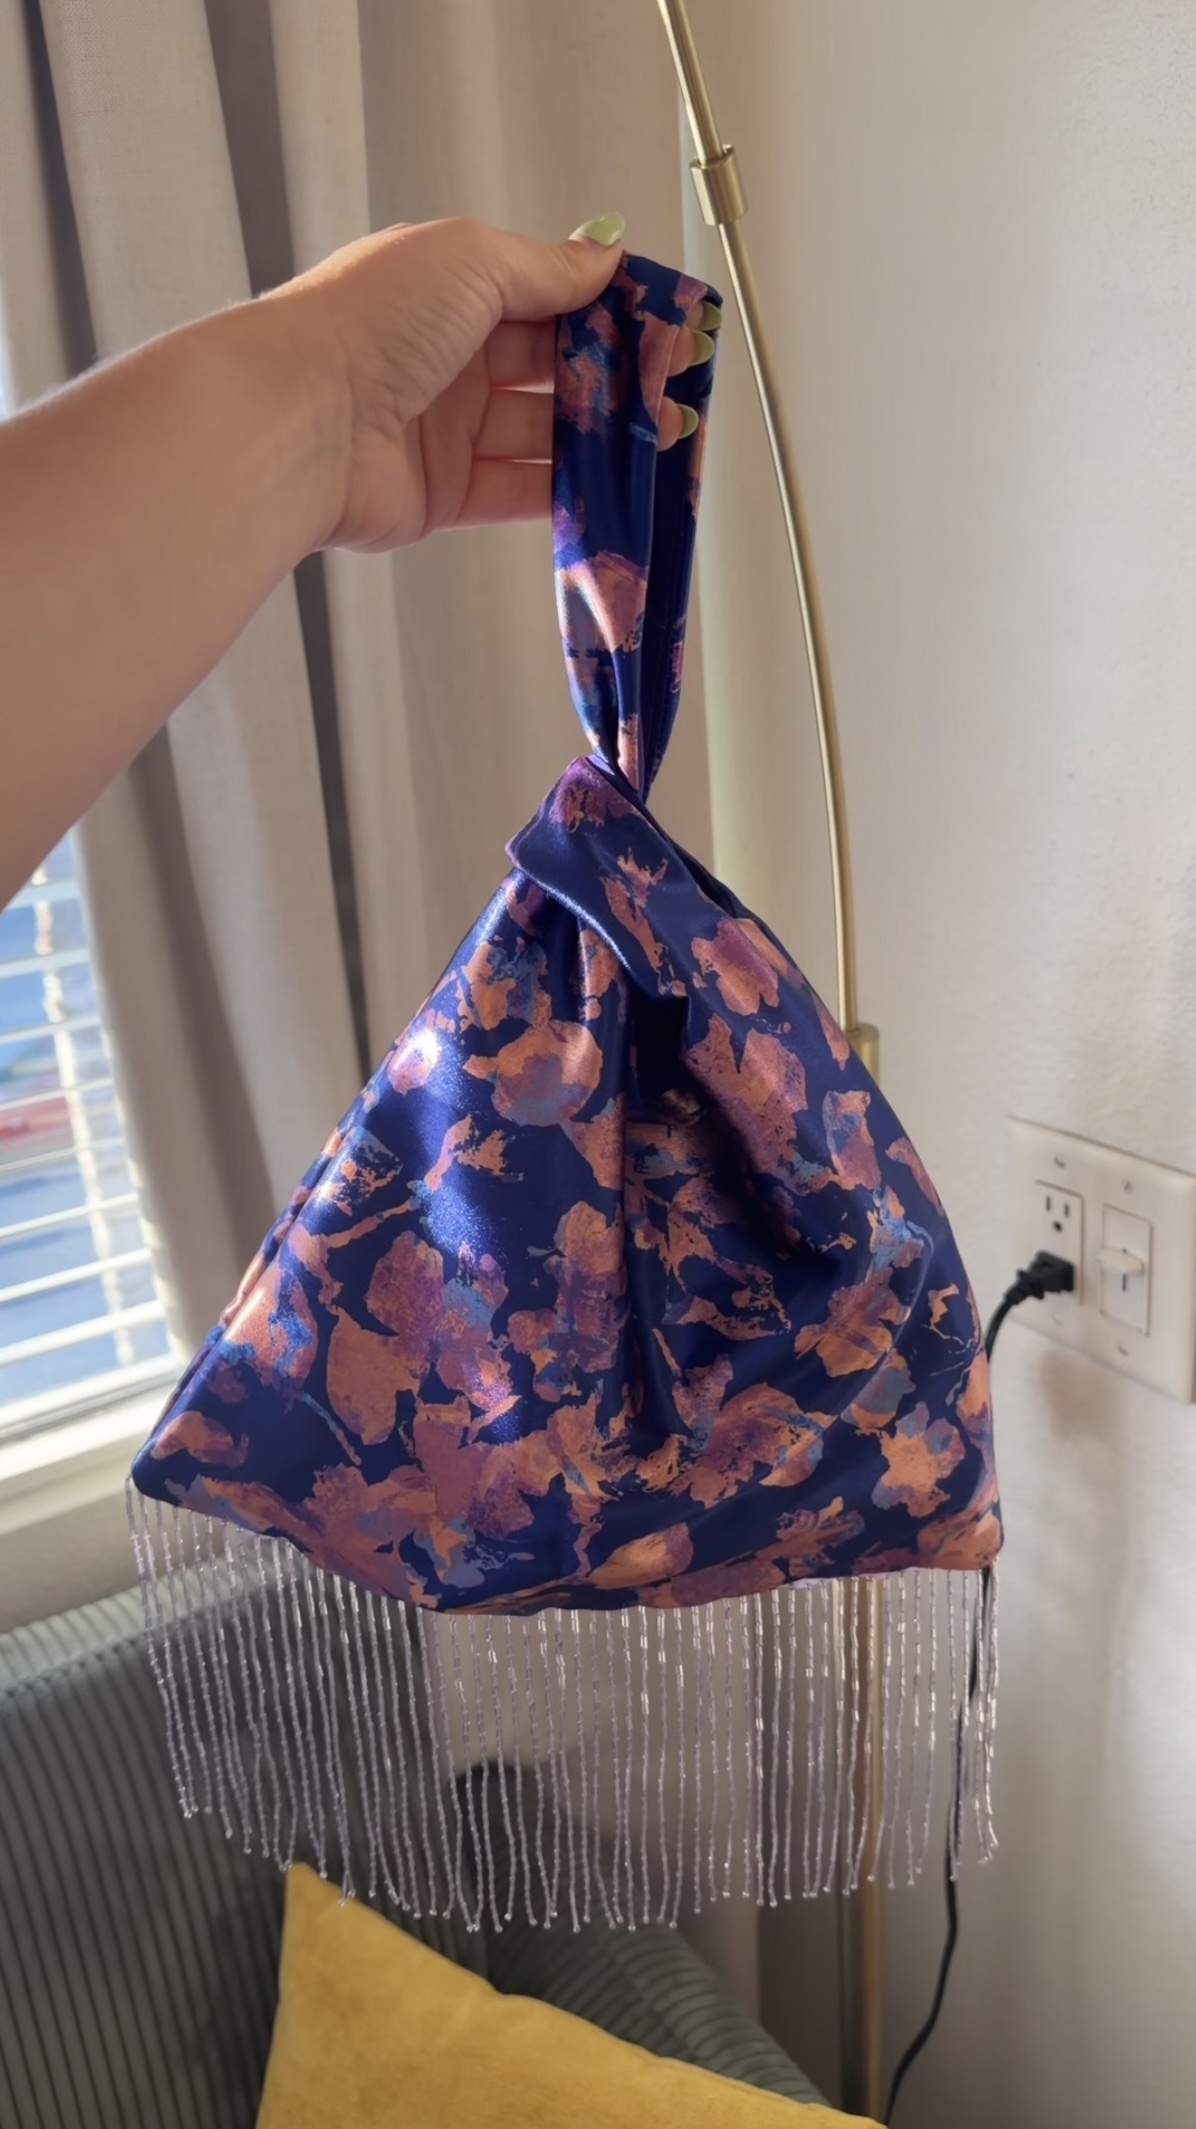
I've been seeing Japanese knot bags everywhere lately. On TikTok, on Instagram, in my For You page constantly. And the ones I kept seeing weren't just the classic shape, they had something extra: beaded trim along the bottom or the sides, really colorful statement fabric, fringe. That's the version I wanted to make.
I finally did it, and honestly it took me about 30 to 45 minutes. I was really surprised by how quick it was.
The Fabric
I already had something in mind before I even started looking for a tutorial. I have this really pretty fabric I picked up from the remnant rack at Joann's a while back. It's kind of a purple, pinkish orange metallic, and I'm genuinely not sure what kind of fabric it is. It's not brocade, it's not cotton. I just saw it on the rack and grabbed it because I knew I'd find a use for it eventually. I had about a yard of it sitting in my stash.
The Trim Shopping Trip
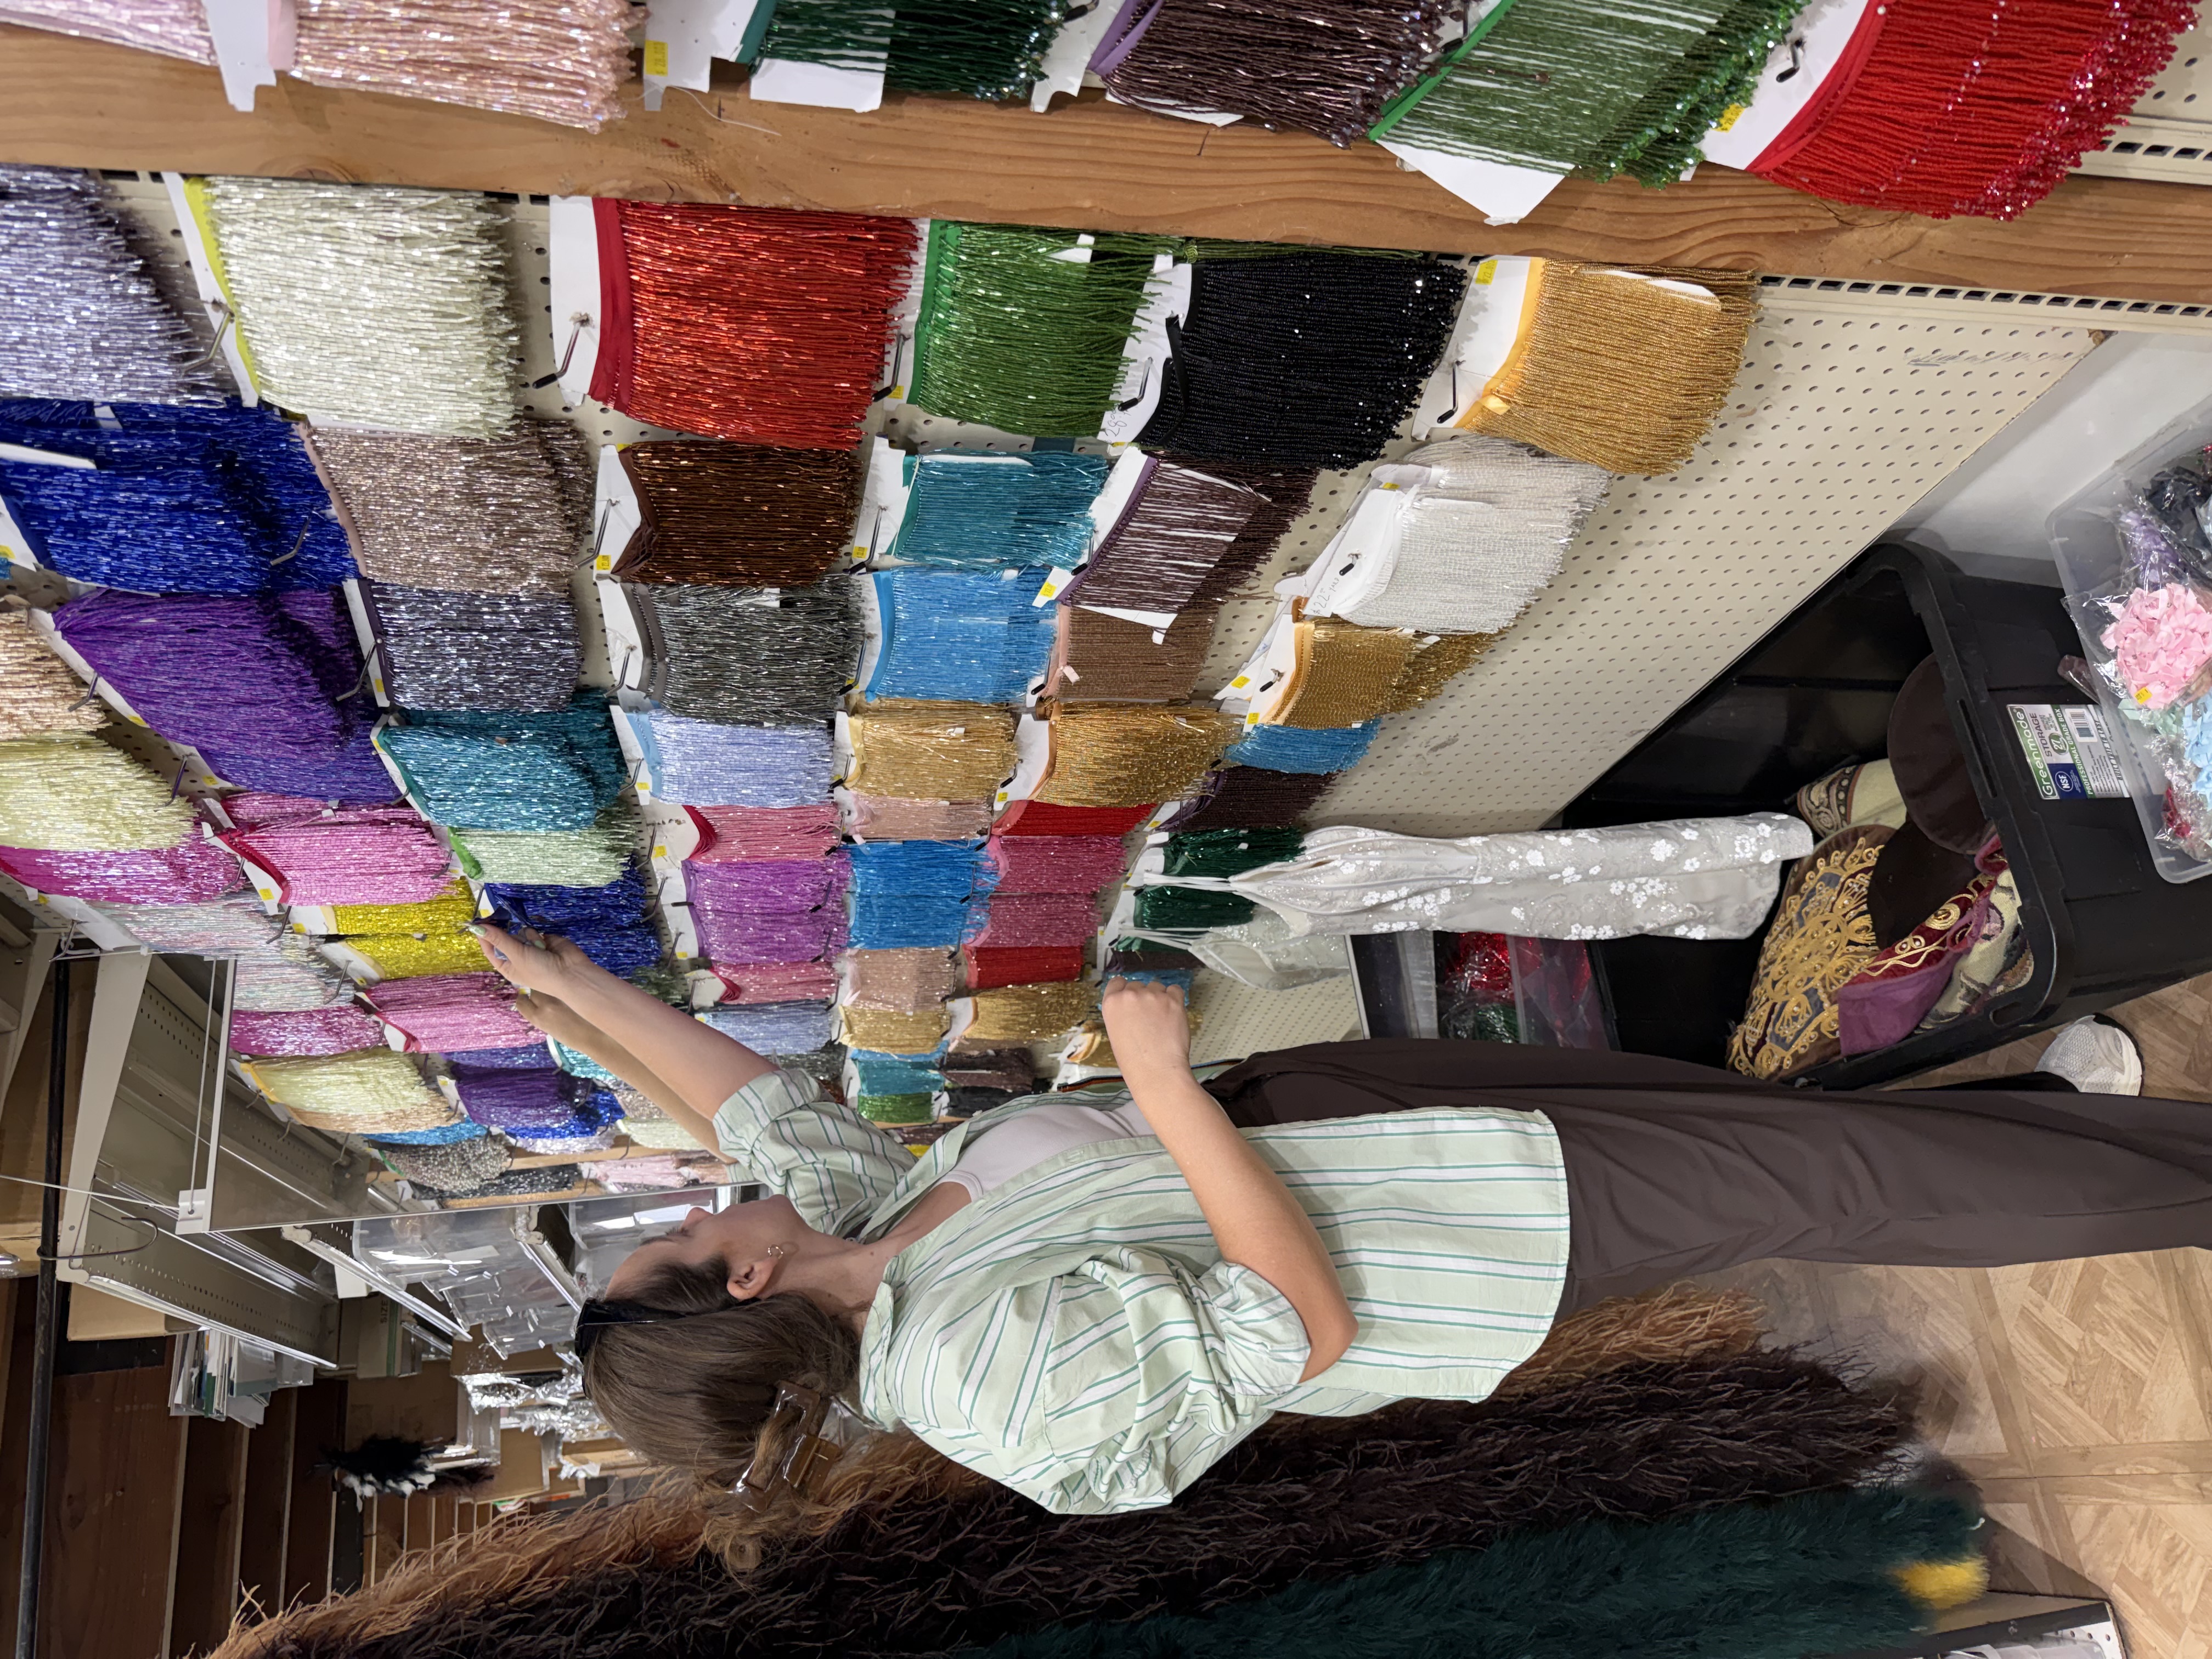
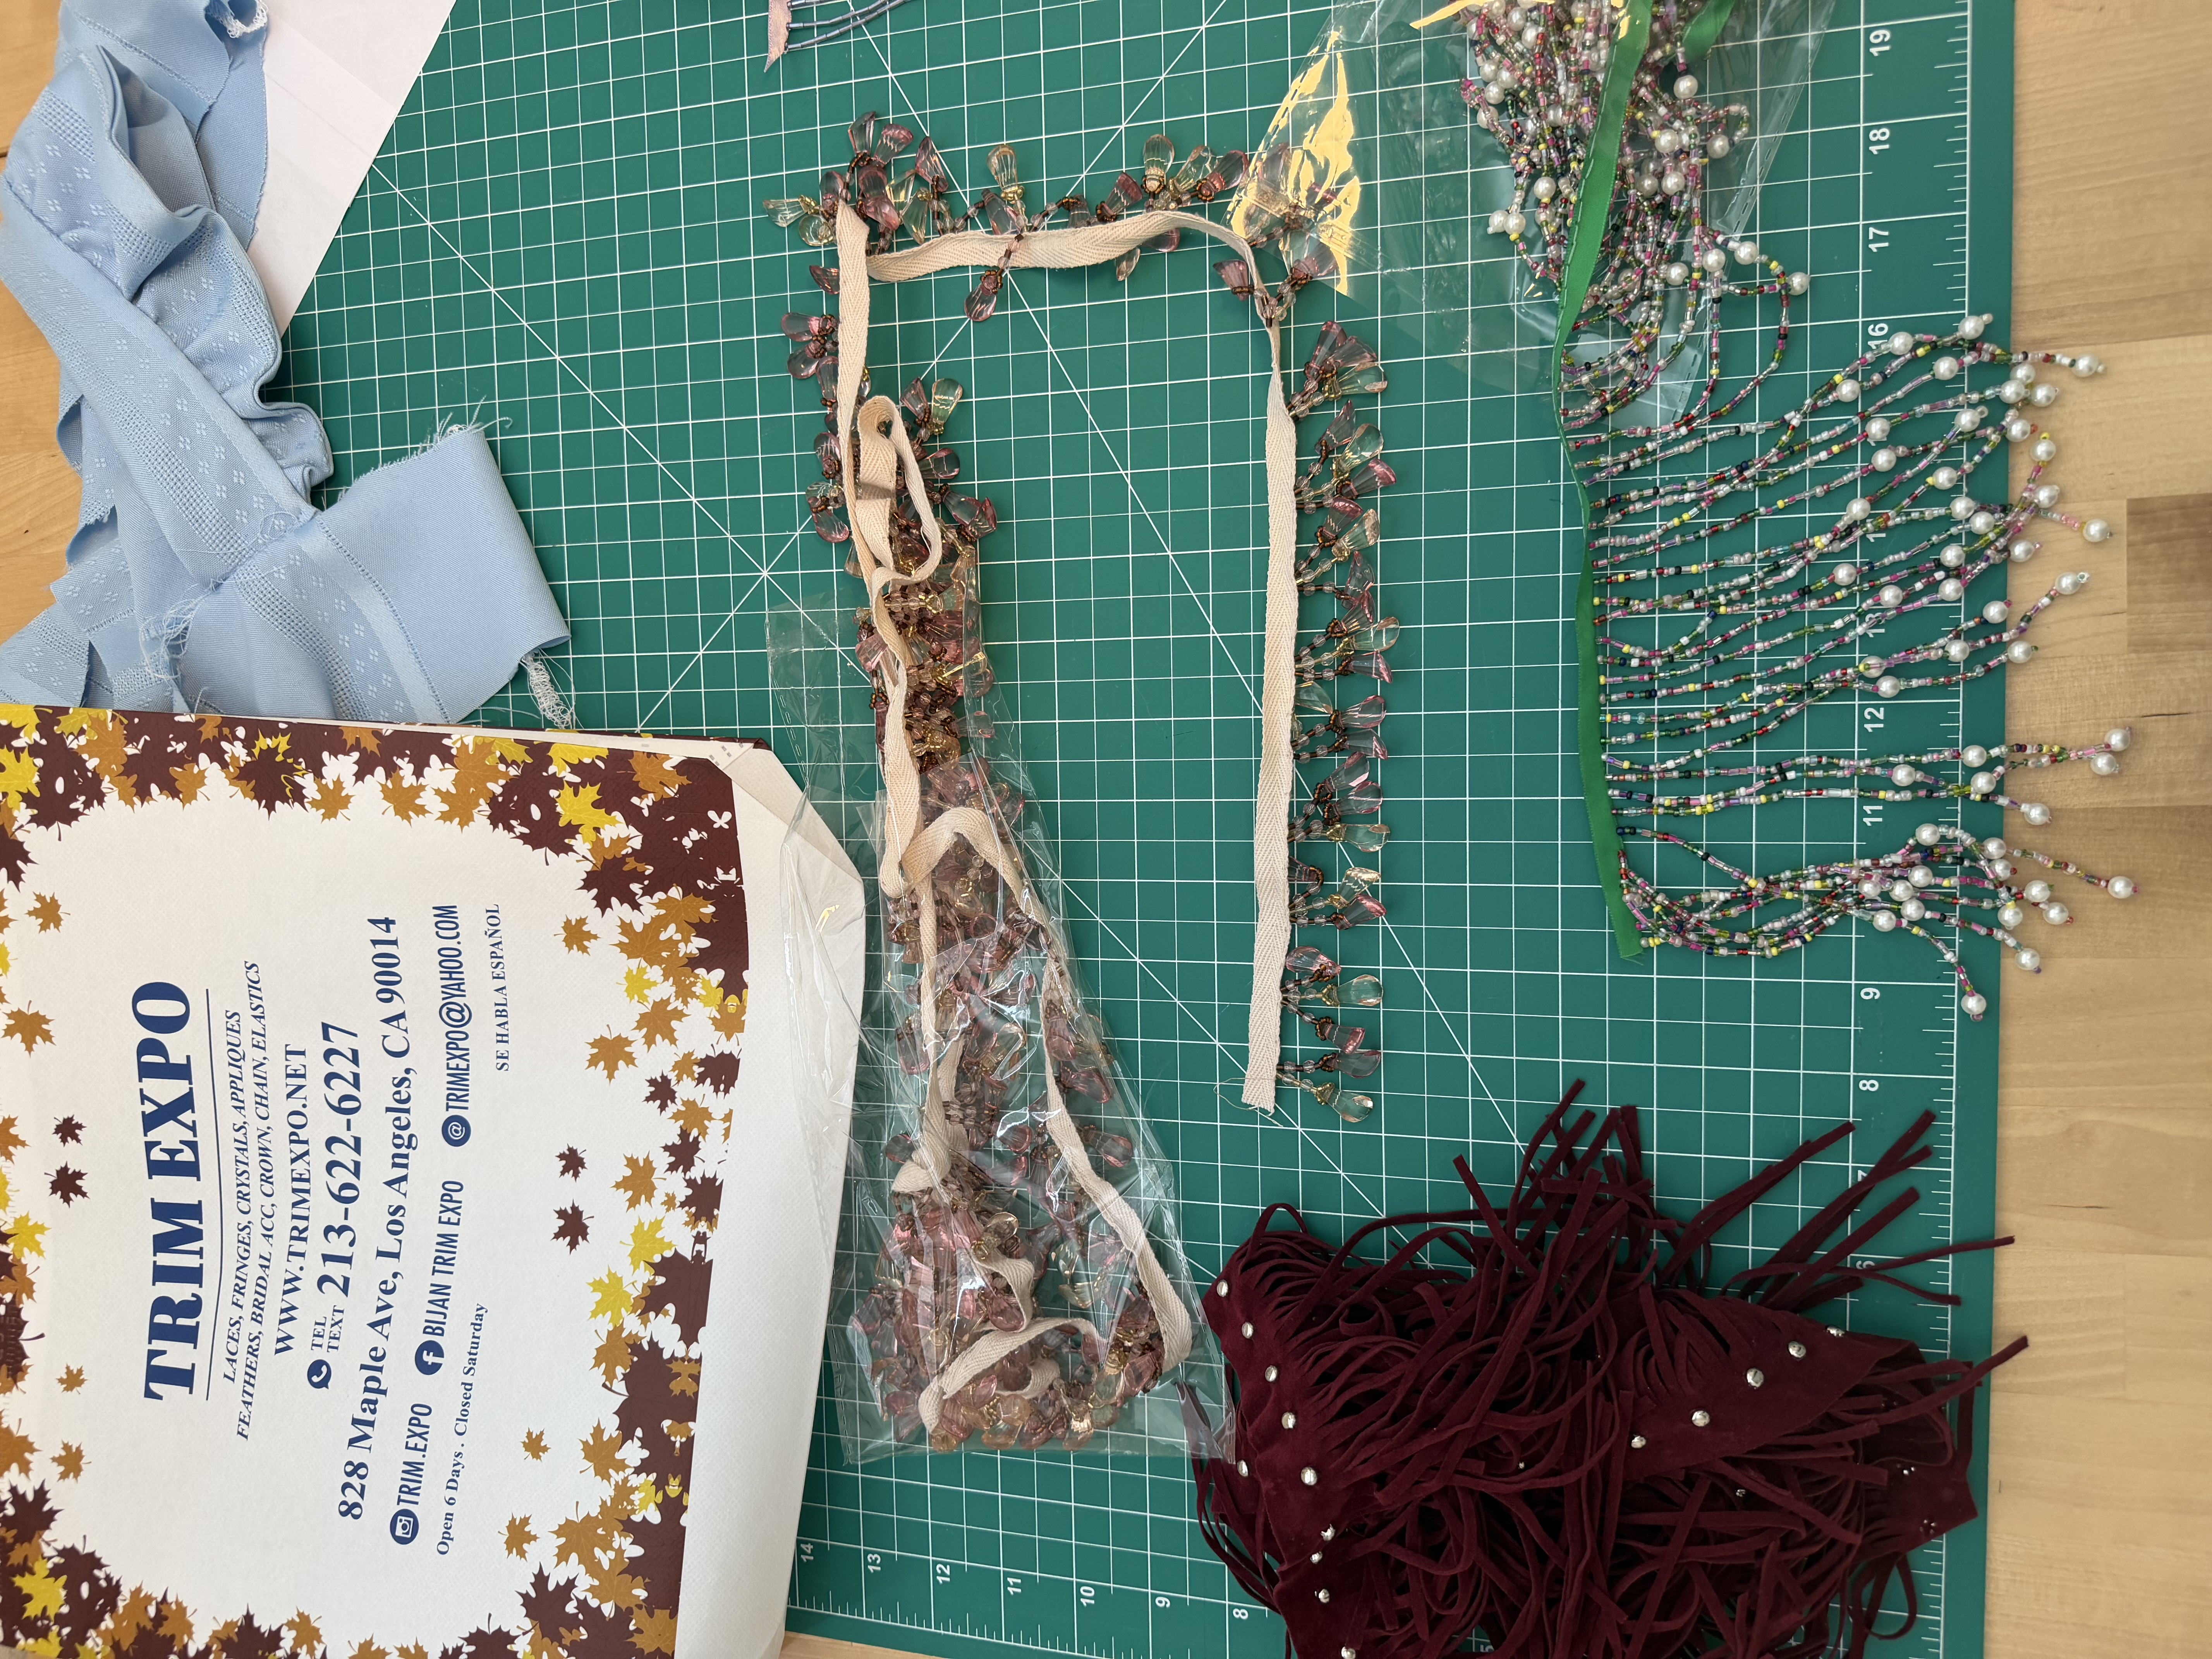
Once I had my fabric in mind, I needed trim. I took some swatches with me and headed to the fashion district in downtown LA. I'd seen some creators post about Trim Expo on TikTok, so that's where I started.
There were so many options. I definitely bought more than I needed, but I came home with four or five different trims and I'm not even a little sorry about it. For the purple metallic fabric specifically, I found this really pretty lavender beaded trim that I knew right away was the one. I also picked up some suede fringe that I'm really excited to try on a future bag.
The Tutorial I Used
For the pattern, I followed a tutorial from Claire over on Instagram at @thesorbelloedit. She has a quick video on how she made hers and shares the pattern measurements in it too. I traced out my own pattern from her measurements and made a couple small tweaks, but her tutorial is really clear and easy to follow.
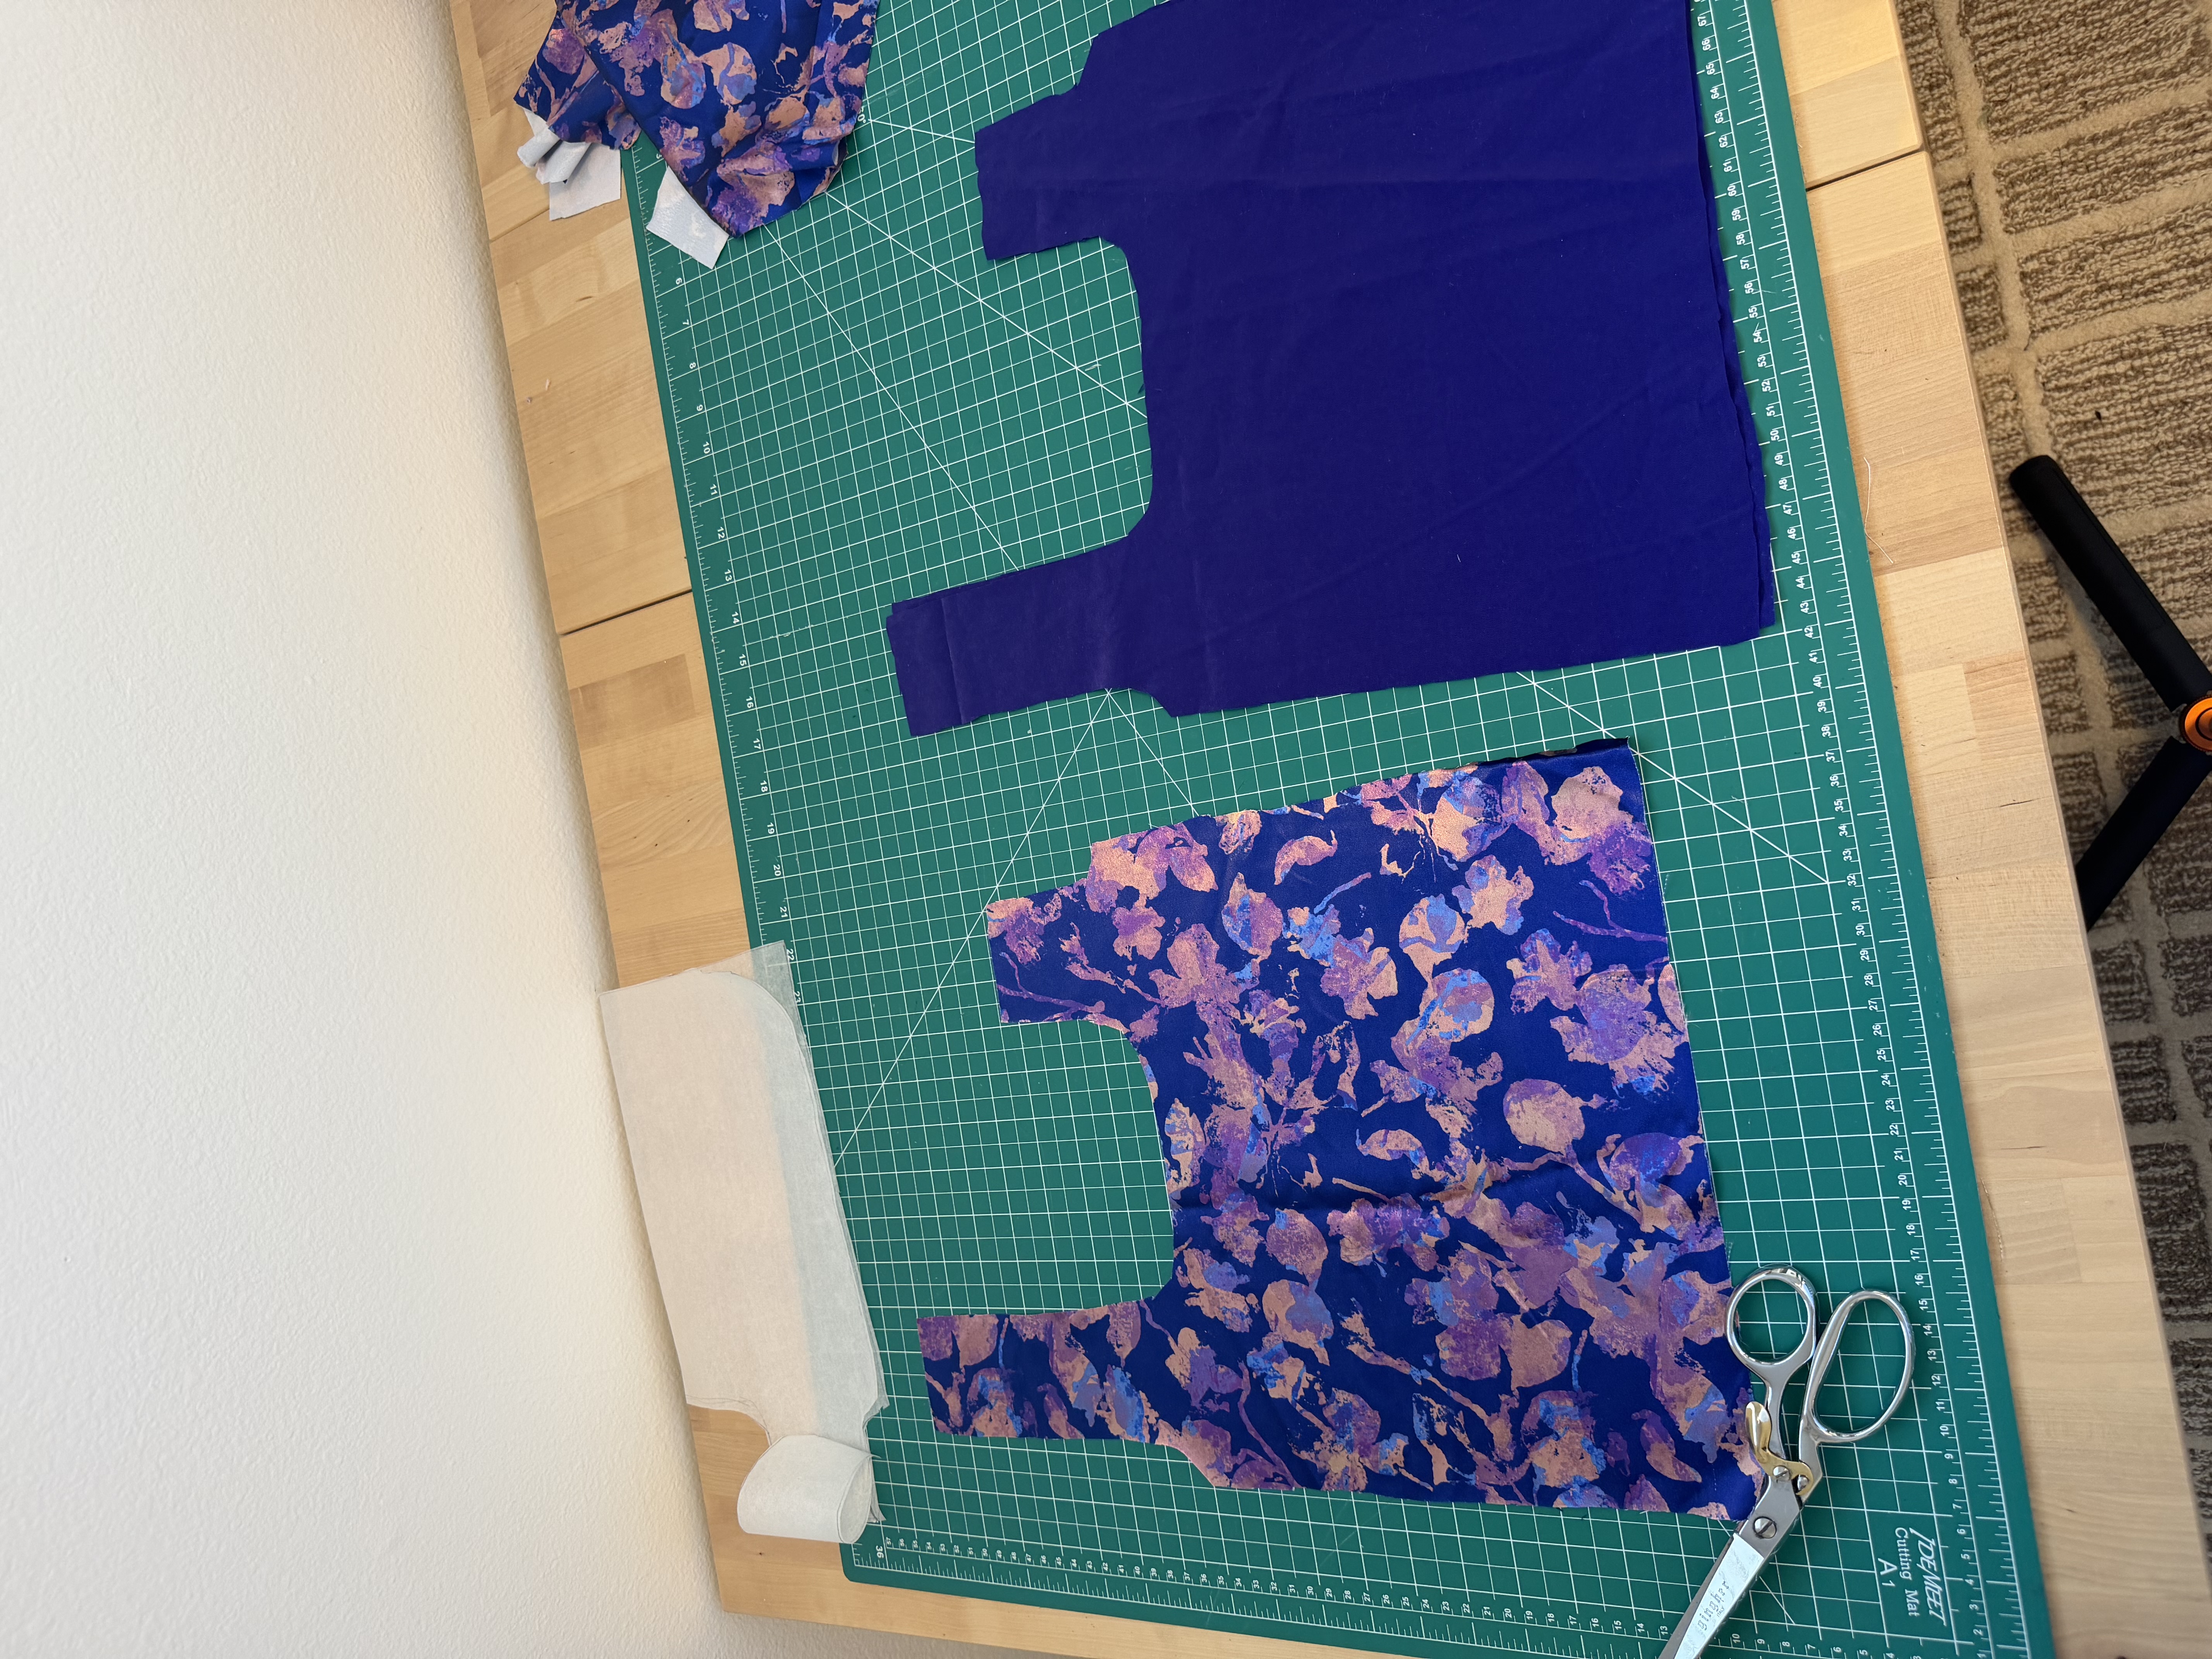
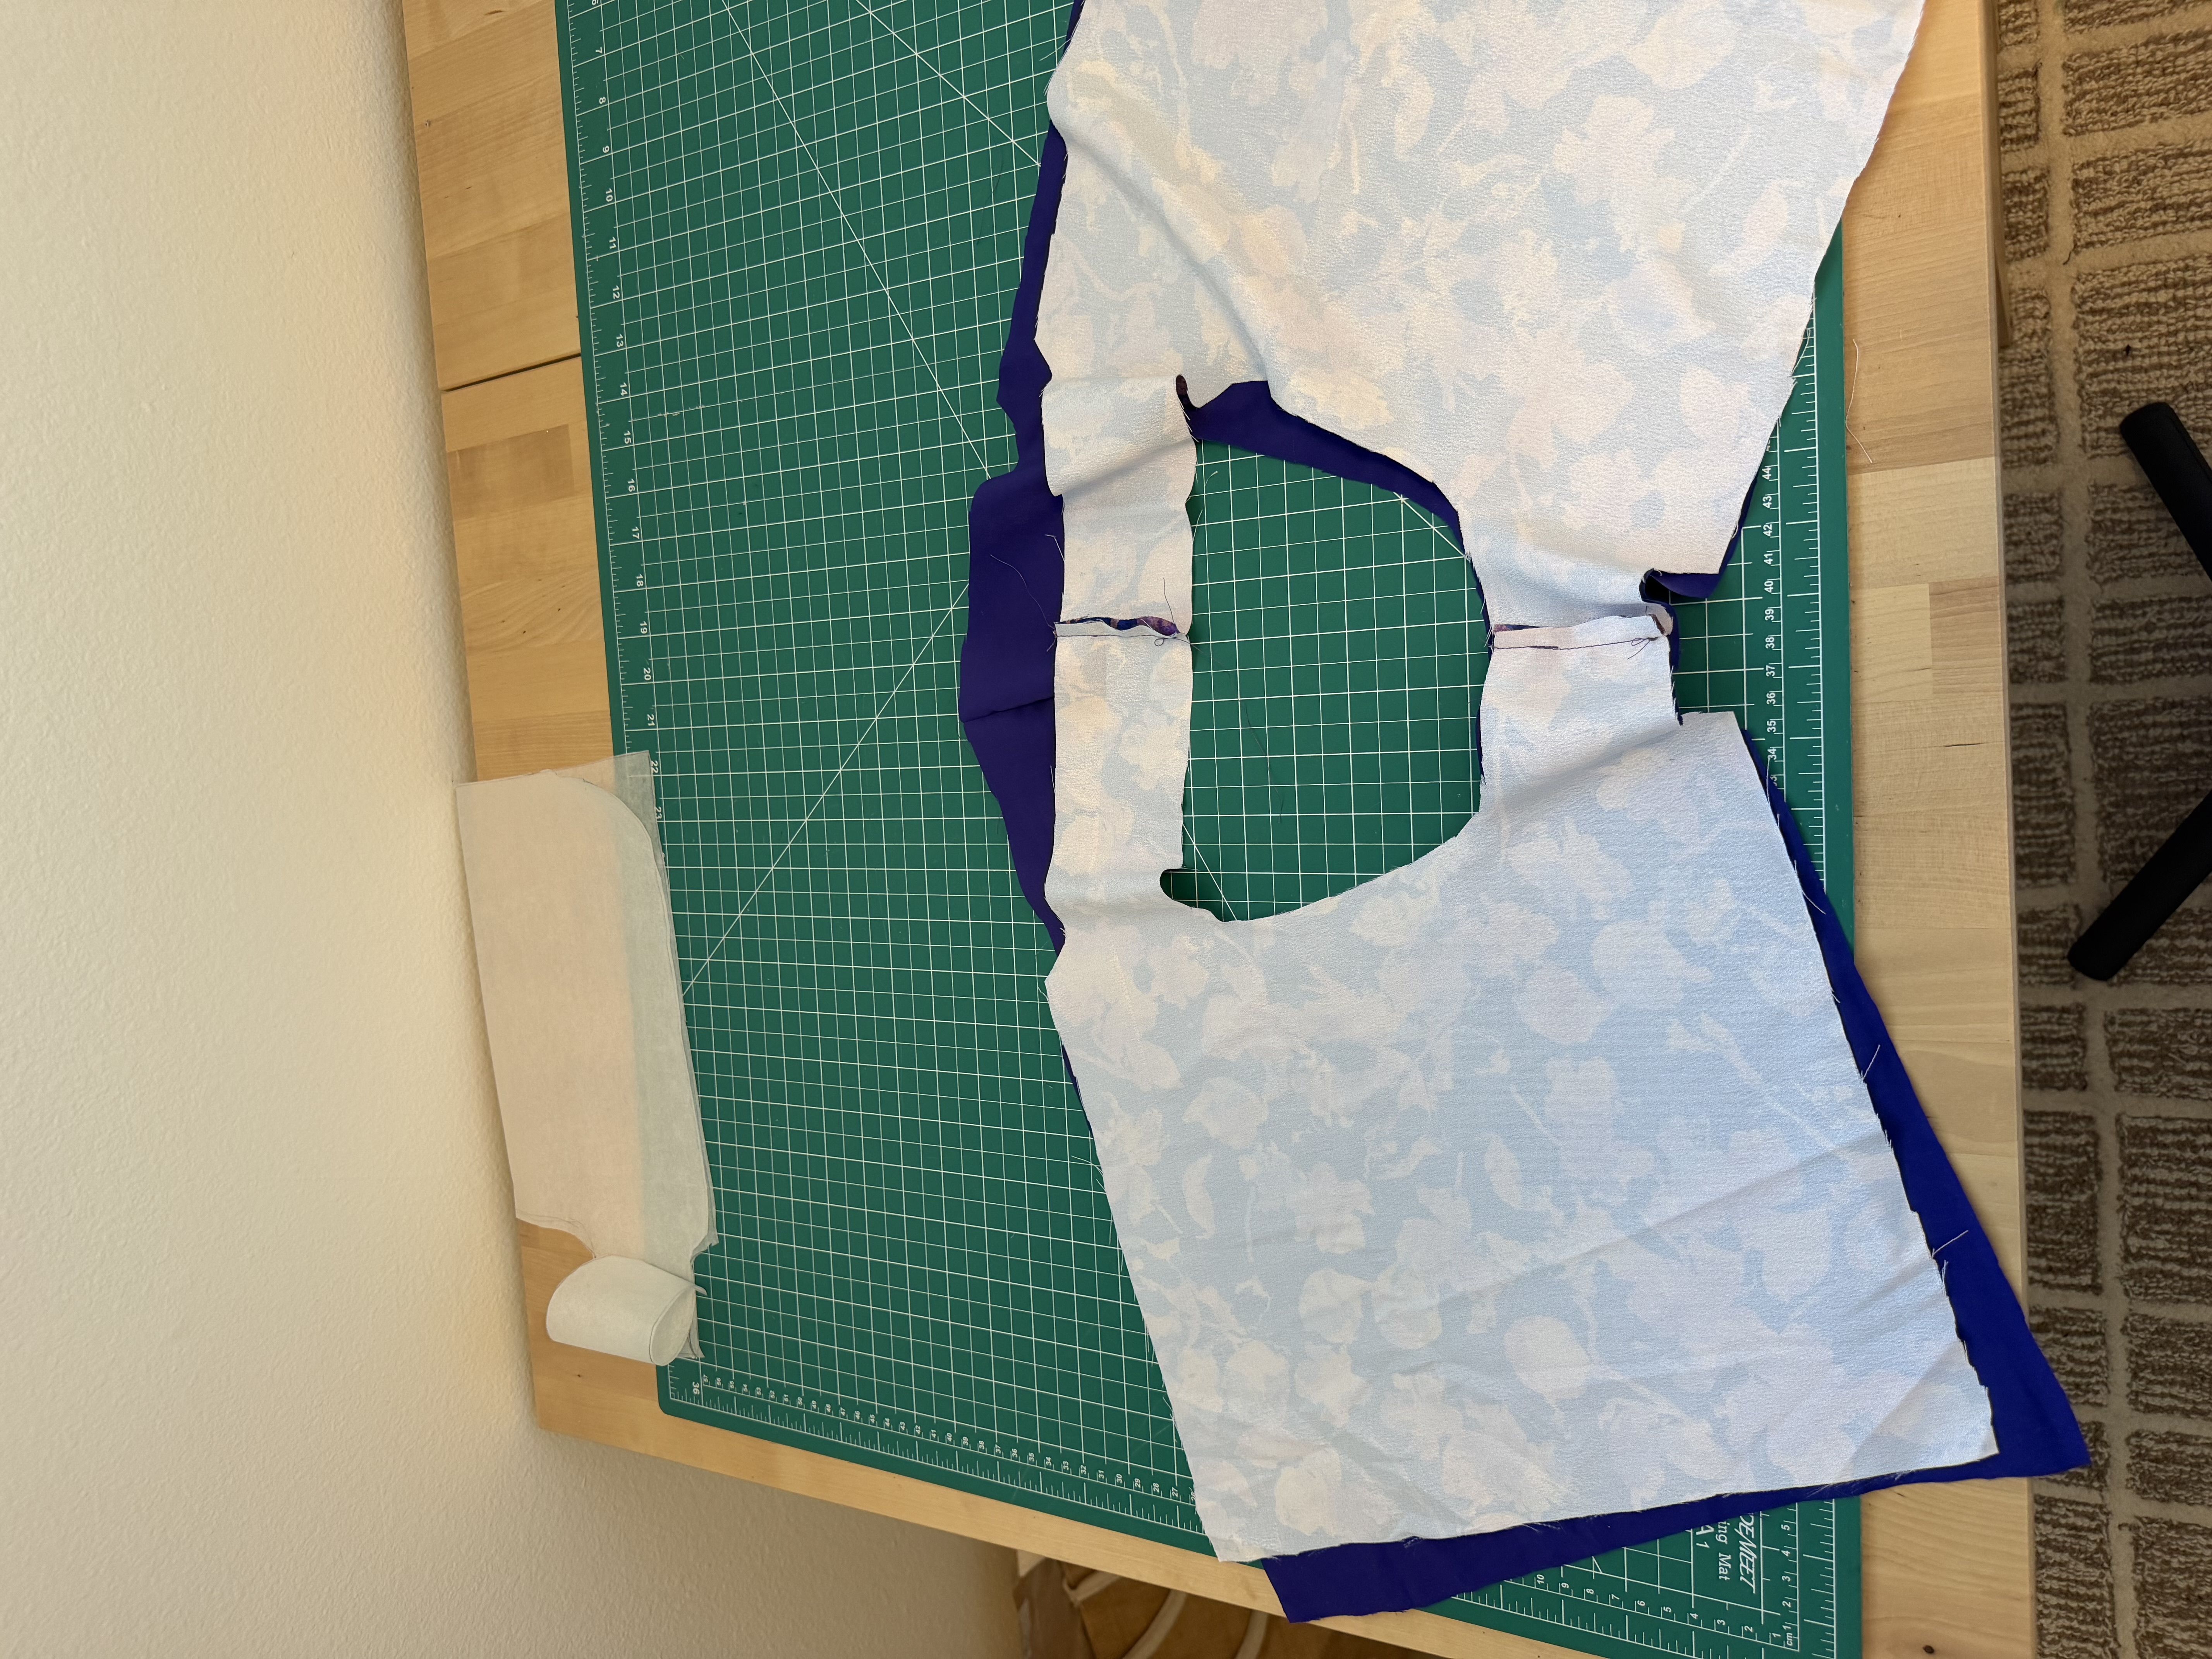
The basic construction is pretty simple. You start with your lining and main piece, then sew the straps together right sides together. Next you sew the inner circle with the lining and main fabric right sides together, do the burrito method on both handle sides, sew around the edges, and flip everything out.
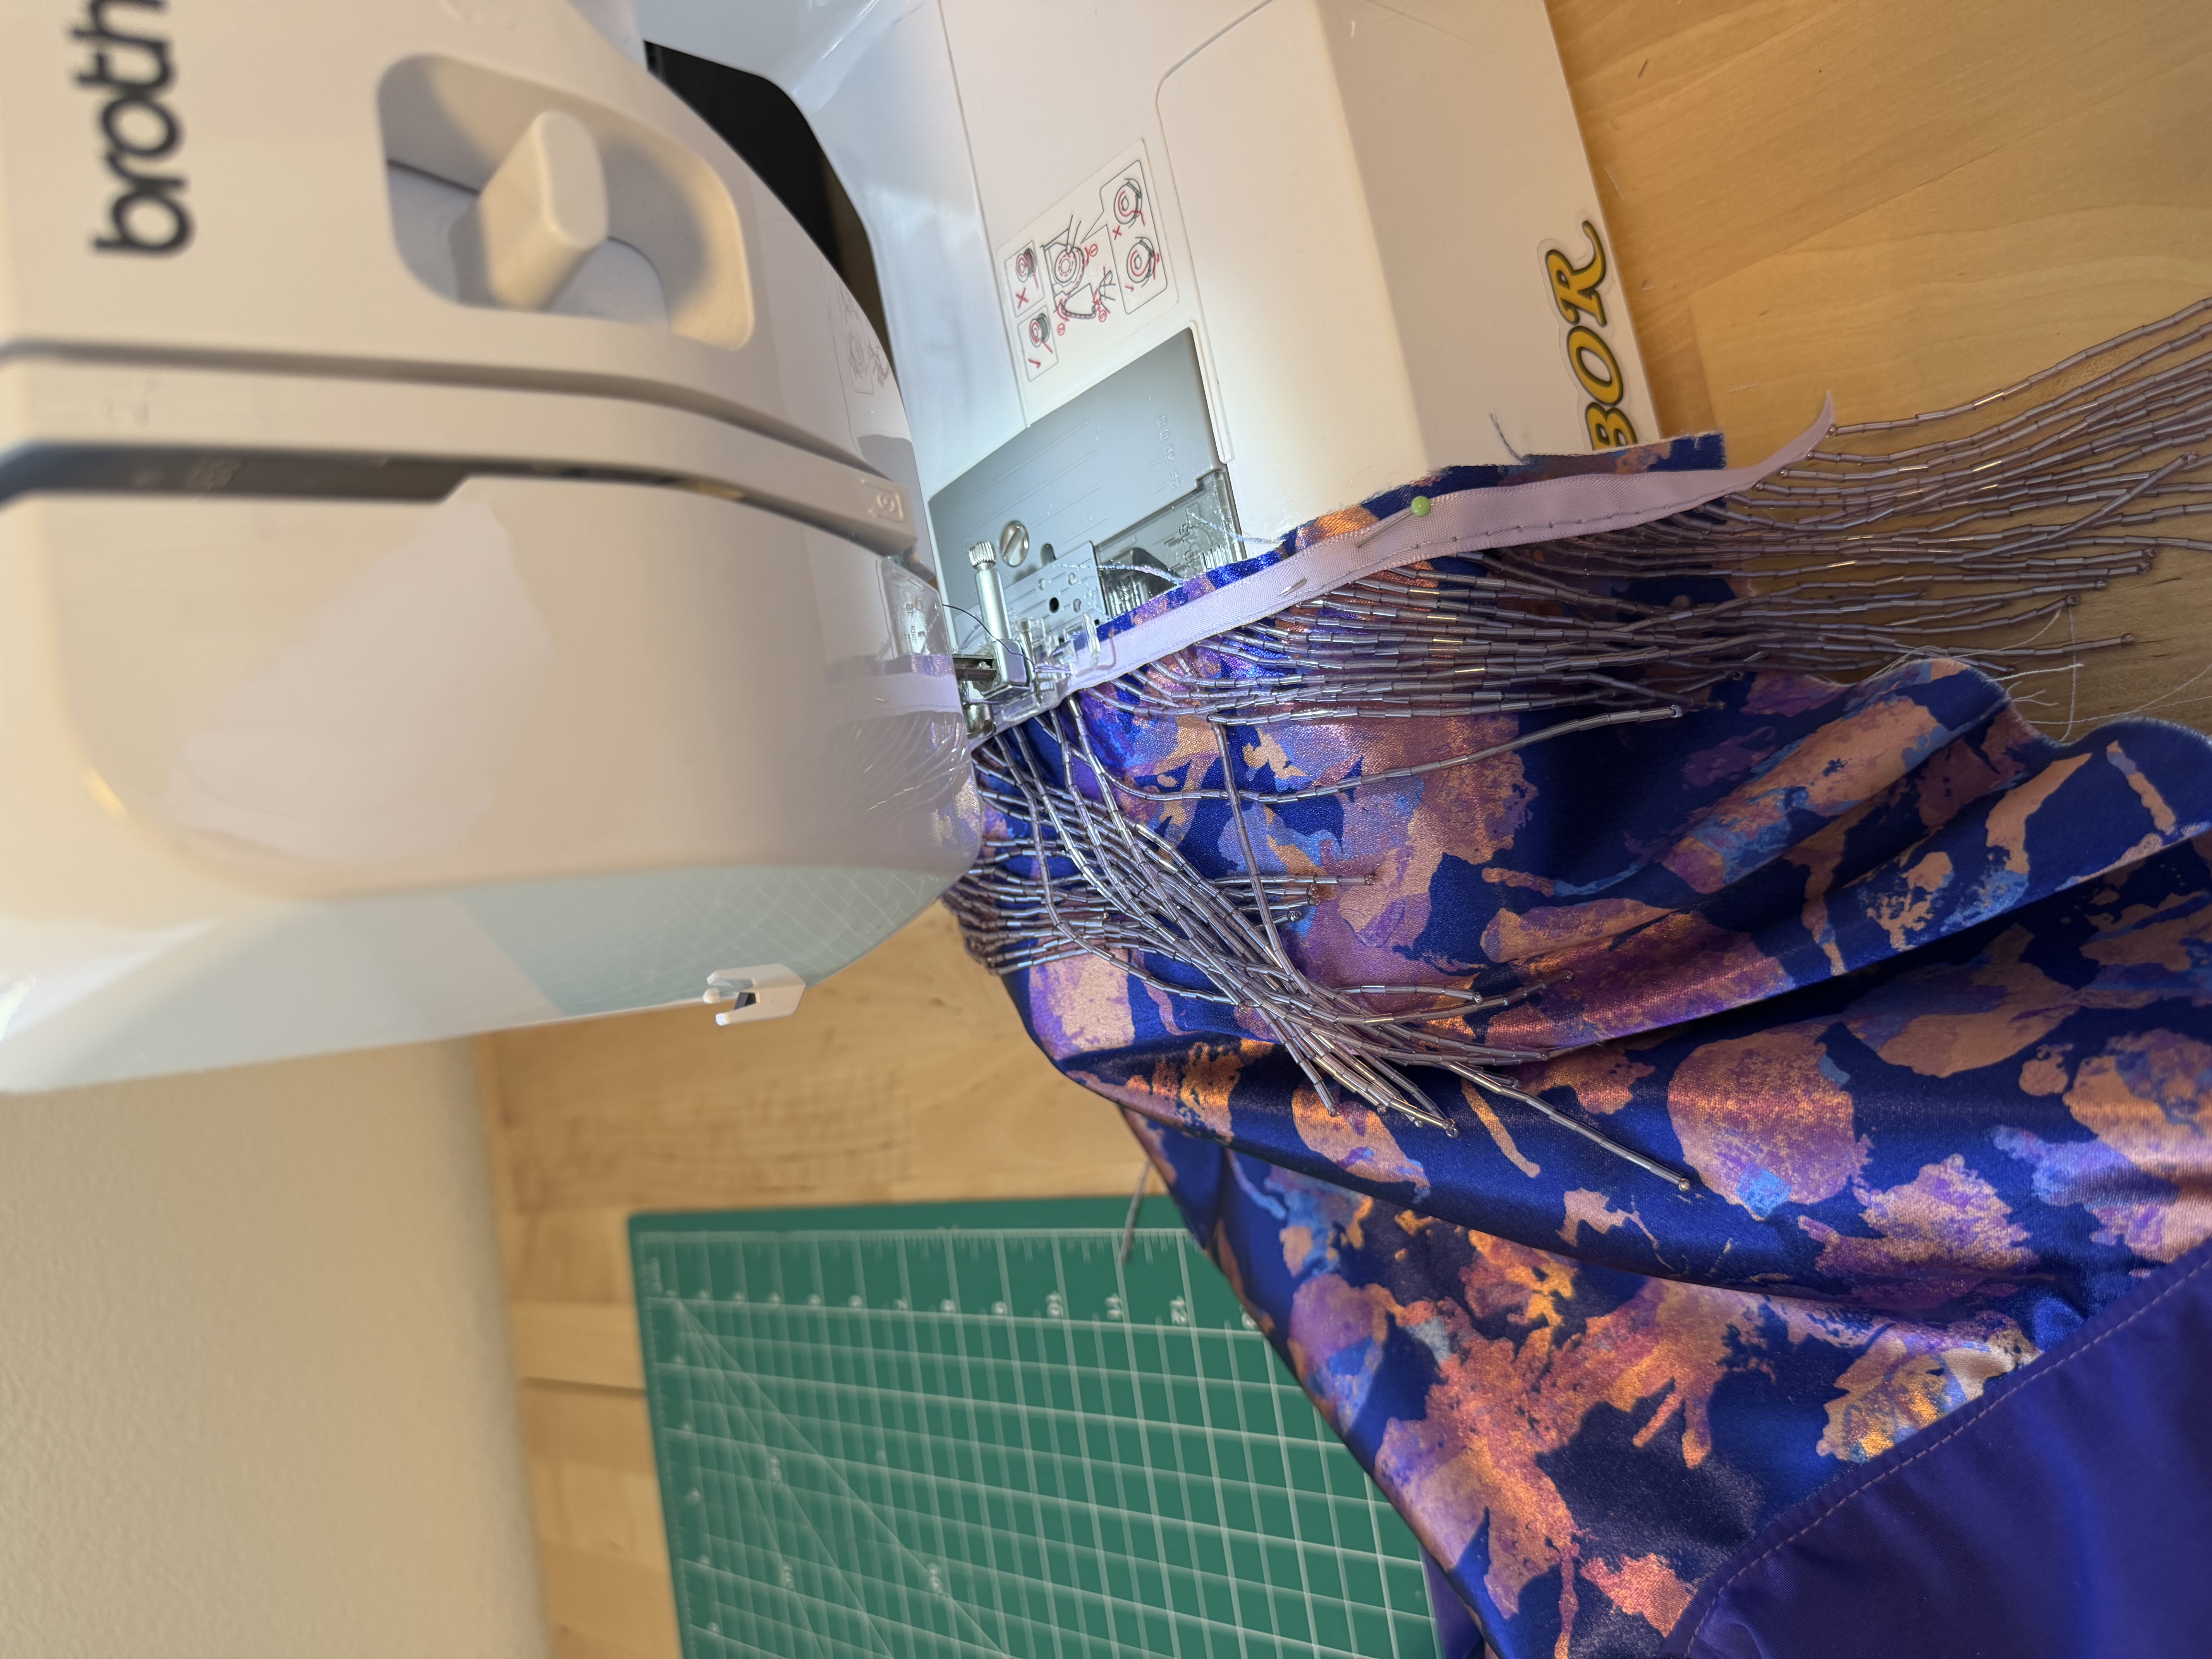
The one thing that gave me a little bit of trouble was sewing over the beads when finishing the bottom hem. I didn't want to break a needle, so I switched to my zipper foot and that worked really well.
Then My Sisters Saw It
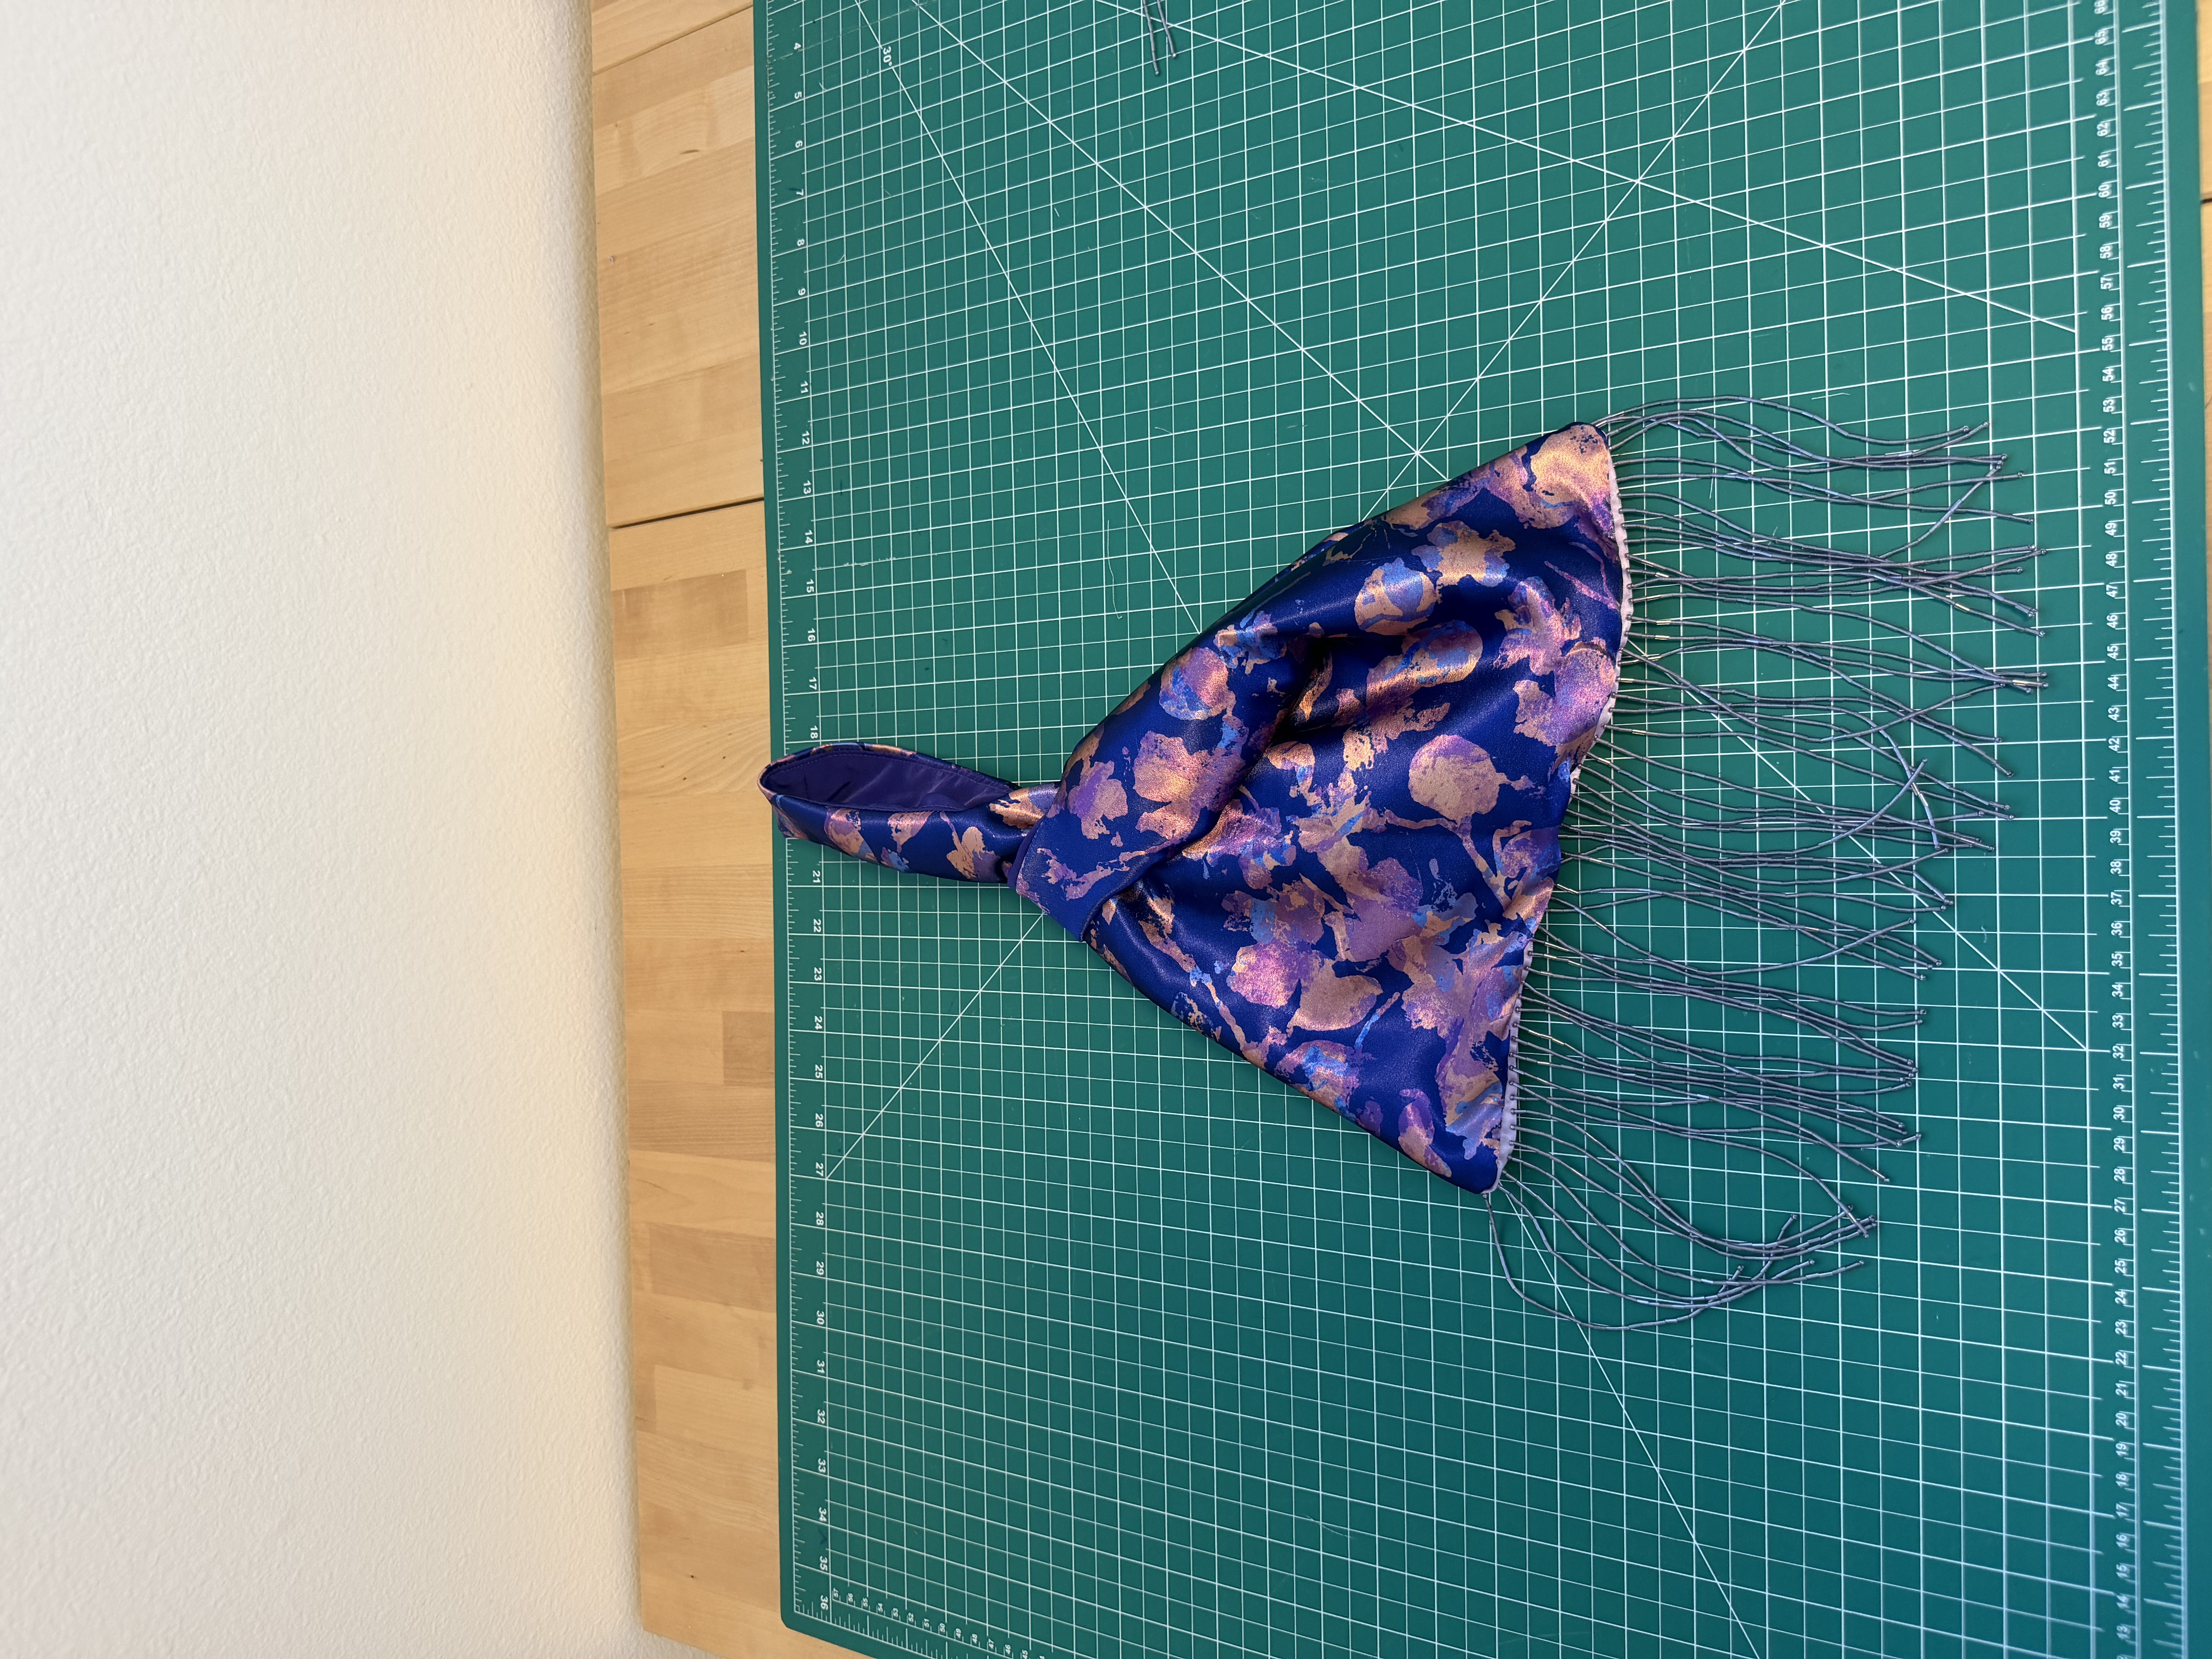
I sent pictures to my sisters when I was done, and they both wanted the exact same bag. Lucky for me, I had enough of the same fabric and trim left to make two more. So I ended up making three total.
Final Thoughts
I'm going on a trip soon and I'm planning to bring this bag out for dinners and drinks. It's kinda the perfect going out bag. Not too big, really fun to look at, and I made it myself.
I want to make more of these with the other trims I picked up from Trim Expo. So many fabric and trim combinations I want to try.
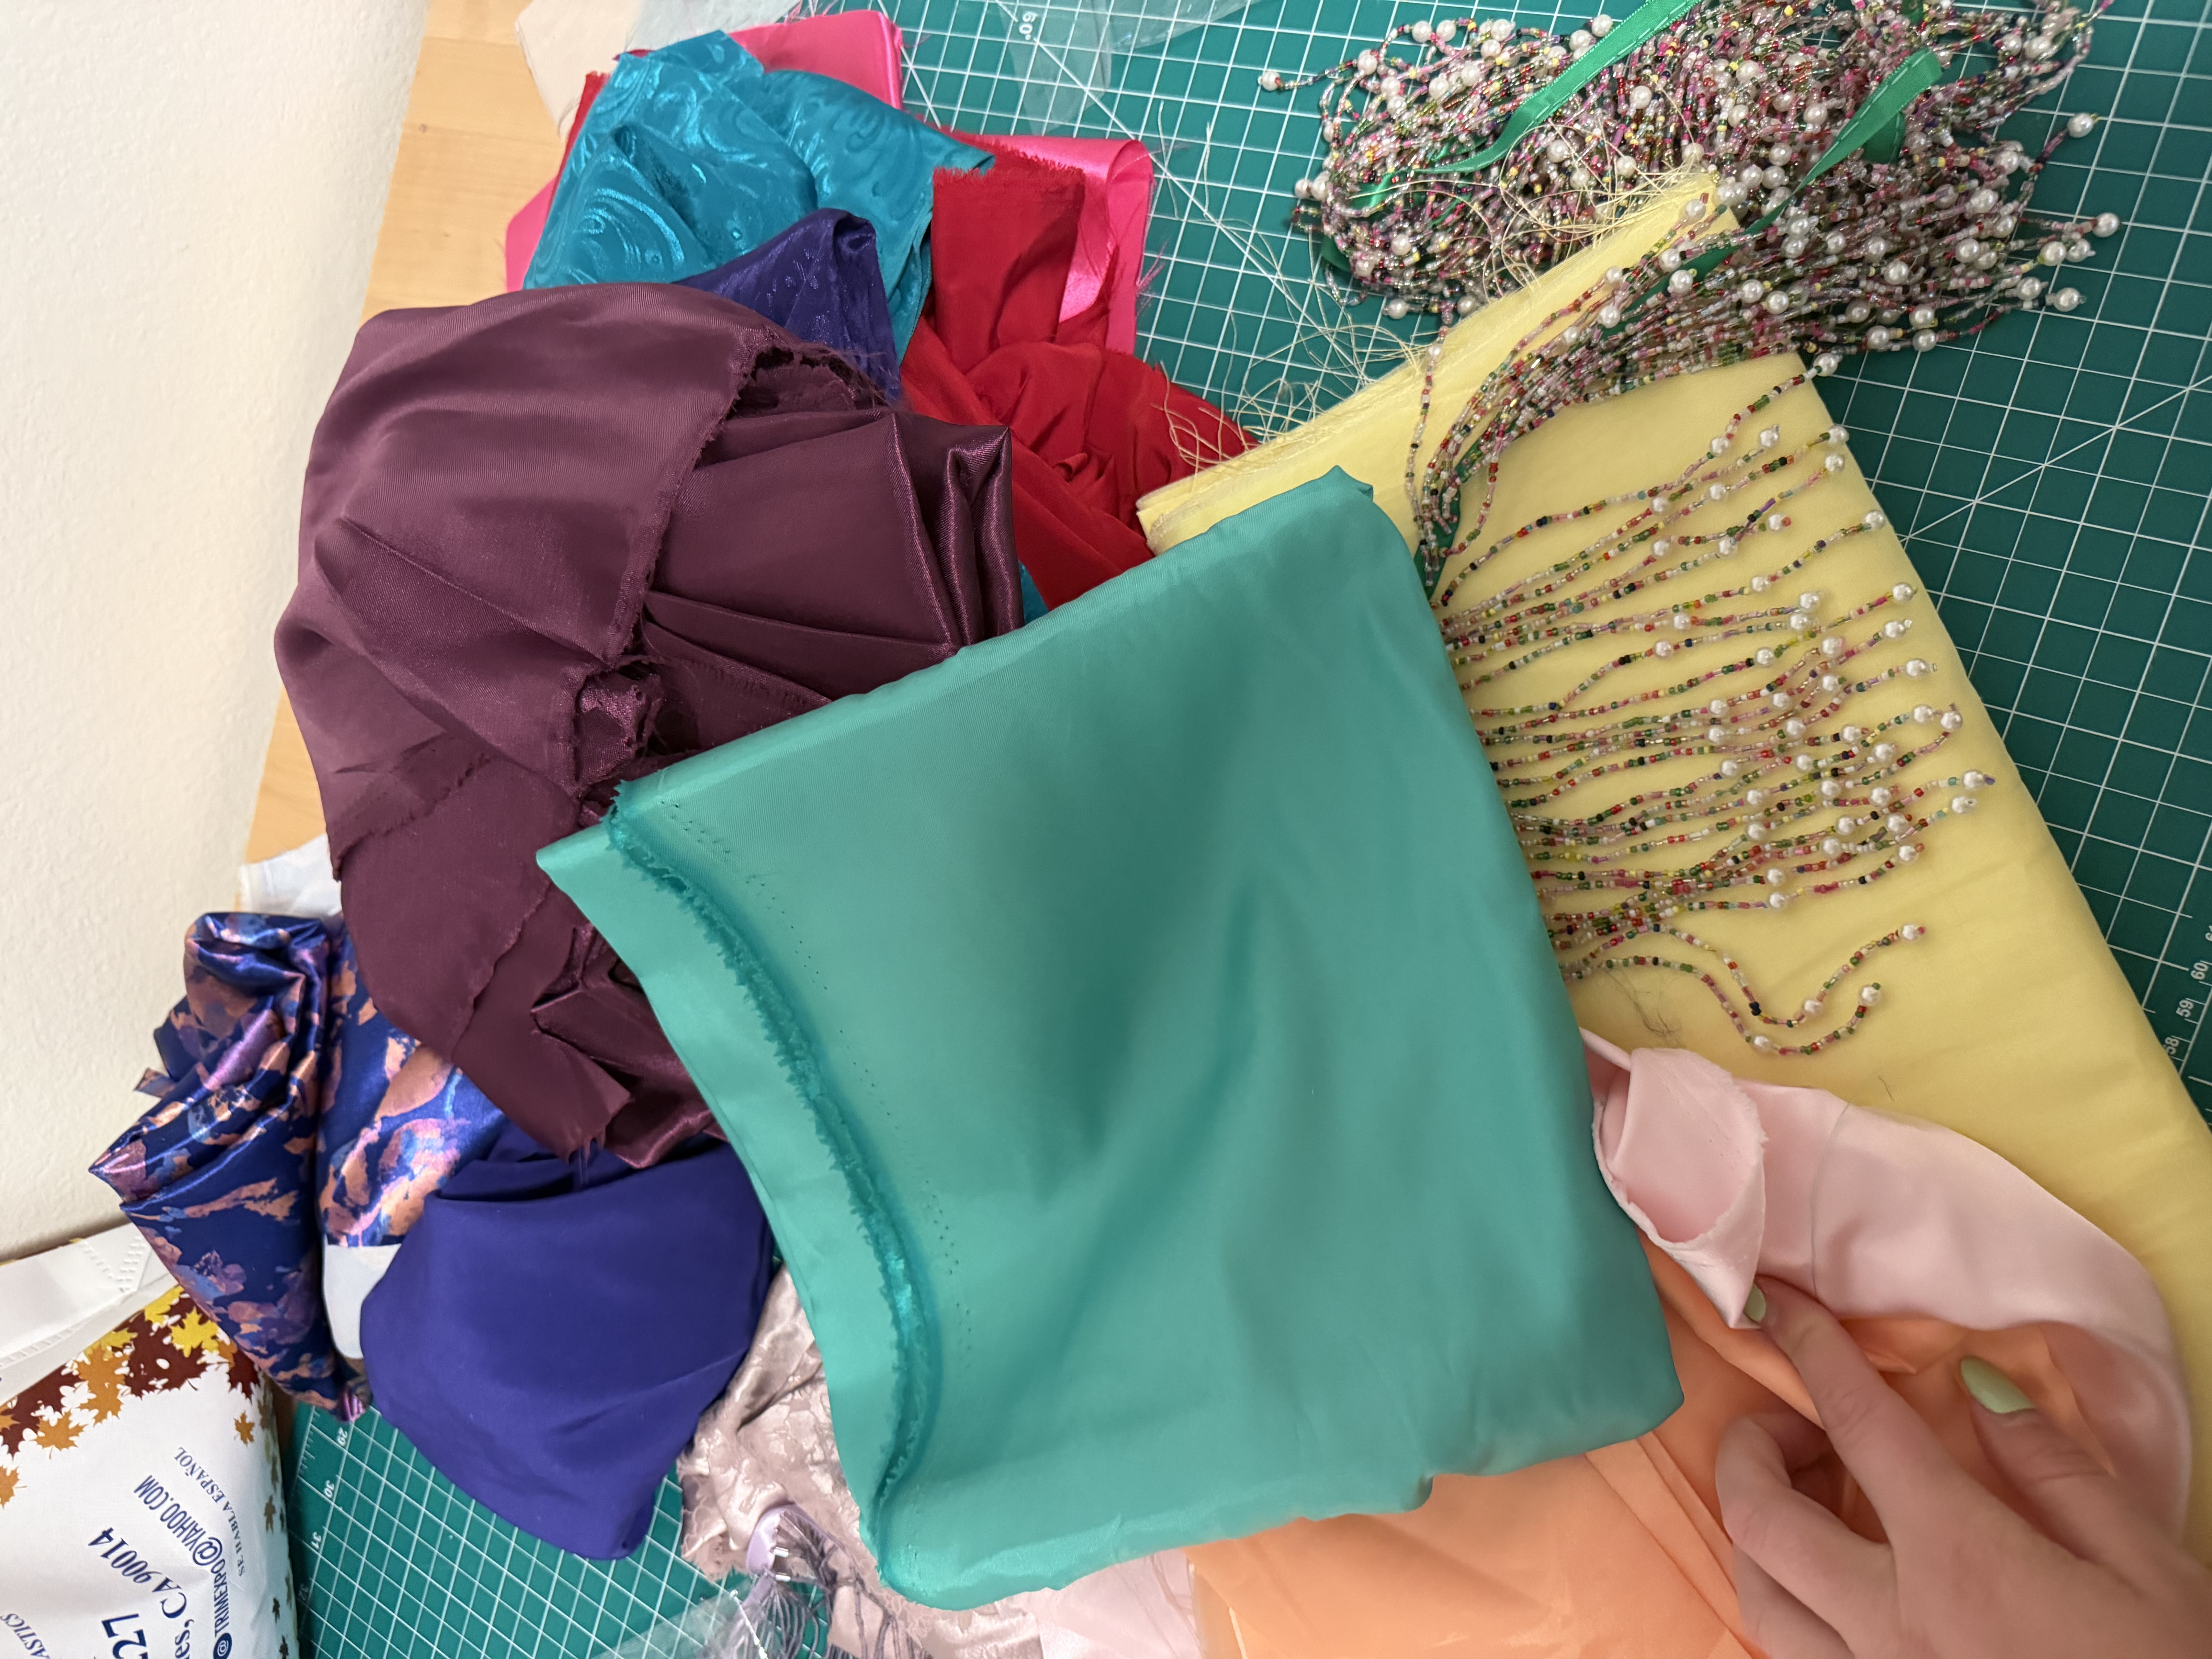
Might have another one in the works... 👀
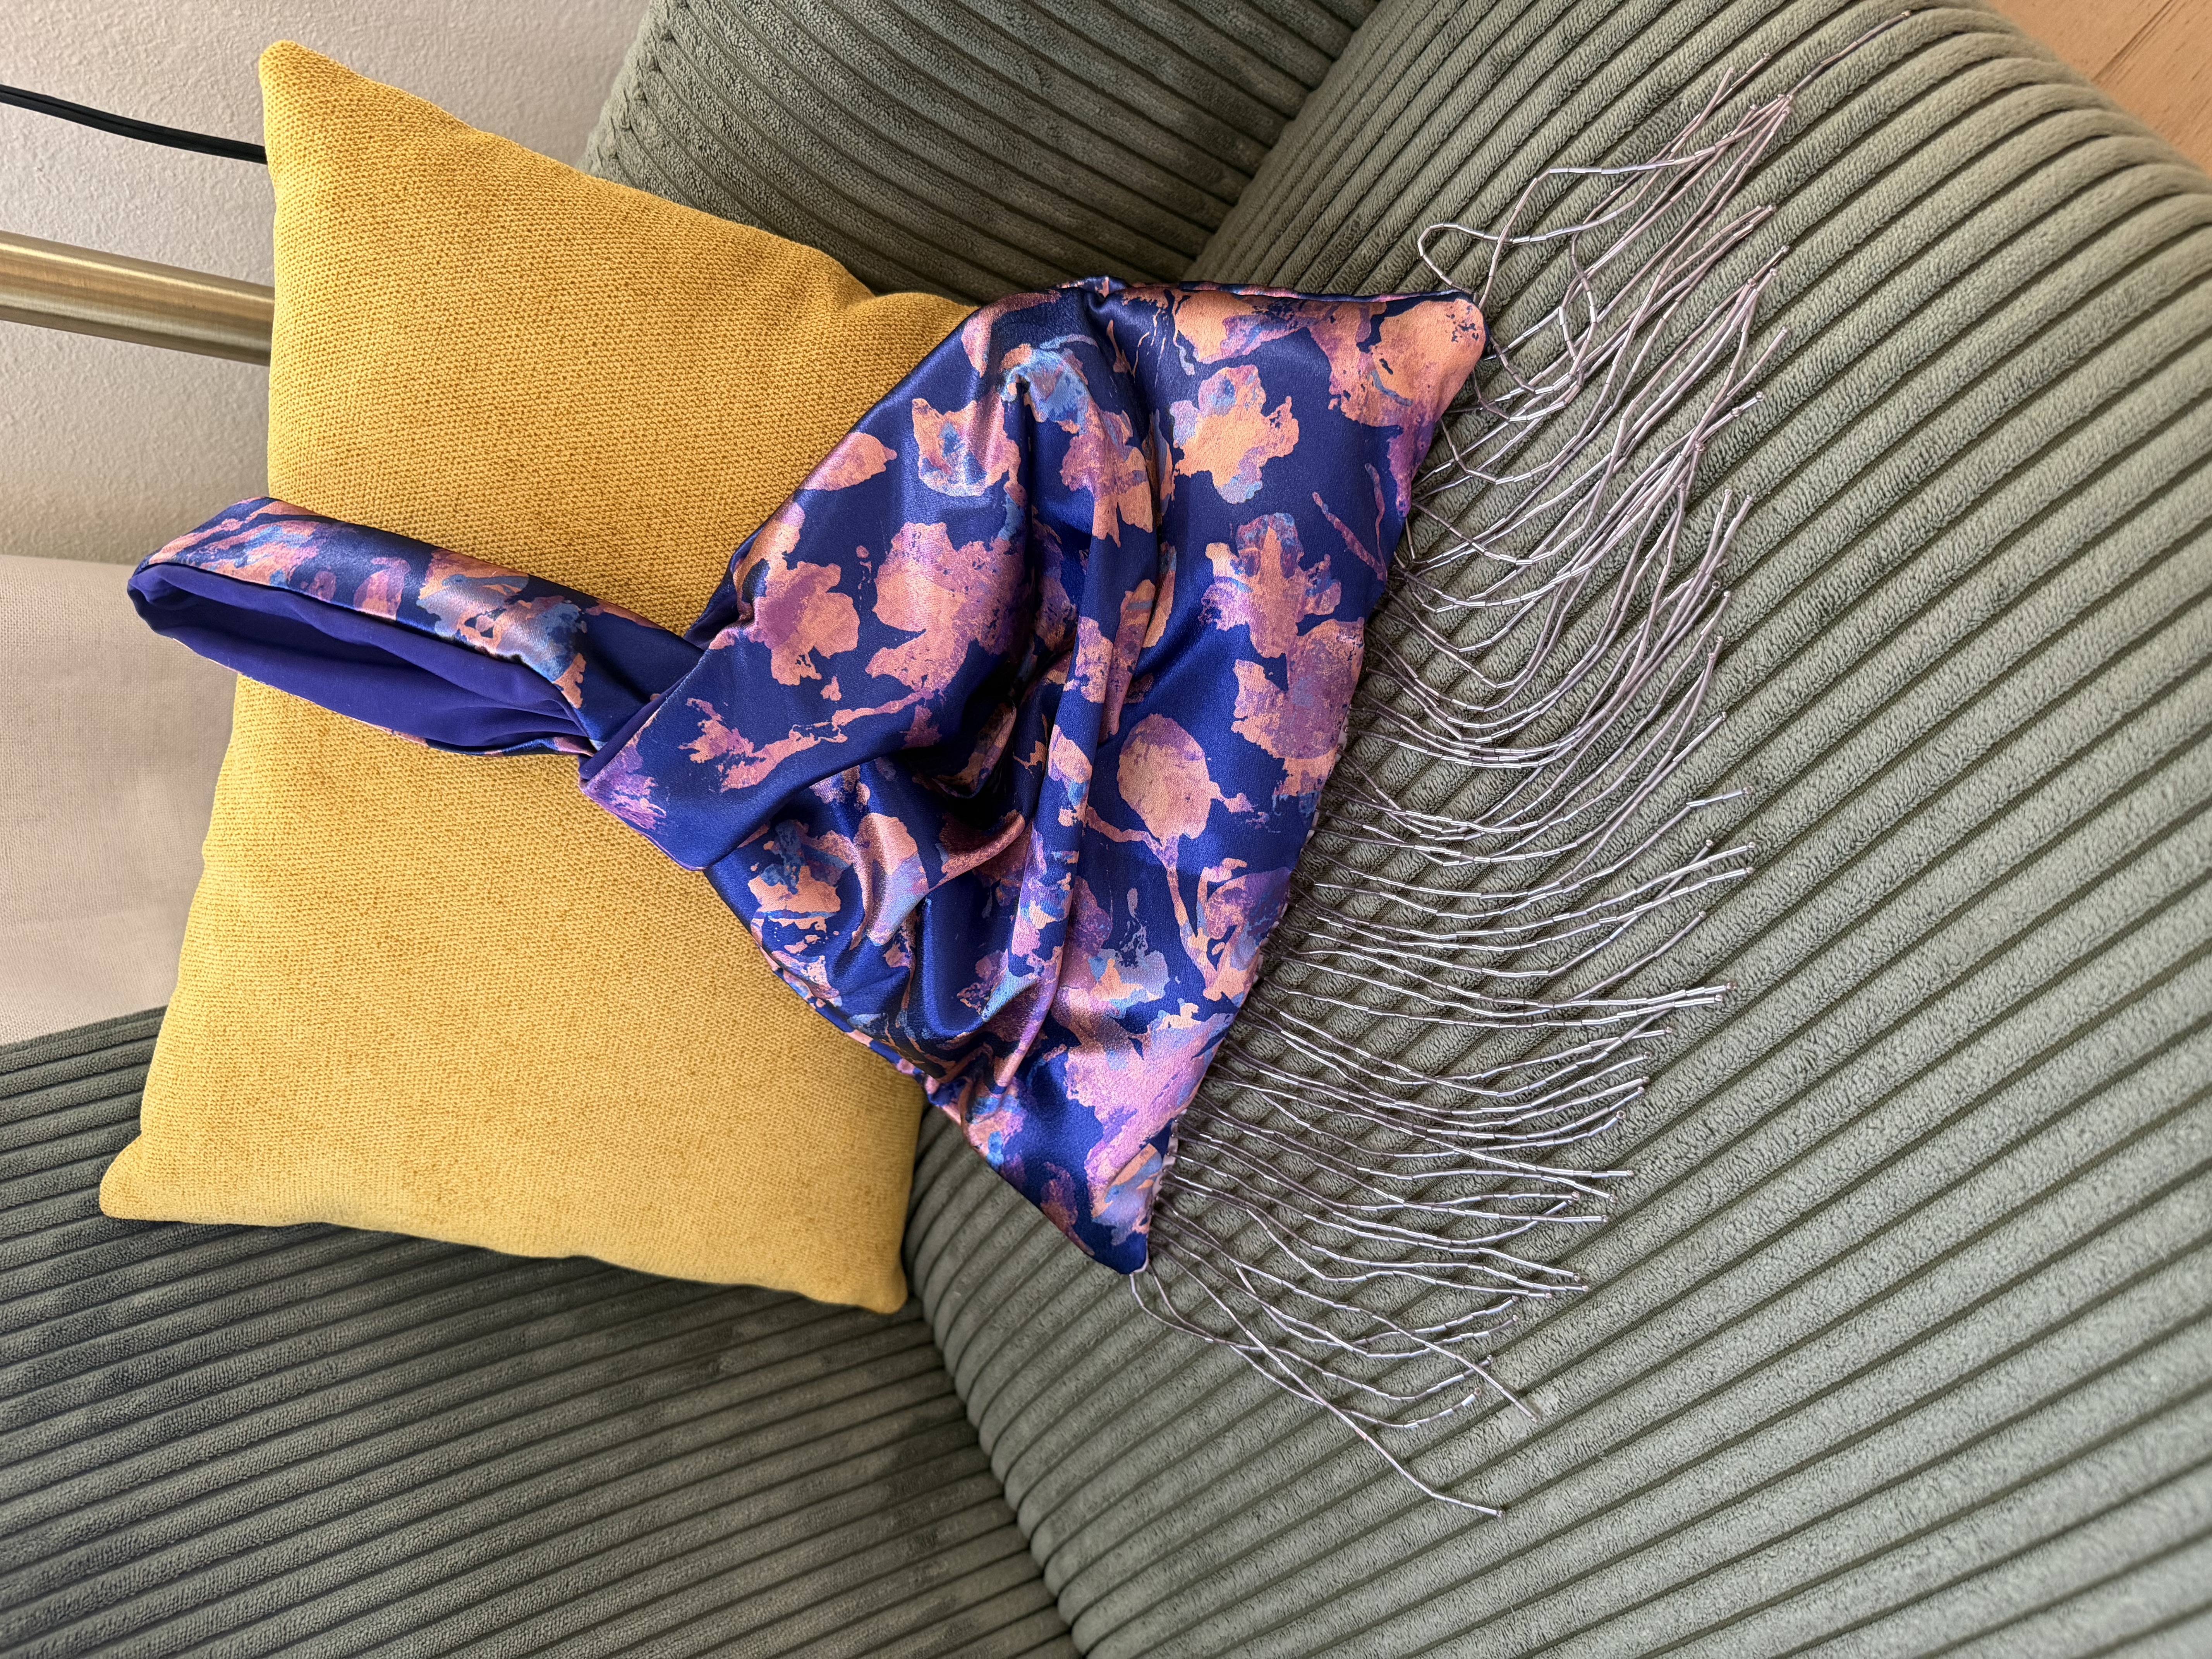
If you make one, tag me on Instagram @DesignsbyERB. I'd love to see what fabrics and trims you go with.