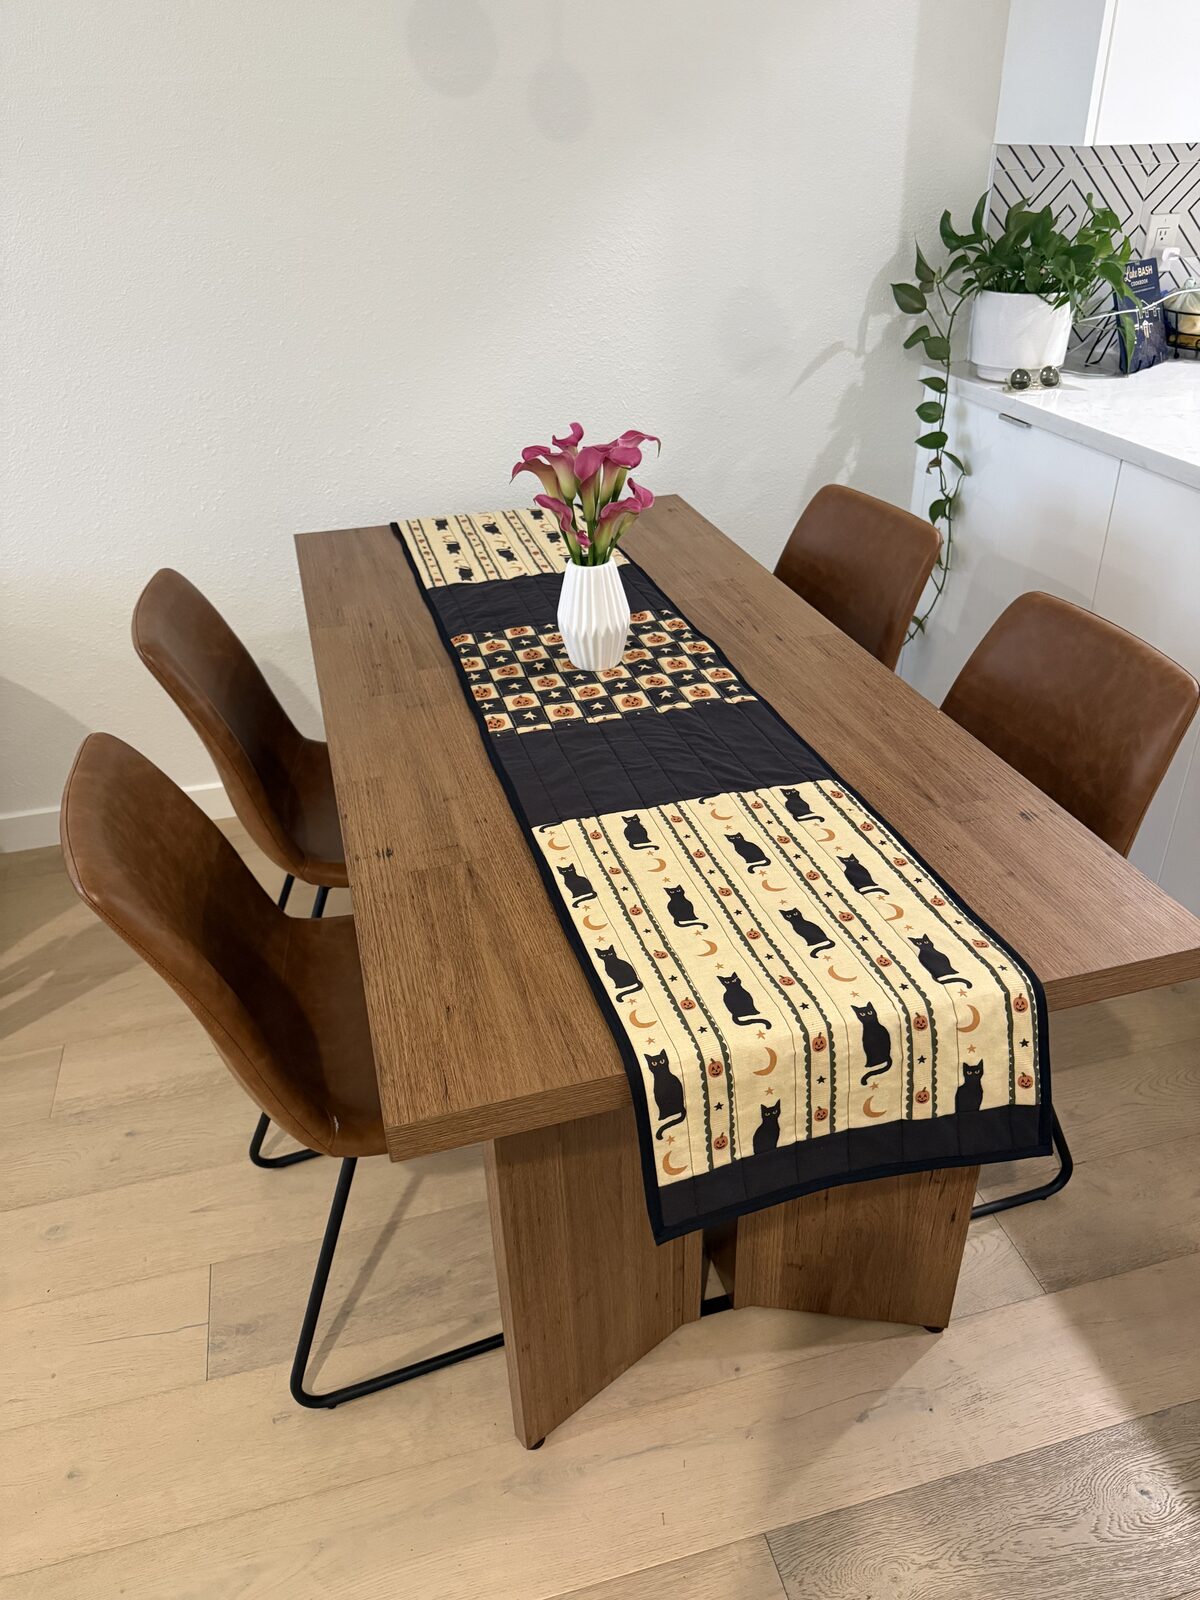
I wanted some cute vintage Halloween looking fabric, so I looked on Spoonflower for inspiration. That's how I found these two prints, both from the same designer, Jackie Hurd: a cream one with black cats and a black and cream checkered one with jack o'lanterns. I ordered 1 yard of each.
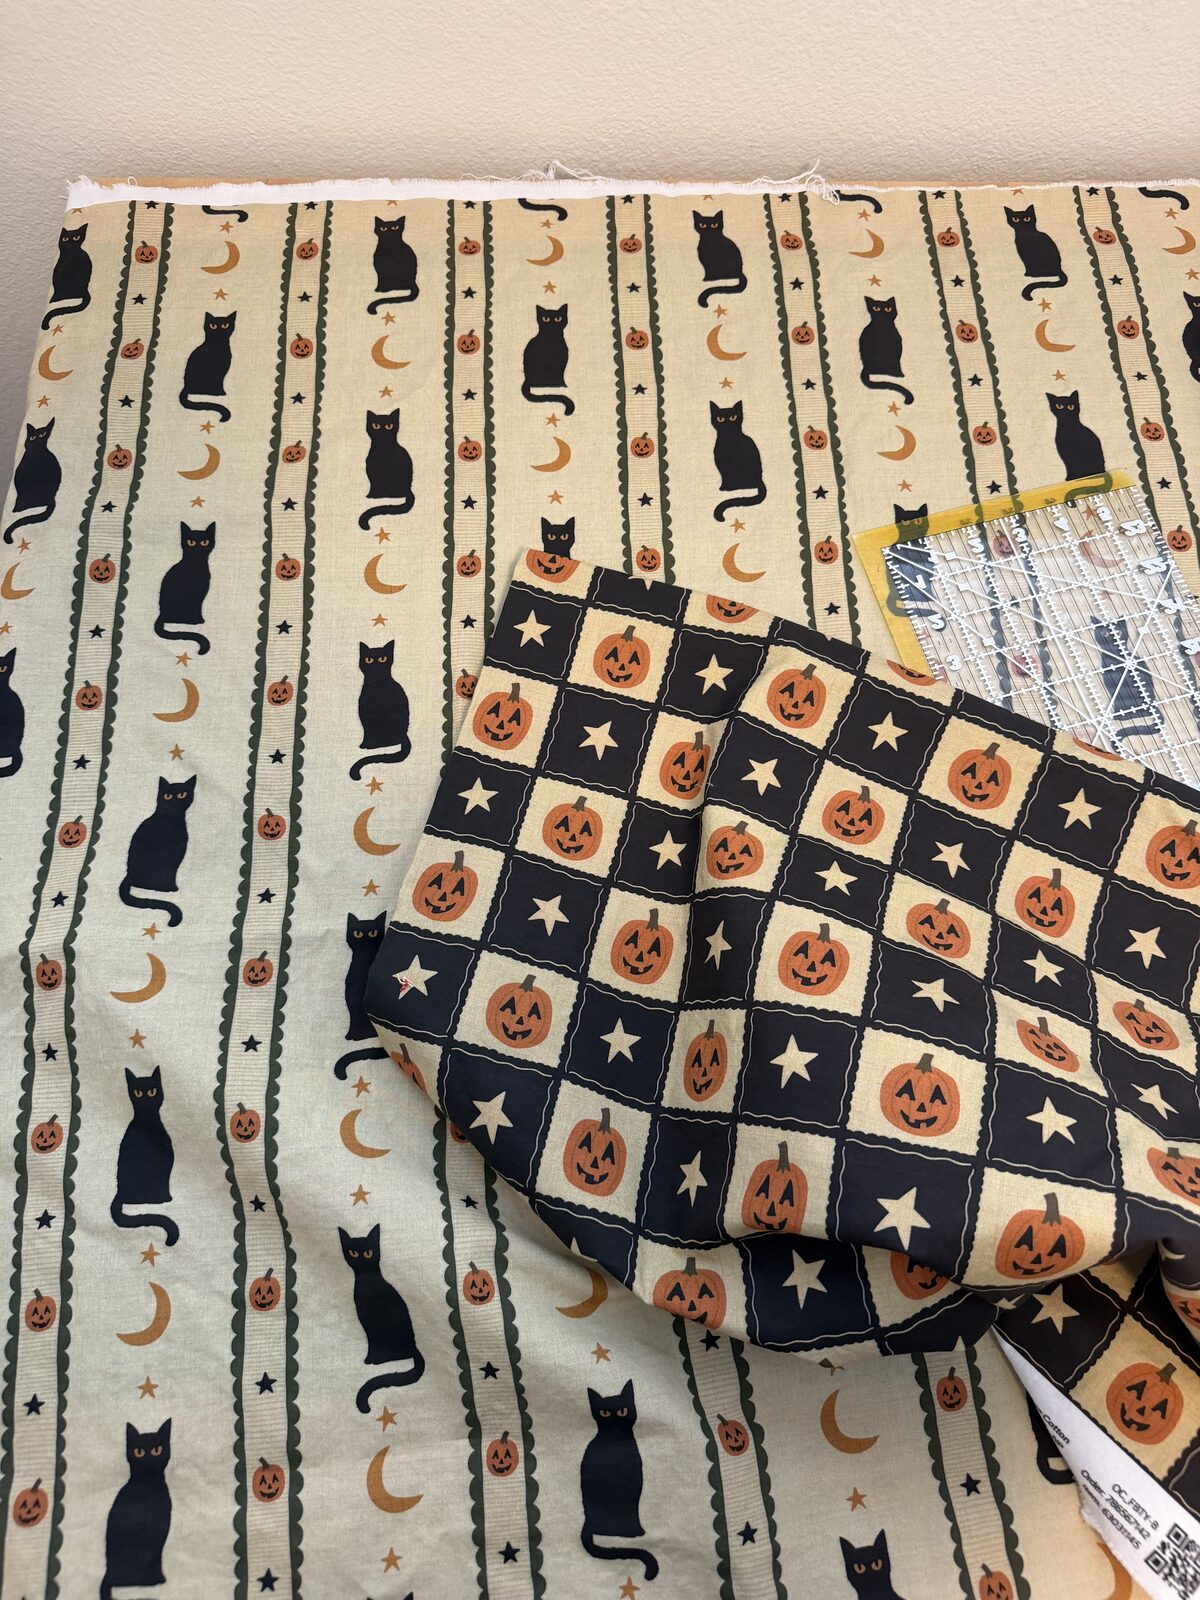
I wasn't sure what I was going to make with them, but I landed on a table runner. I sat with it for a while, because I wasn't sure if a table runner was the right idea.
Figuring Out the Layout
Each piece of fabric is 42 x 36 inches (107 x 91 cm), and my dining table is about 63 inches long and 31.5 inches wide, so I realized one piece on its own wouldn't be long enough to cover the table lengthwise. I brainstormed a bit and thought about patchwork, quilting the two prints together. But while I was brainstorming, I realized the designs on each fabric are pretty wide, so small patchwork pieces wouldn't really work out.
That's when I caught myself staring at a large bolt of black cotton fabric sitting in my closet, waiting for me. I decided to use it and figure out a clever way to piece it all together.
I split the runner up into blocks, and each side is the opposite of the other. That way it's reversible and I can flip it over depending on which print I want showing.
Side one
Side two
Not to scale
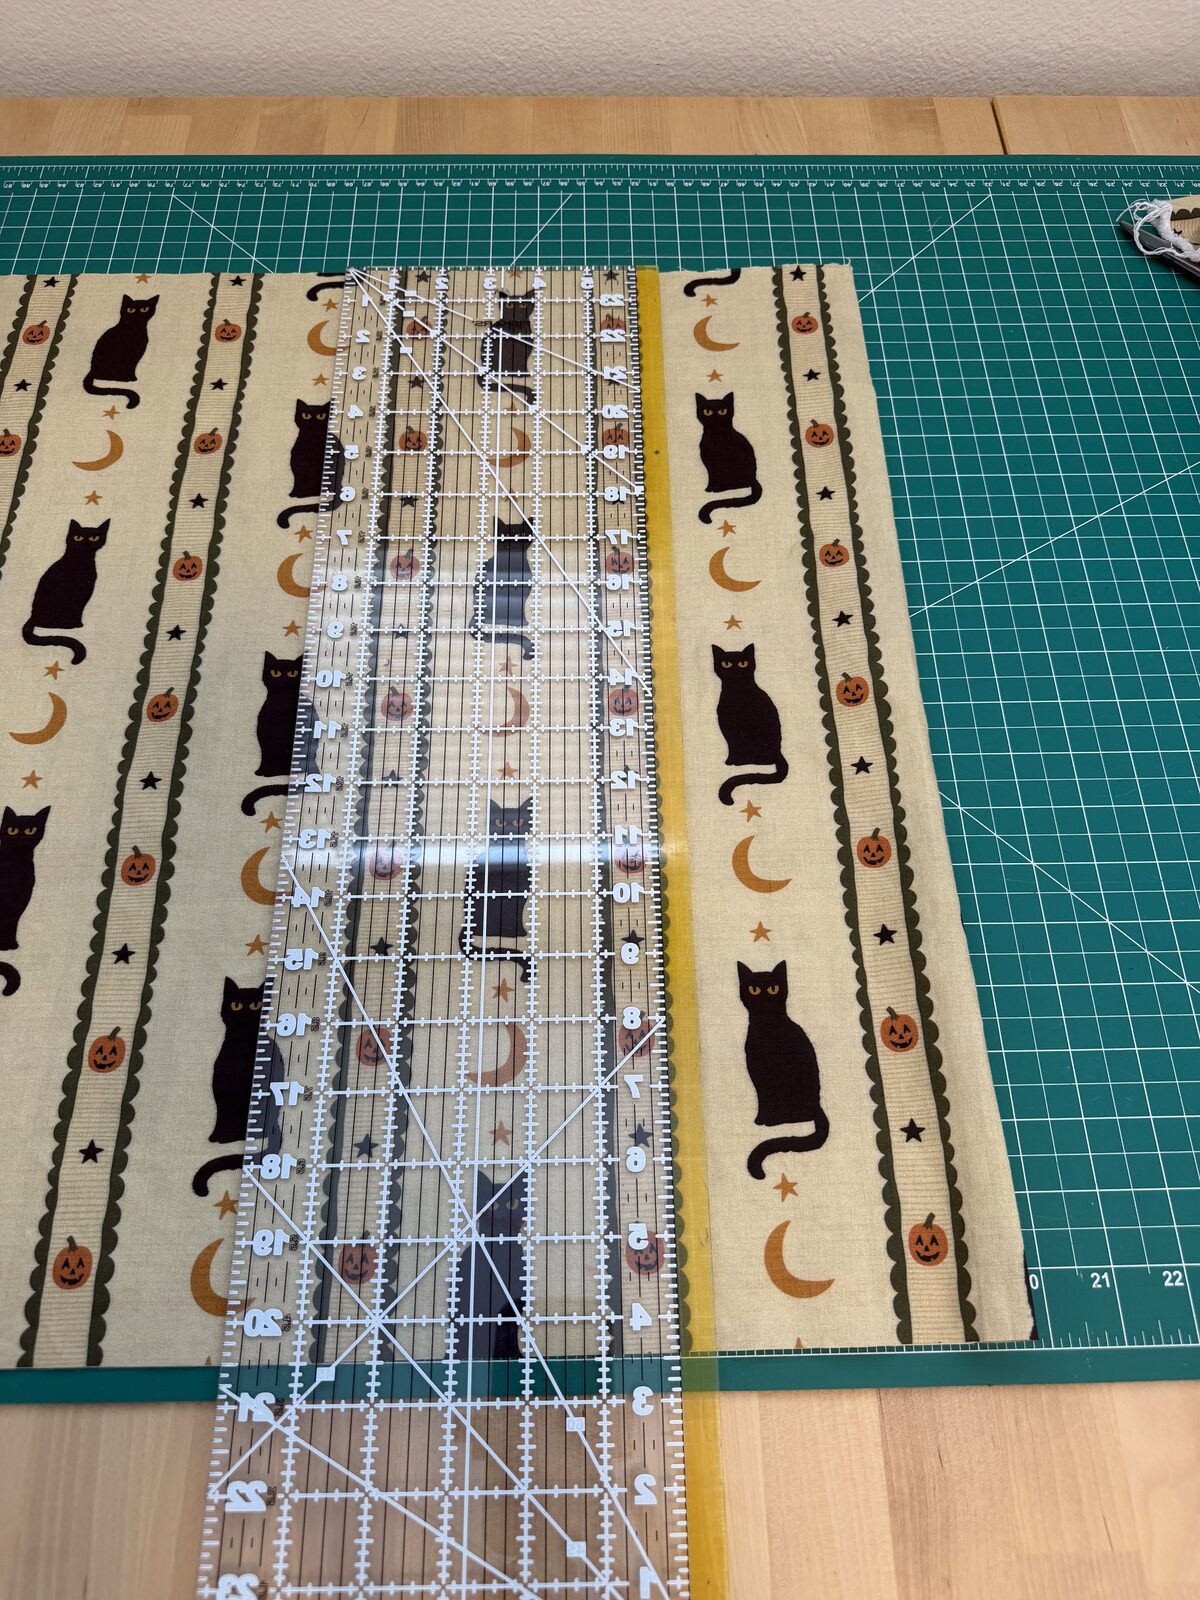
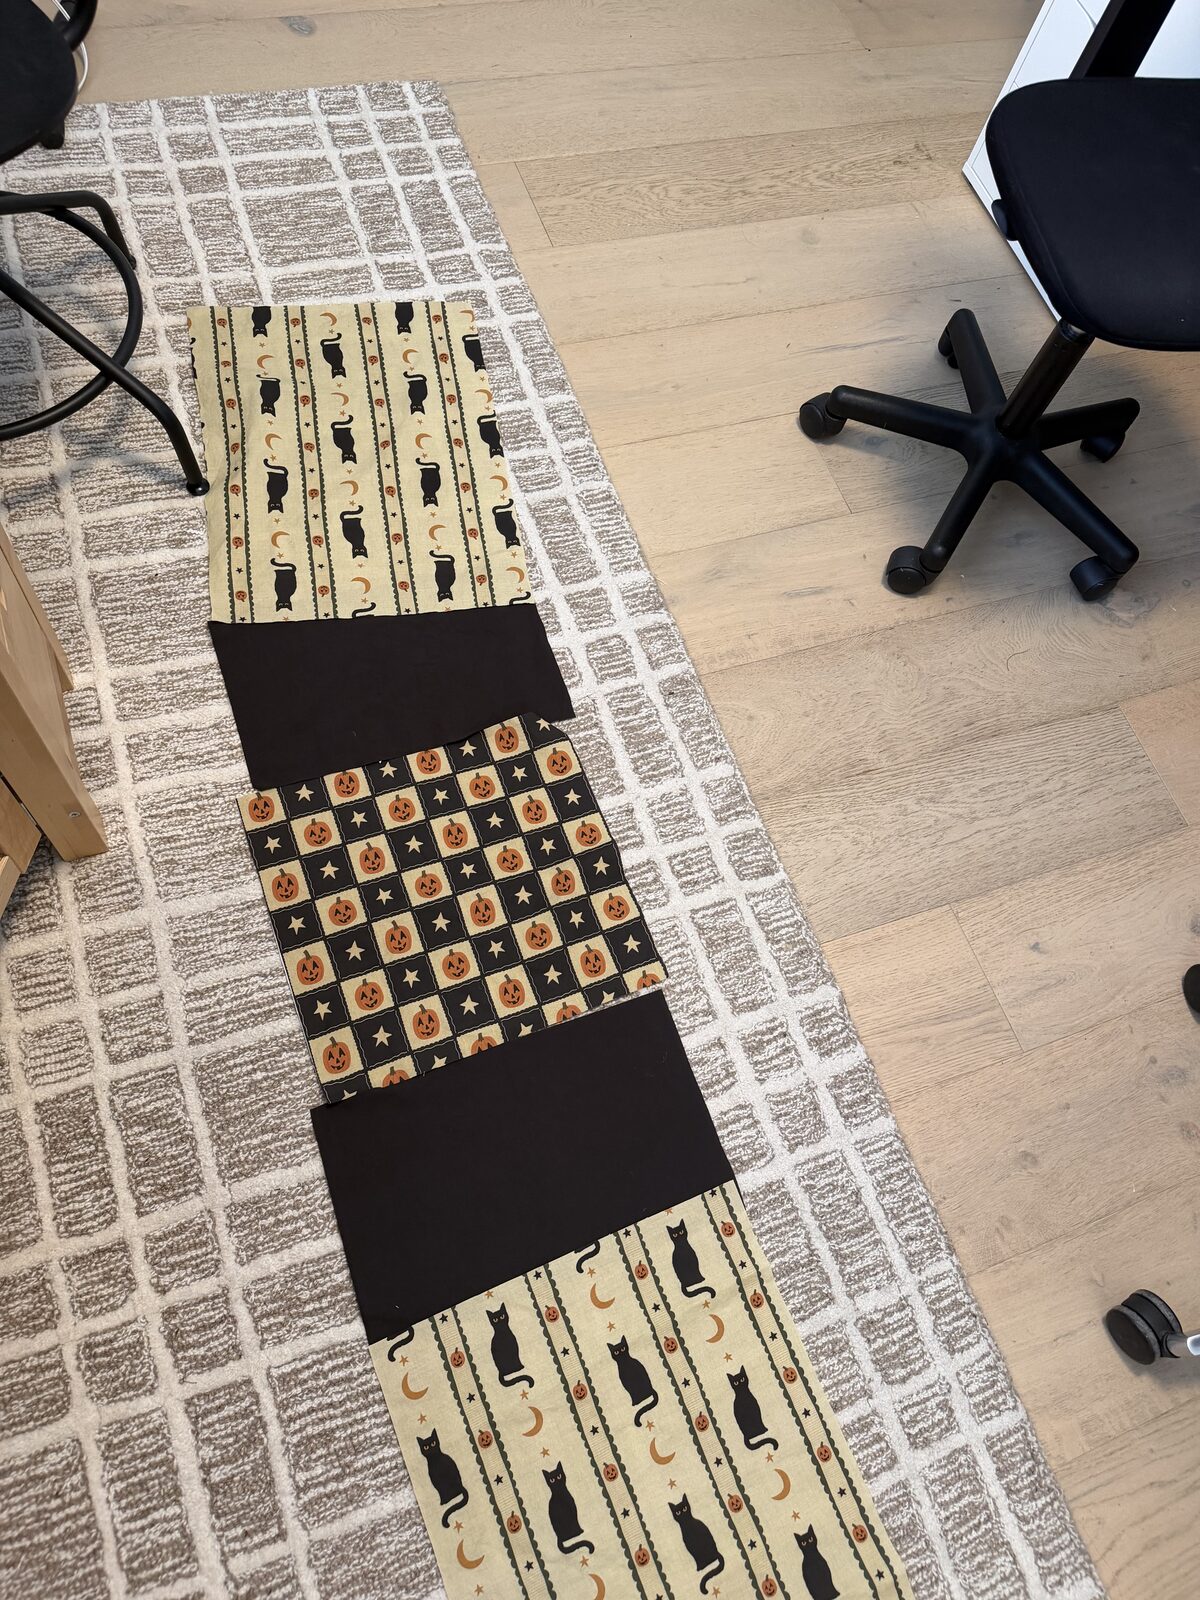
I was originally going for about 72 inches long, but I wanted a little more overhang off the table. So I added a strip of black to each end of both sides, and it ended up at about 78 inches.
Cutting Measurements
- Cat print: 2 at 20½" x 15½" and 1 at 14½" x 15½"
- Jack o'lantern print: 2 at 20½" x 15½" and 1 at 14½" x 15½"
- Black blocks: 4 at 9½" x 15½"
- Black end strips: 4 at 3½" x 15½"
- Batting: About 82" x 18", cut a little bigger than the runner and trimmed to about 78" x 15" after quilting
Quilting It
I went back and forth on whether to quilt it or not. I decided to, since I wanted it to have a little more body and feel like a real quilted piece and not just fabric sewn together. I used Warm & Natural cotton batting in the middle, did straight line quilting down the length, and finished it with black bias tape all the way around.
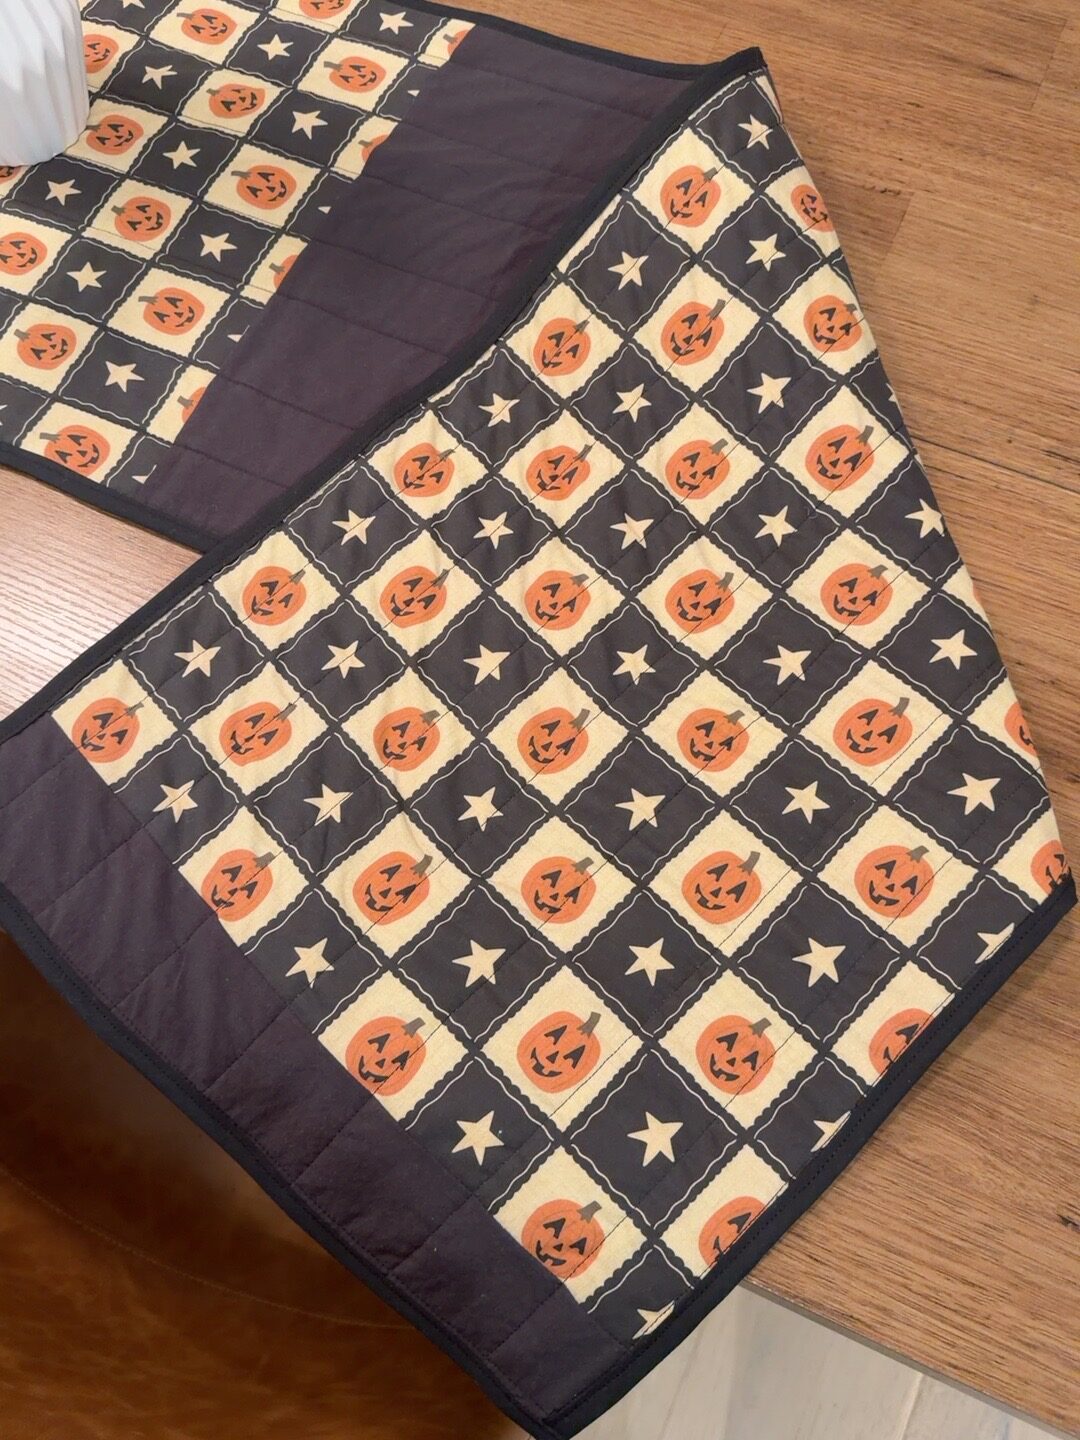
The Wavy Side
While I was quilting, the jack o'lantern side started looking kinda wavy. There were little ripples between the quilting lines, and the edges got a little wavy toward the ends. That print is a checkered grid, so any bit of shifting shows up right away. The cat side came out a lot flatter.
The batting started slipping underneath while I was sewing. From what I read, this is pretty common on a long, skinny piece like a runner, since the layers can shift as they feed through the machine. Next time I need to figure out a way to stabilize it better. These are the things people recommend:
- Basting spray. A temporary spray adhesive, like this Spray and Fix temporary fabric adhesive, that holds the fabric and batting together while you quilt and washes out after.
- Pinning more. Curved safety pins every few inches across the whole runner, not just around the edges.
- Thread basting. Long, loose stitches through all the layers, around the outer edge and across the middle, that you pull out once you're done quilting.
- A walking foot. It feeds the top and bottom layers through the machine at the same speed so they don't shift as much.
- Quilting from the center out. Instead of sewing from one end all the way to the other, start in the middle and work out toward each end.
I'm not sure which one I'll try first, but hopefully you can learn from my mistakes!
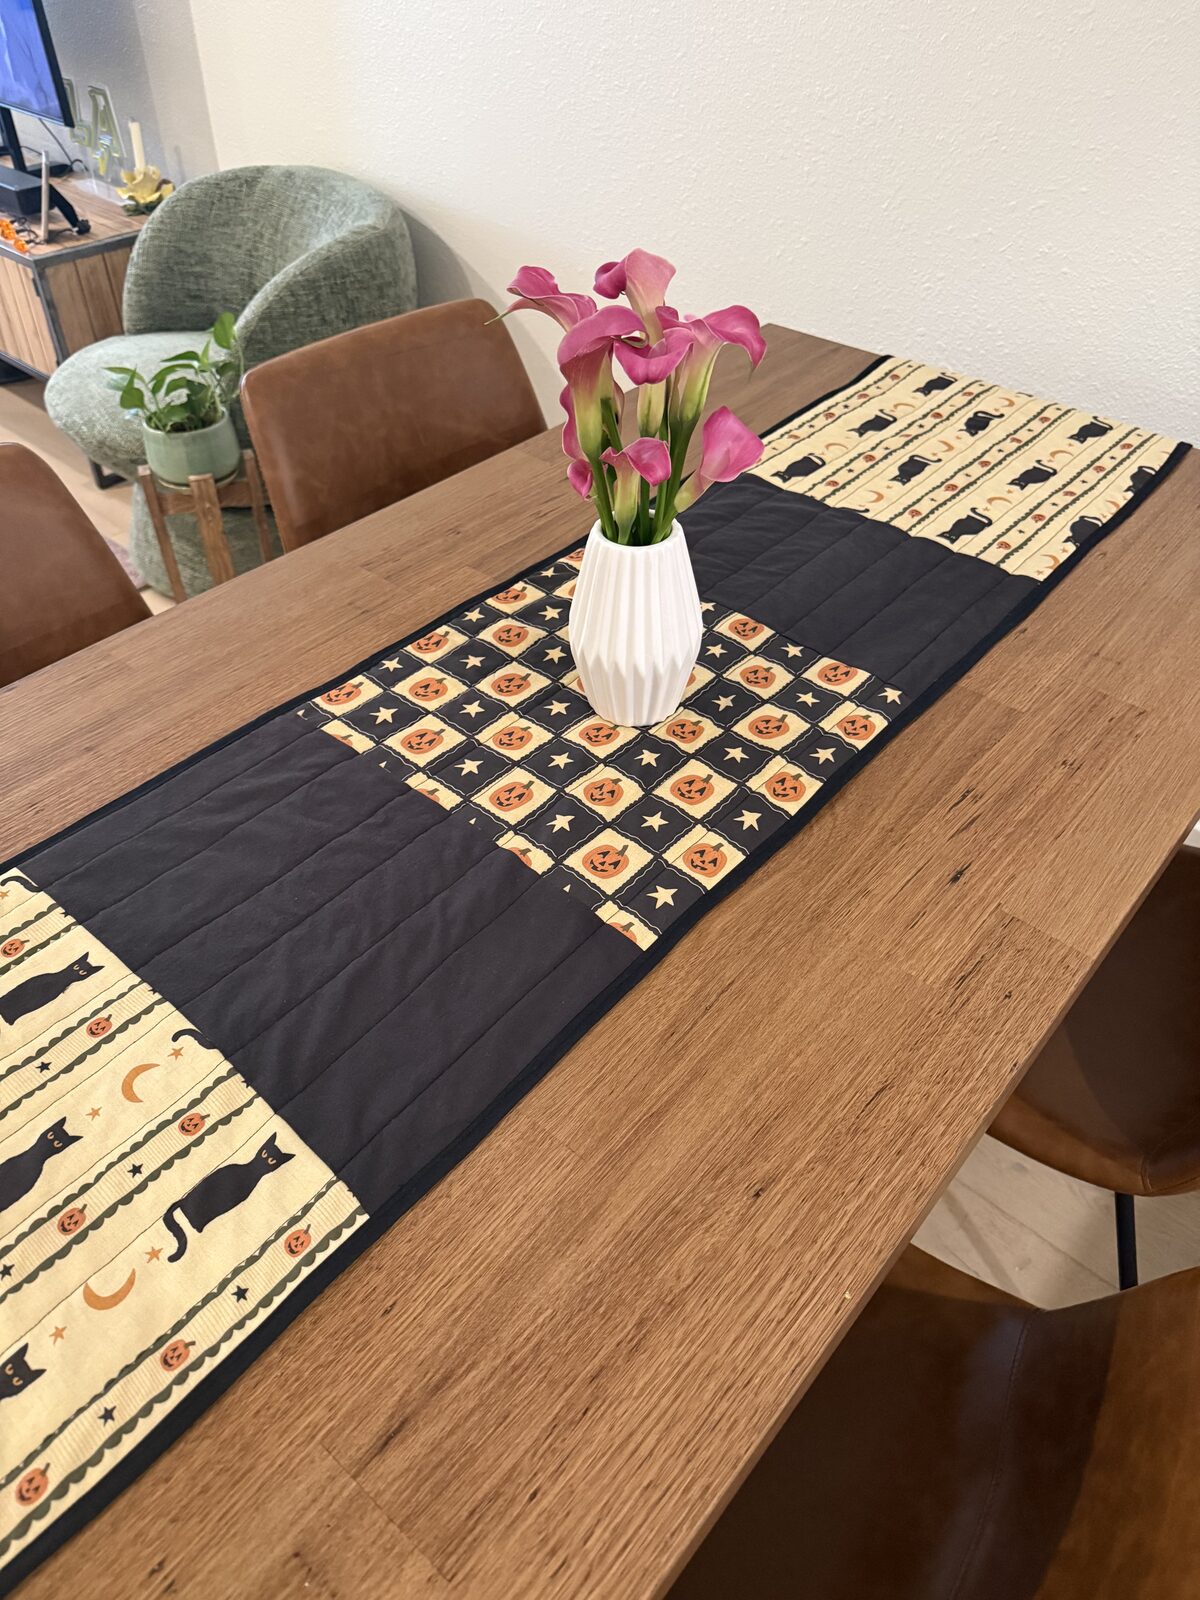
I thought about ripping some of the quilting out, but I left it as is. Once it's on the table with stuff on it, you really can't tell, and the black binding helps clean up the edges.
What I Used
- Designer: Jackie Hurd on Spoonflower
- Cat print: Cat print fabric from Spoonflower, Petal Signature Cotton
- Pumpkin print: Vintage jack o'lantern fabric from Spoonflower, Petal Signature Cotton
- Solid: Black
- Batting: Warm & Natural cotton batting, twin size (72" x 90") from Walmart
- Quilting: Straight lines down the length
- Binding: Black bias tape from Amazon
- Size: About 78 inches long, for a 63 x 31.5 inch table
The Amazon links are affiliate links, so I may earn a small commission if you buy through them, at no extra cost to you. More of my Amazon finds are in my storefront.
It'll come out every October now. If you're sewing anything for Halloween this year, send it my way on Instagram @DesignsbyERB.