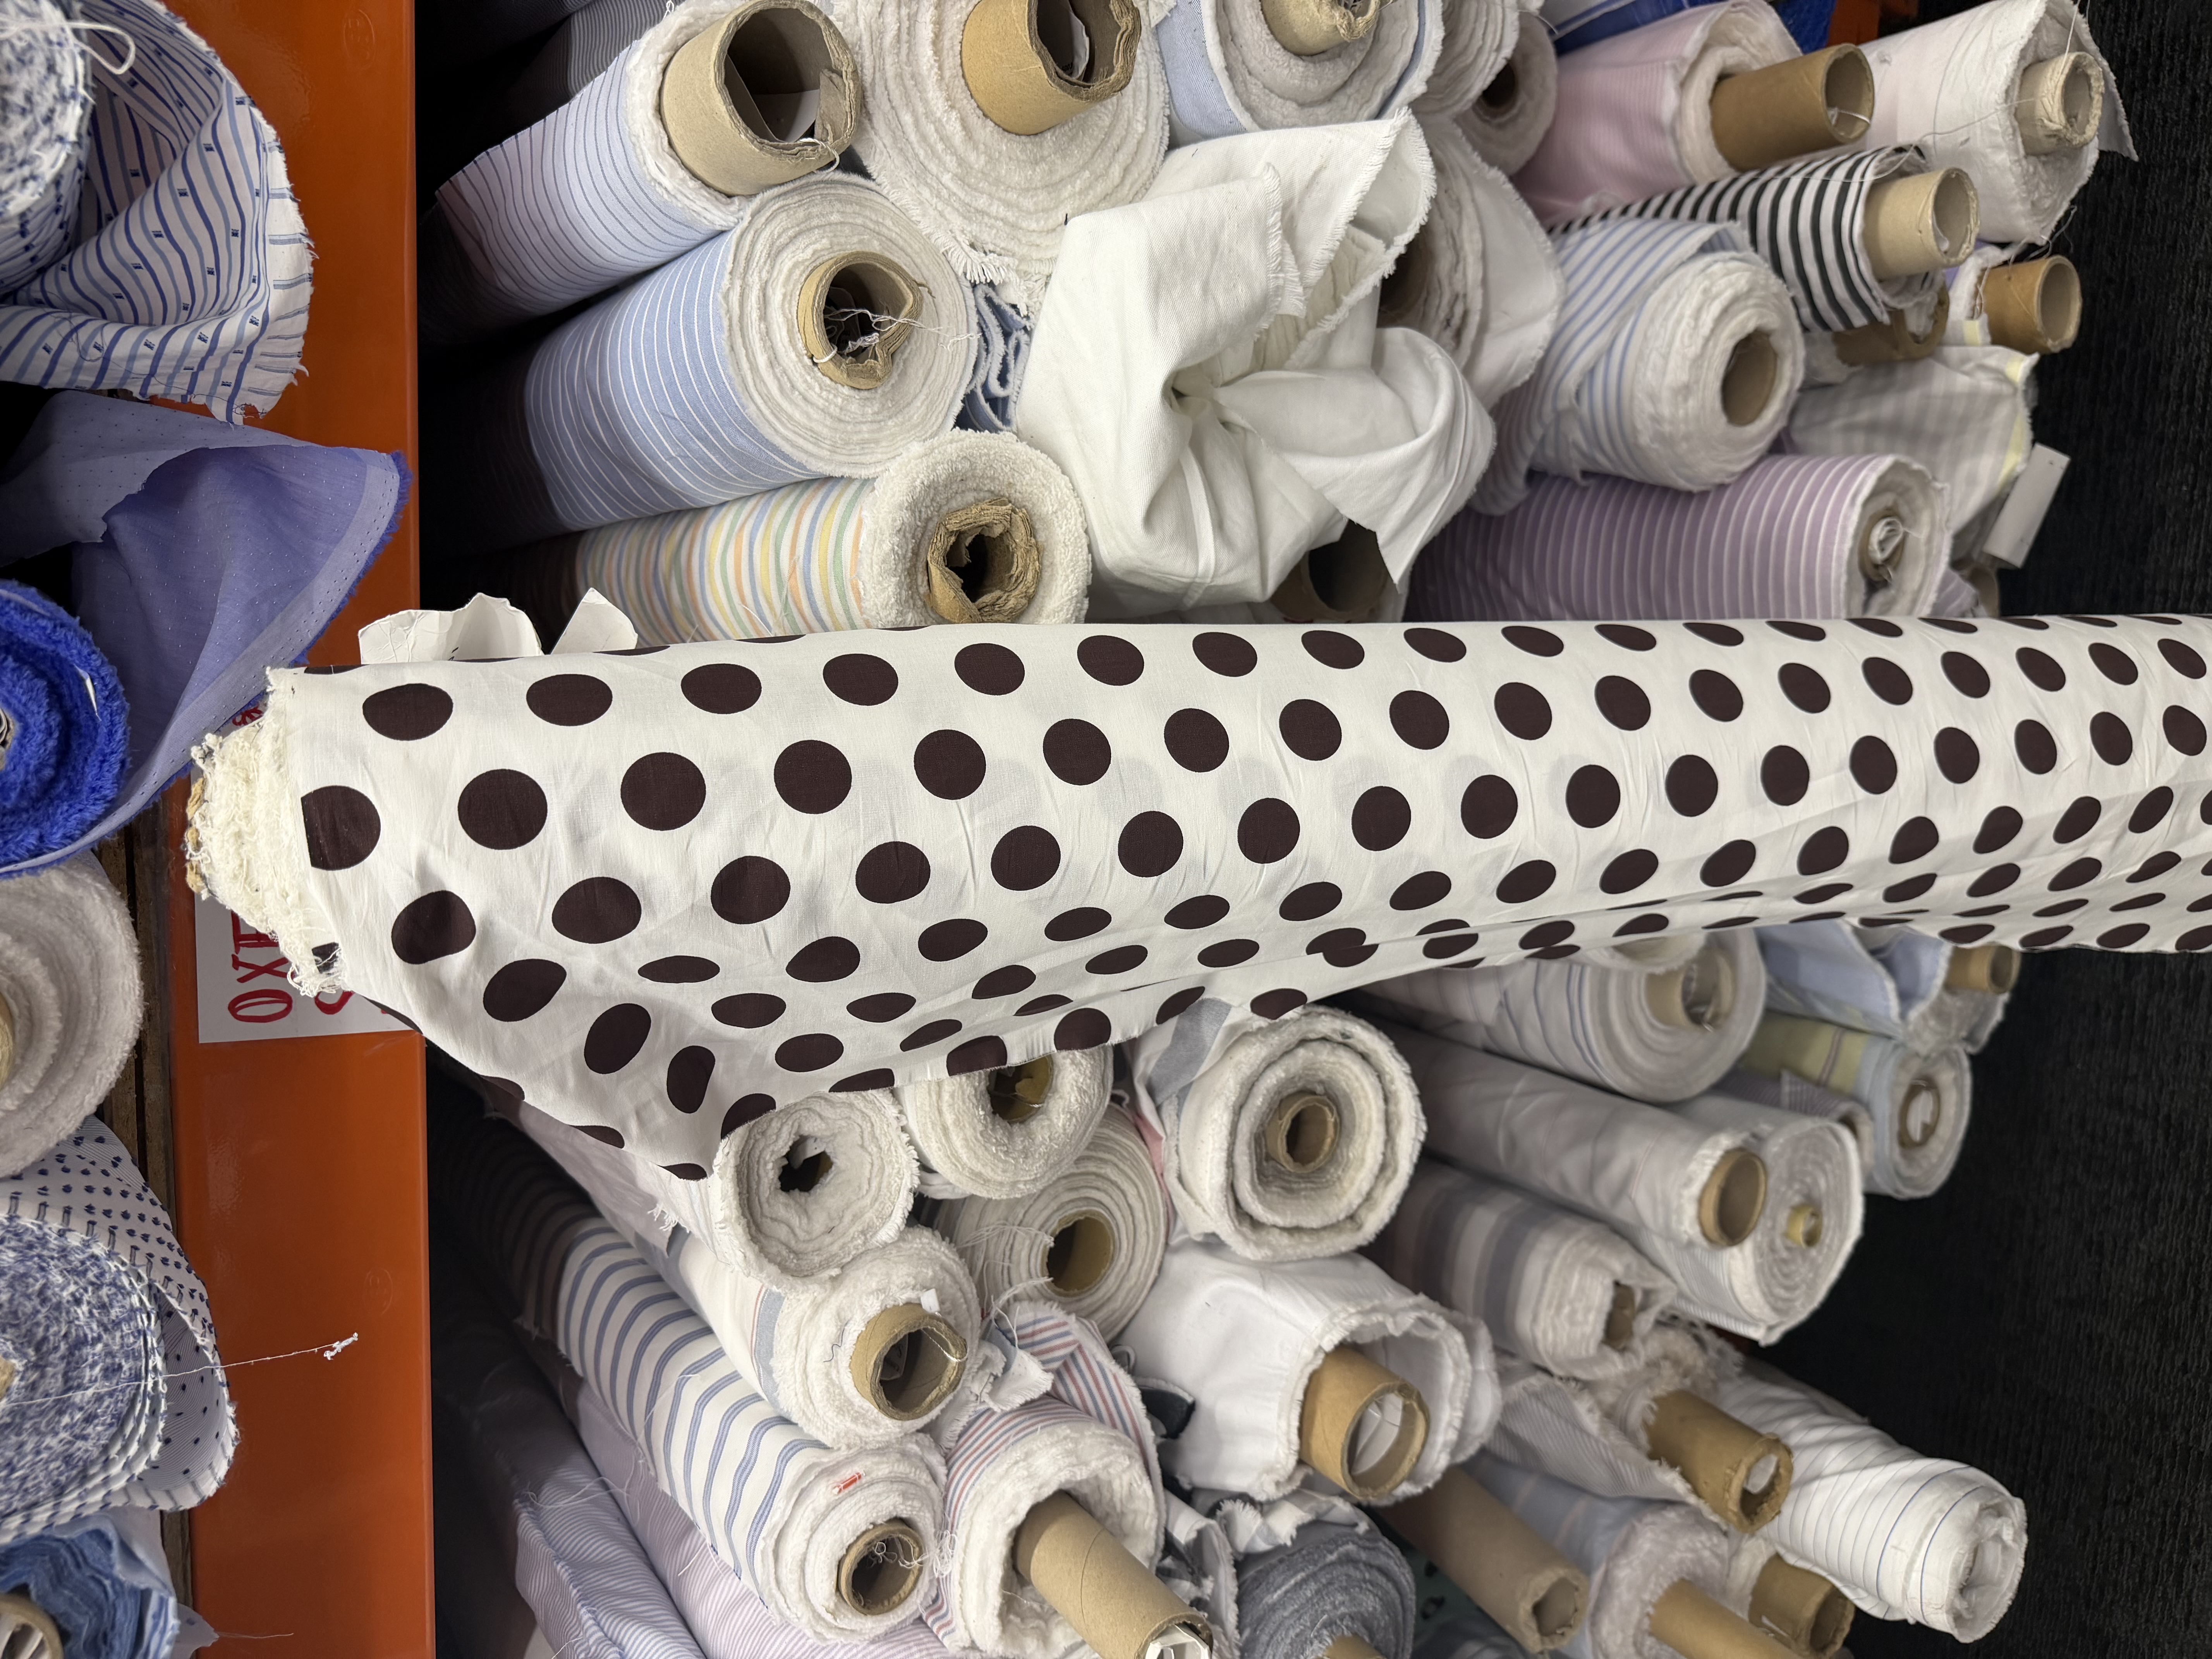
I was in New York in June and had to make a trip to the Garment District. I'd never been to Mood Fabrics before (make it work!), so I made a point of going. I ended up staying about an hour, way more time than I should have spent in there, and I could not leave without buying something.
I walked out with four yards of a white cotton with brown polka dots. I didn't have a project in mind when I bought it. I was thinking maybe the January Skirt, but mostly I just didn't want to leave empty handed.
Letting TikTok Pick the Pattern
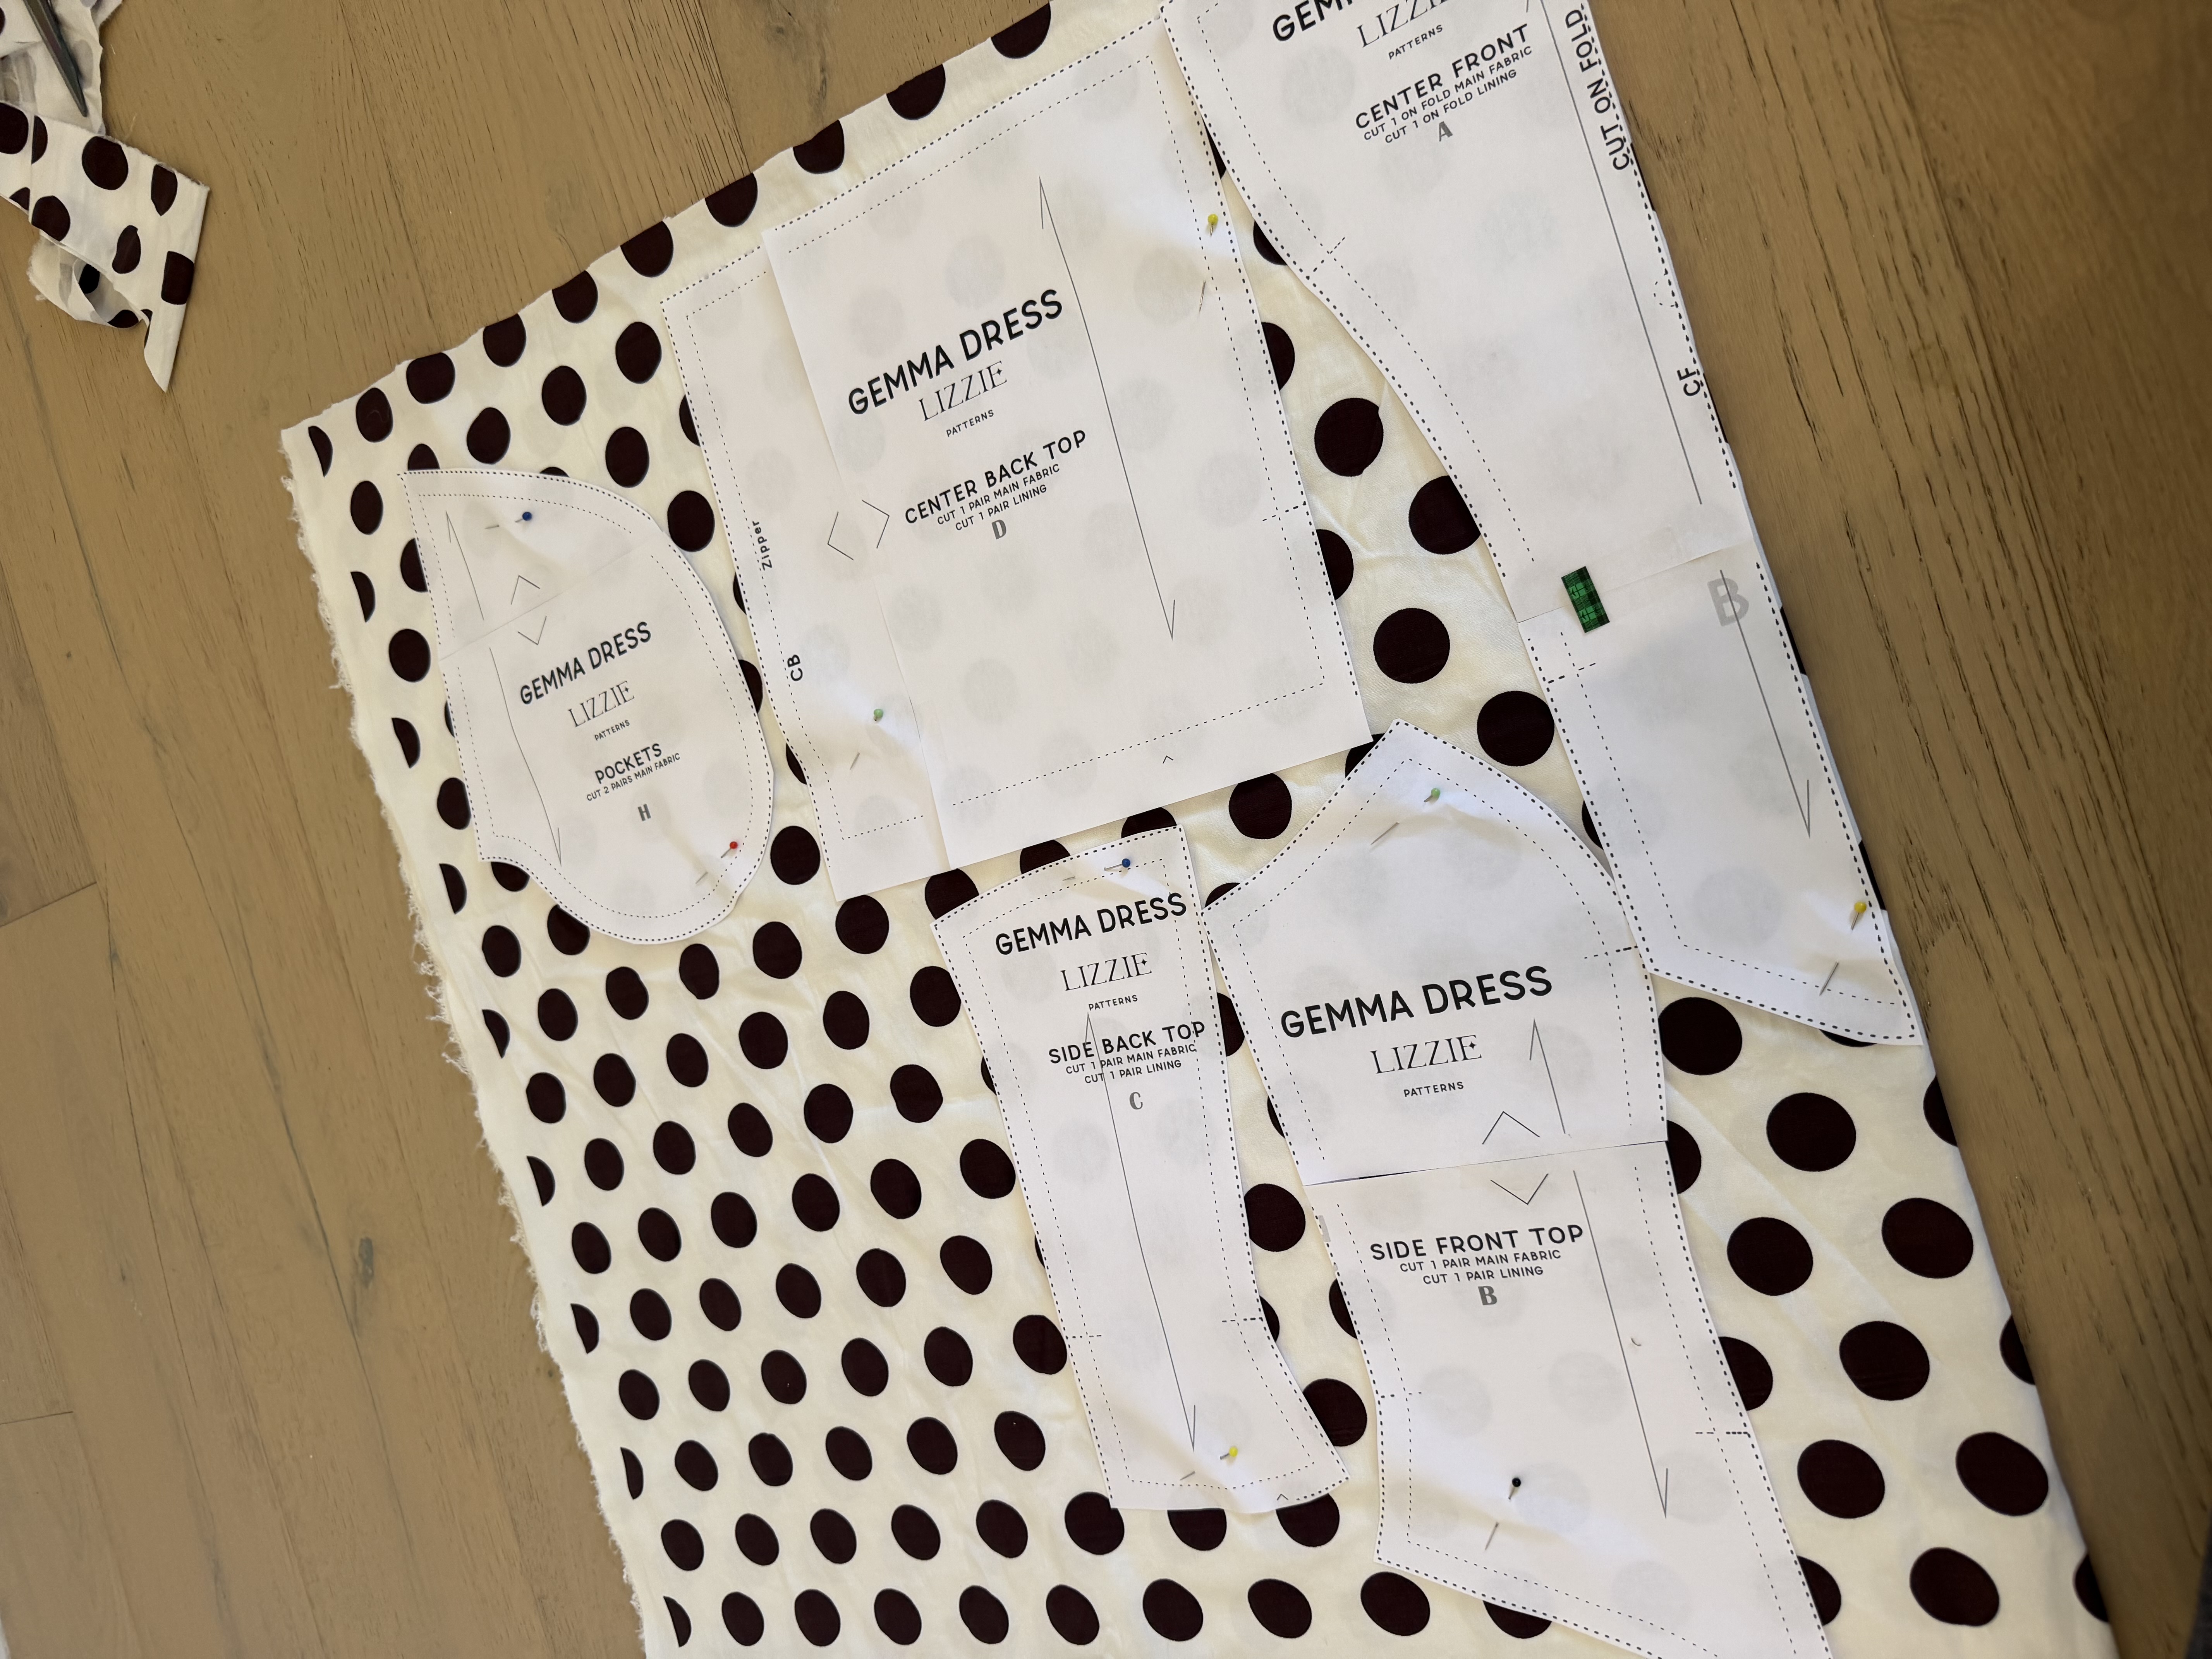
Once I got home, I sat with the fabric and tried to figure out what to actually make. I couldn't land on anything, so I made a TikTok and asked my followers to help me decide between four patterns: the Gemma Corset Dress by Lizzie Patterns, the Lola Jacket by Fioki, the January Skirt by NoePatterns, and the Juniper Dress by Tiana Herring Patterns.
The votes came back mostly for the Gemma Corset Dress. So I bought the pattern and got started.
What I Used
- Gemma Corset Dress pattern by Lizzie Patterns, purchased on Etsy
- 4 yards white and brown polka dot cotton from Mood Fabrics in NYC's Garment District
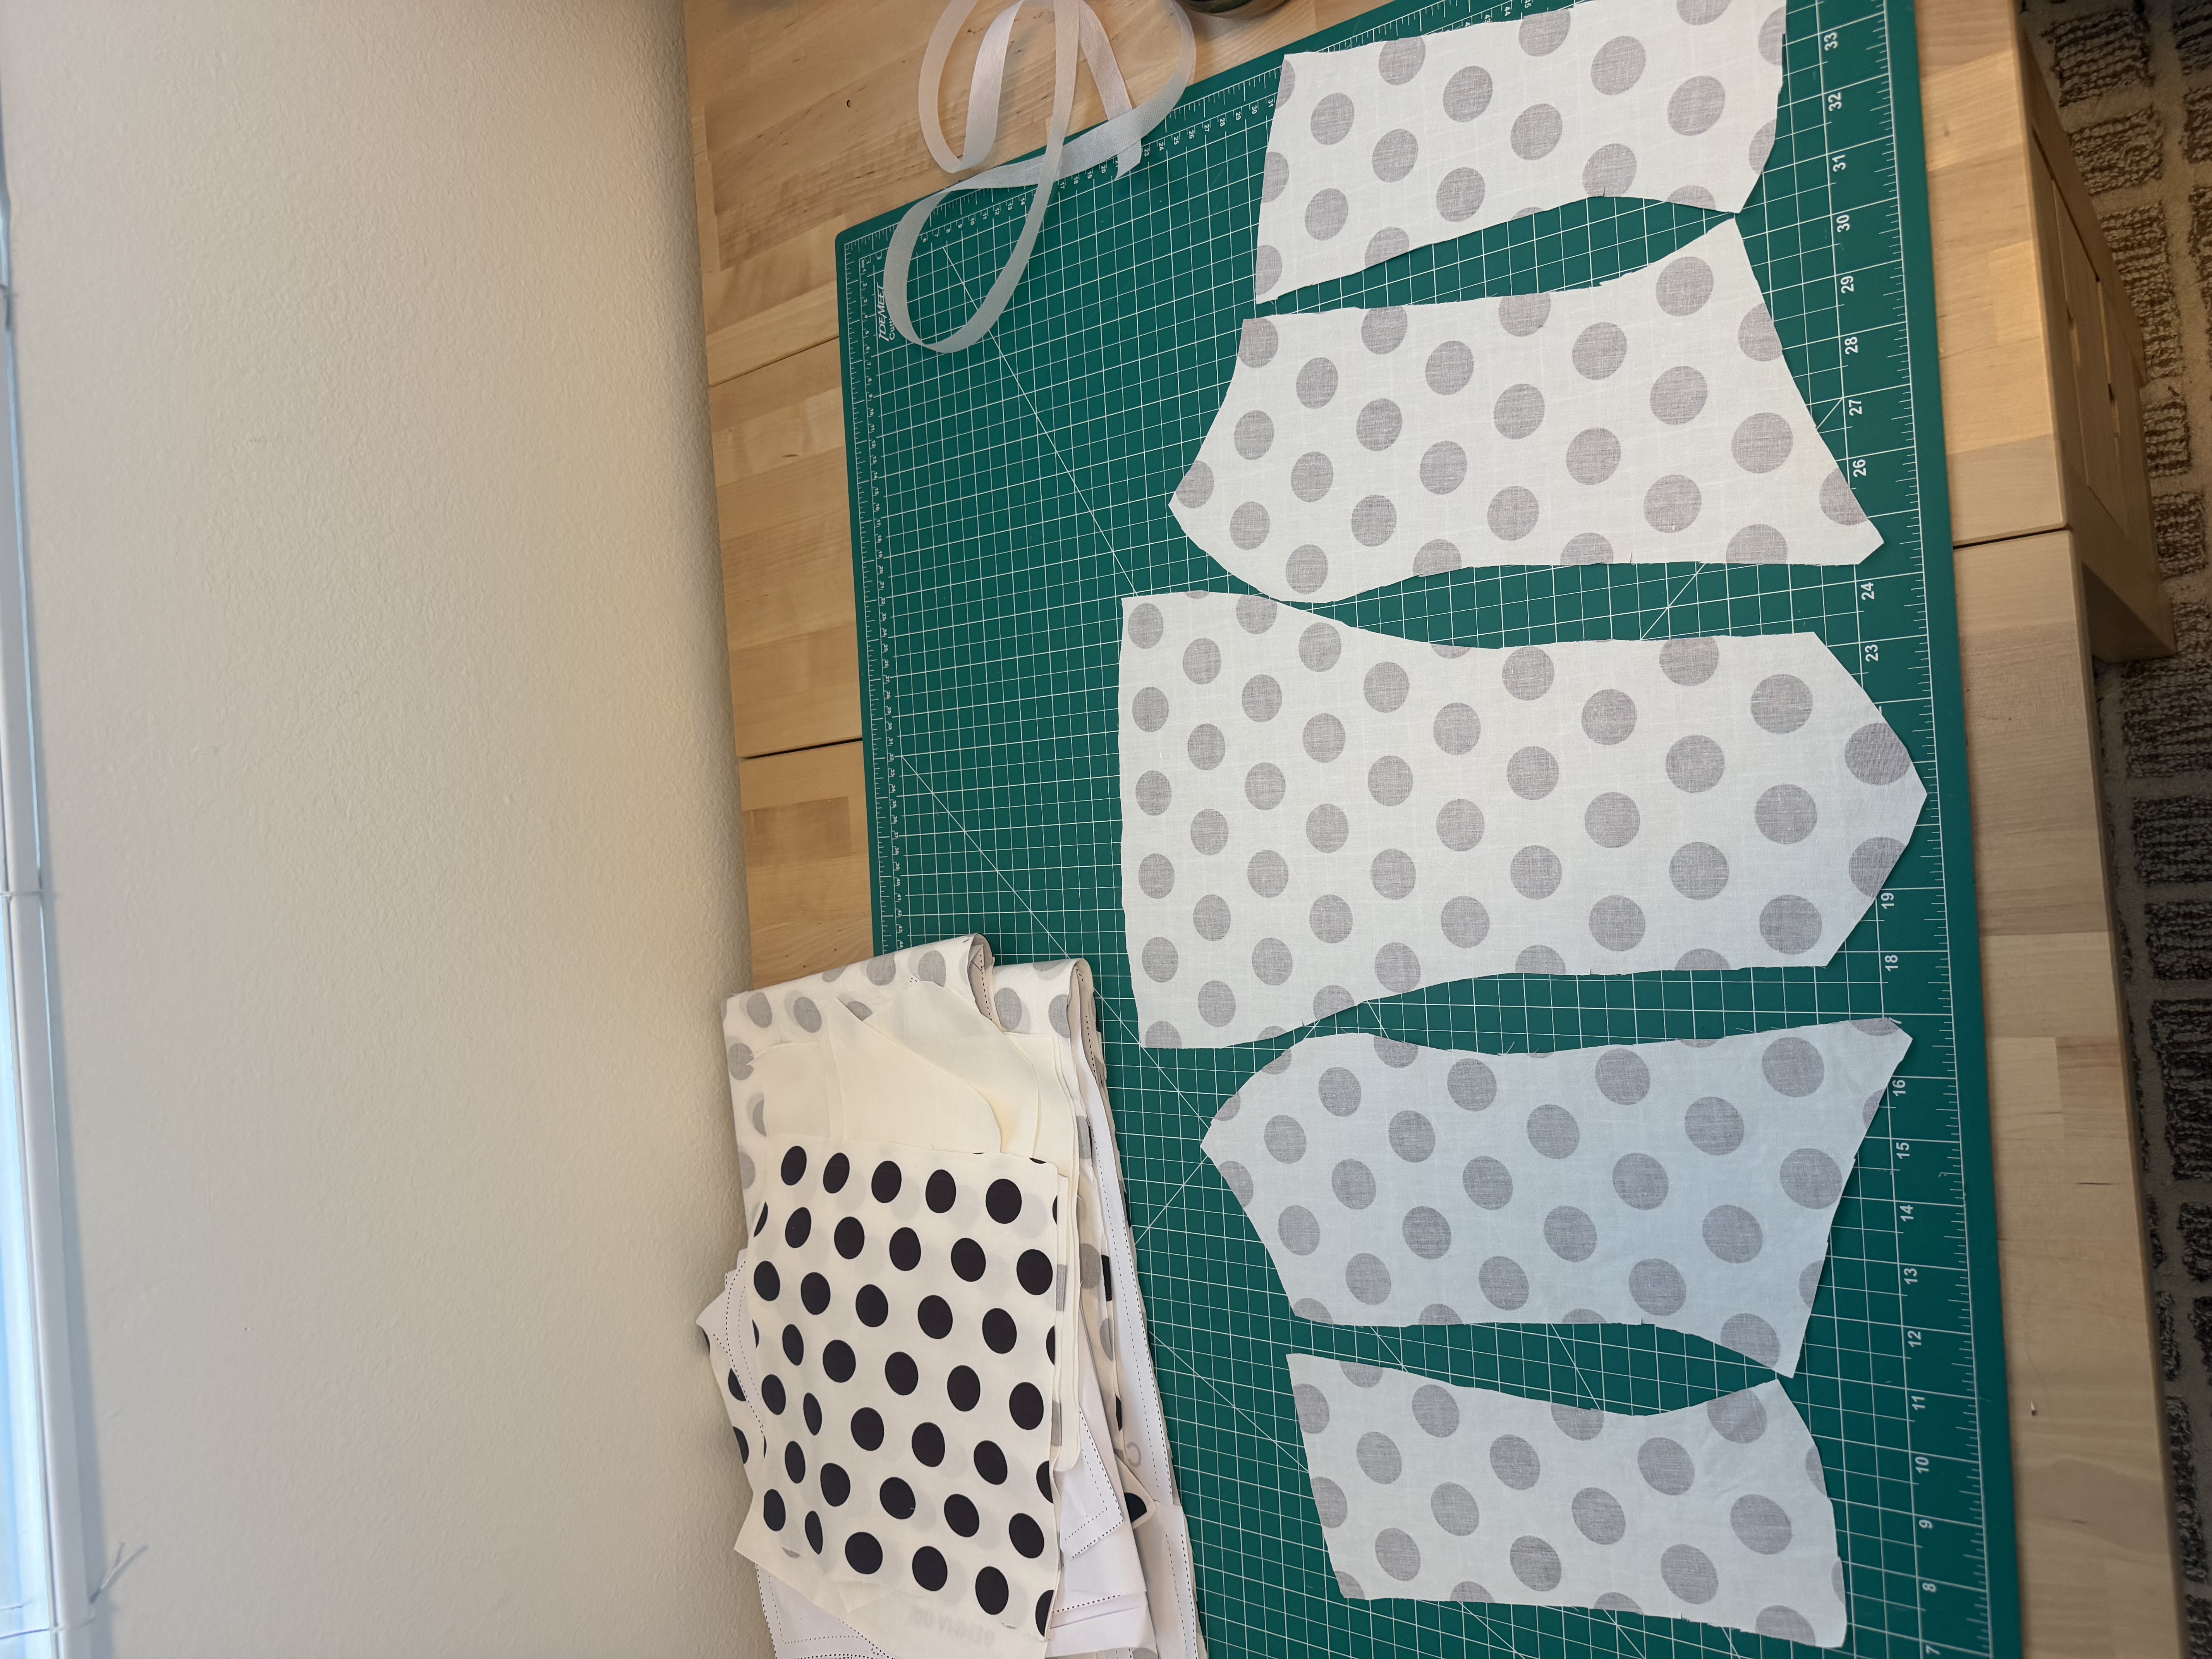
- White cotton lining, slightly thicker weight
- Thin braided elastic, .3cm (any width works, this is just what I had on hand)
- Heat-erasable fabric marking pen (suggested links: option 1, option 2)
- Invisible zipper
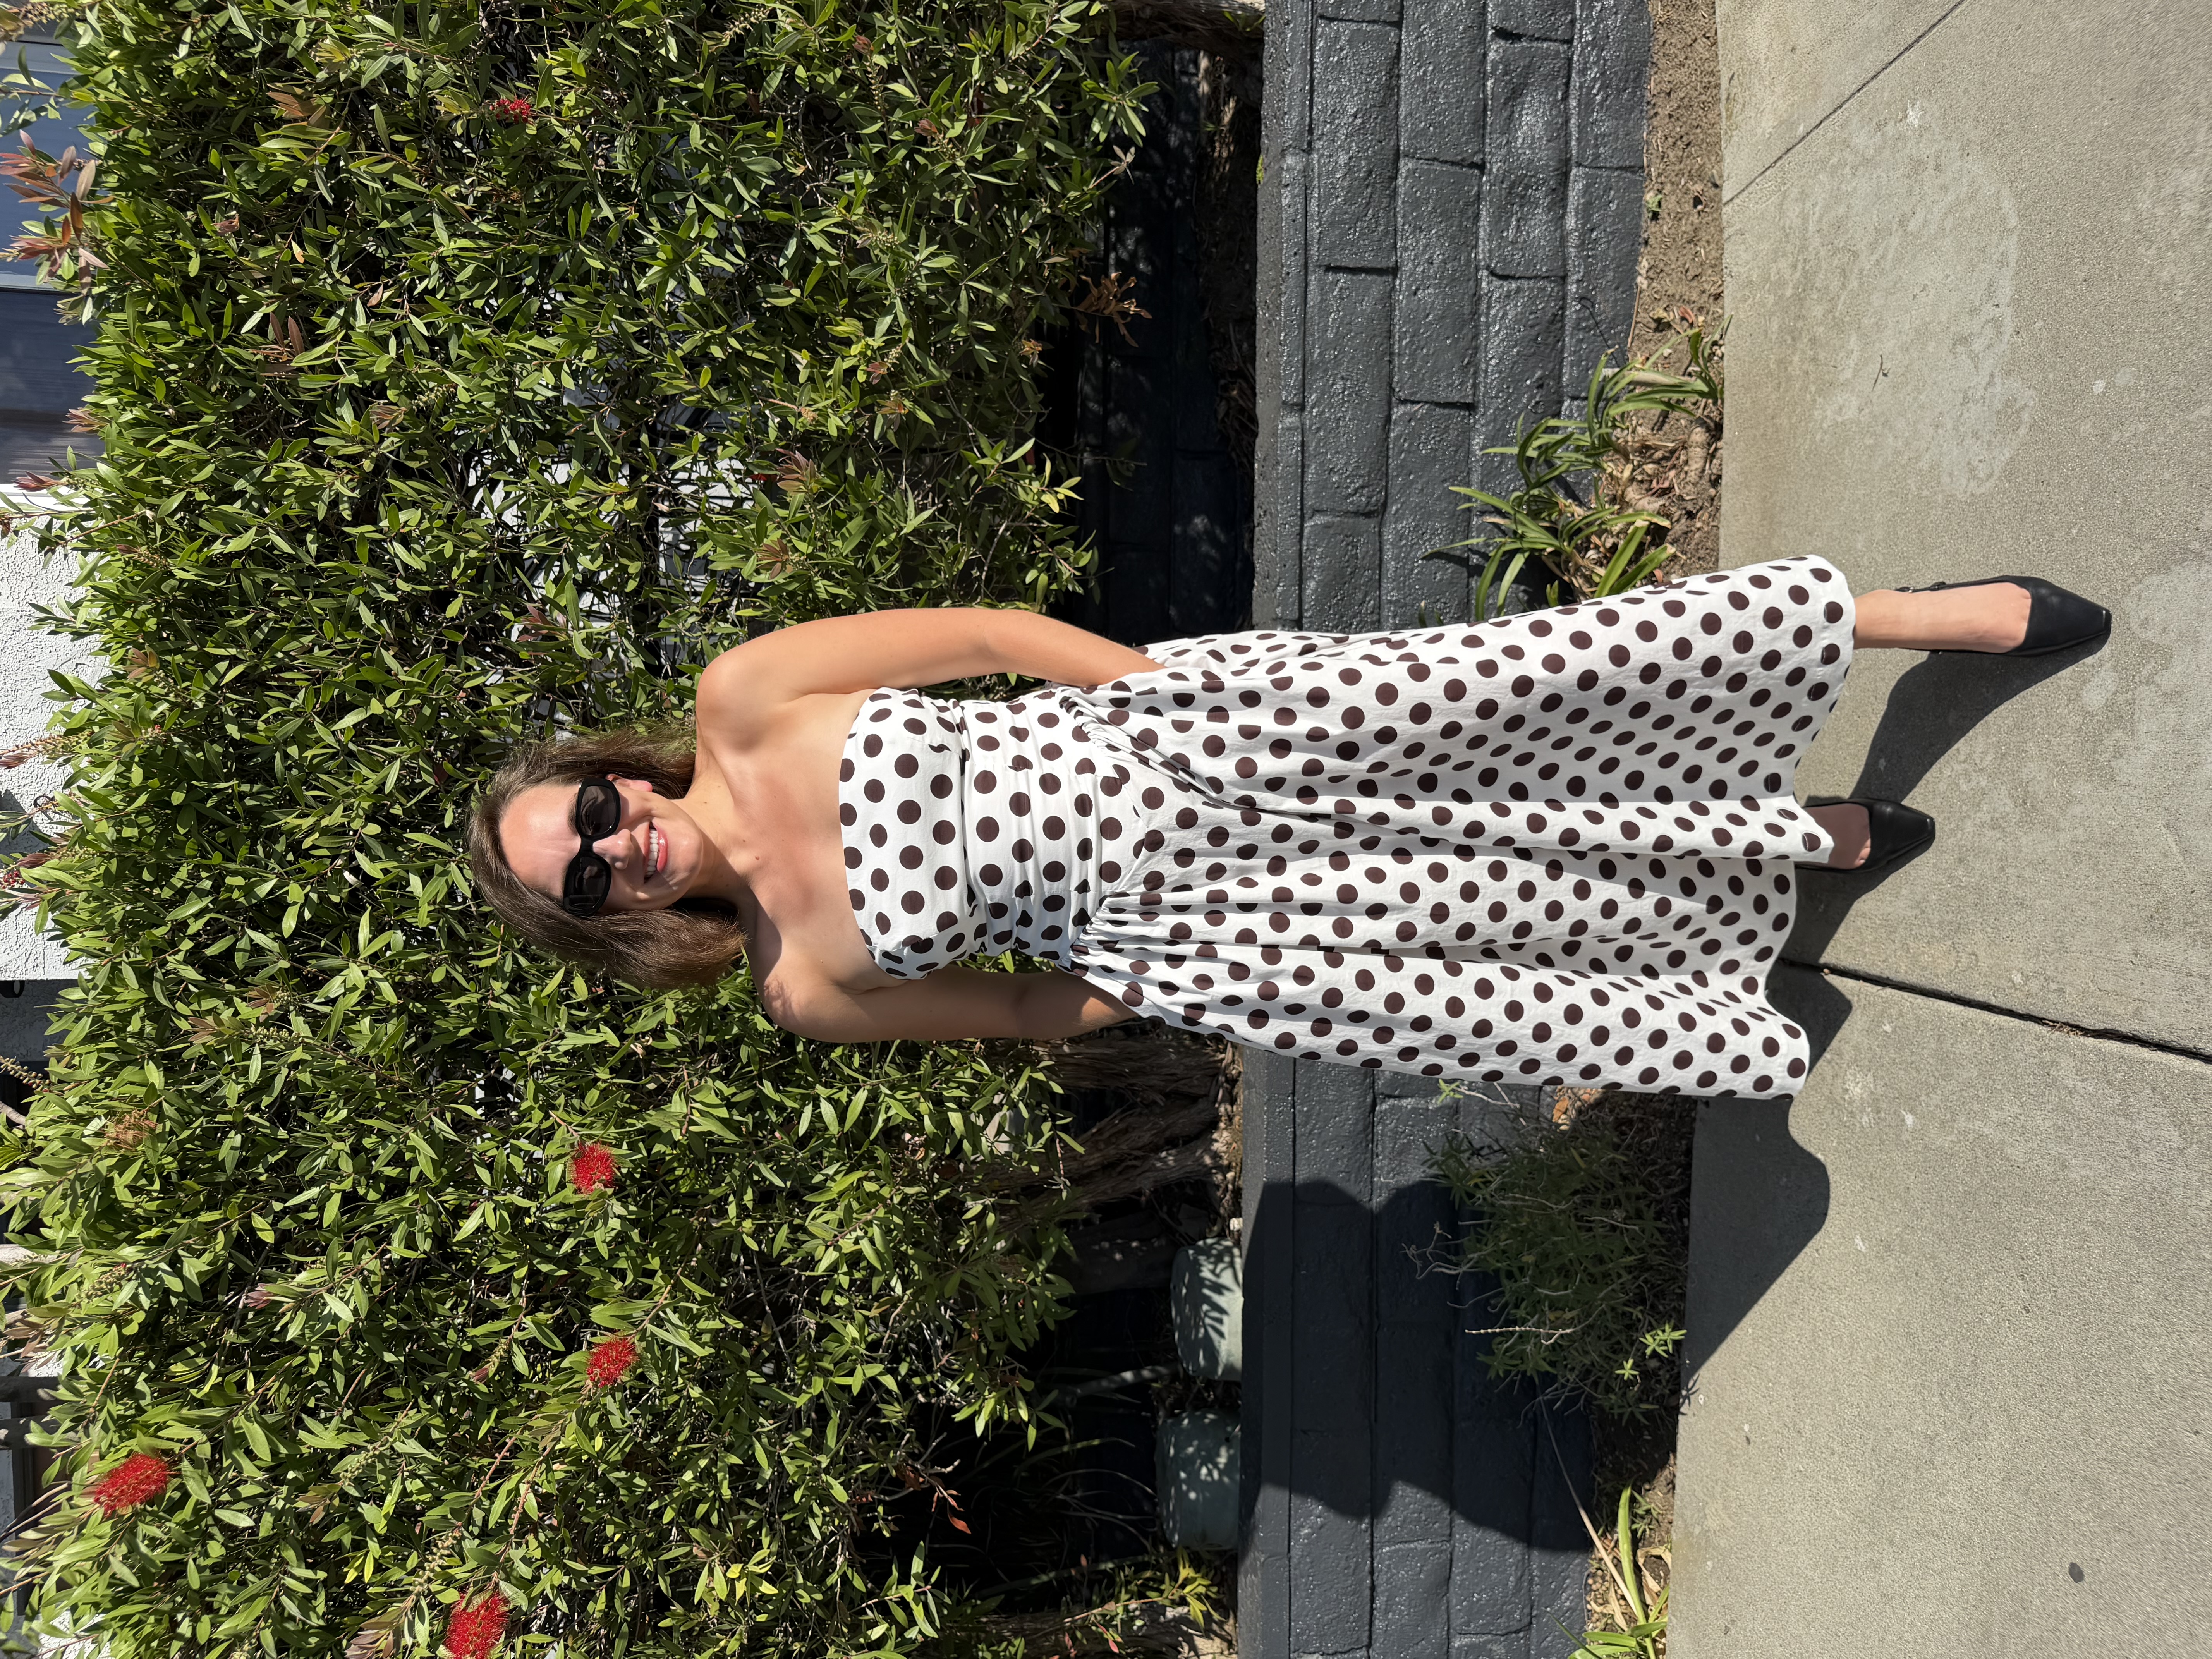
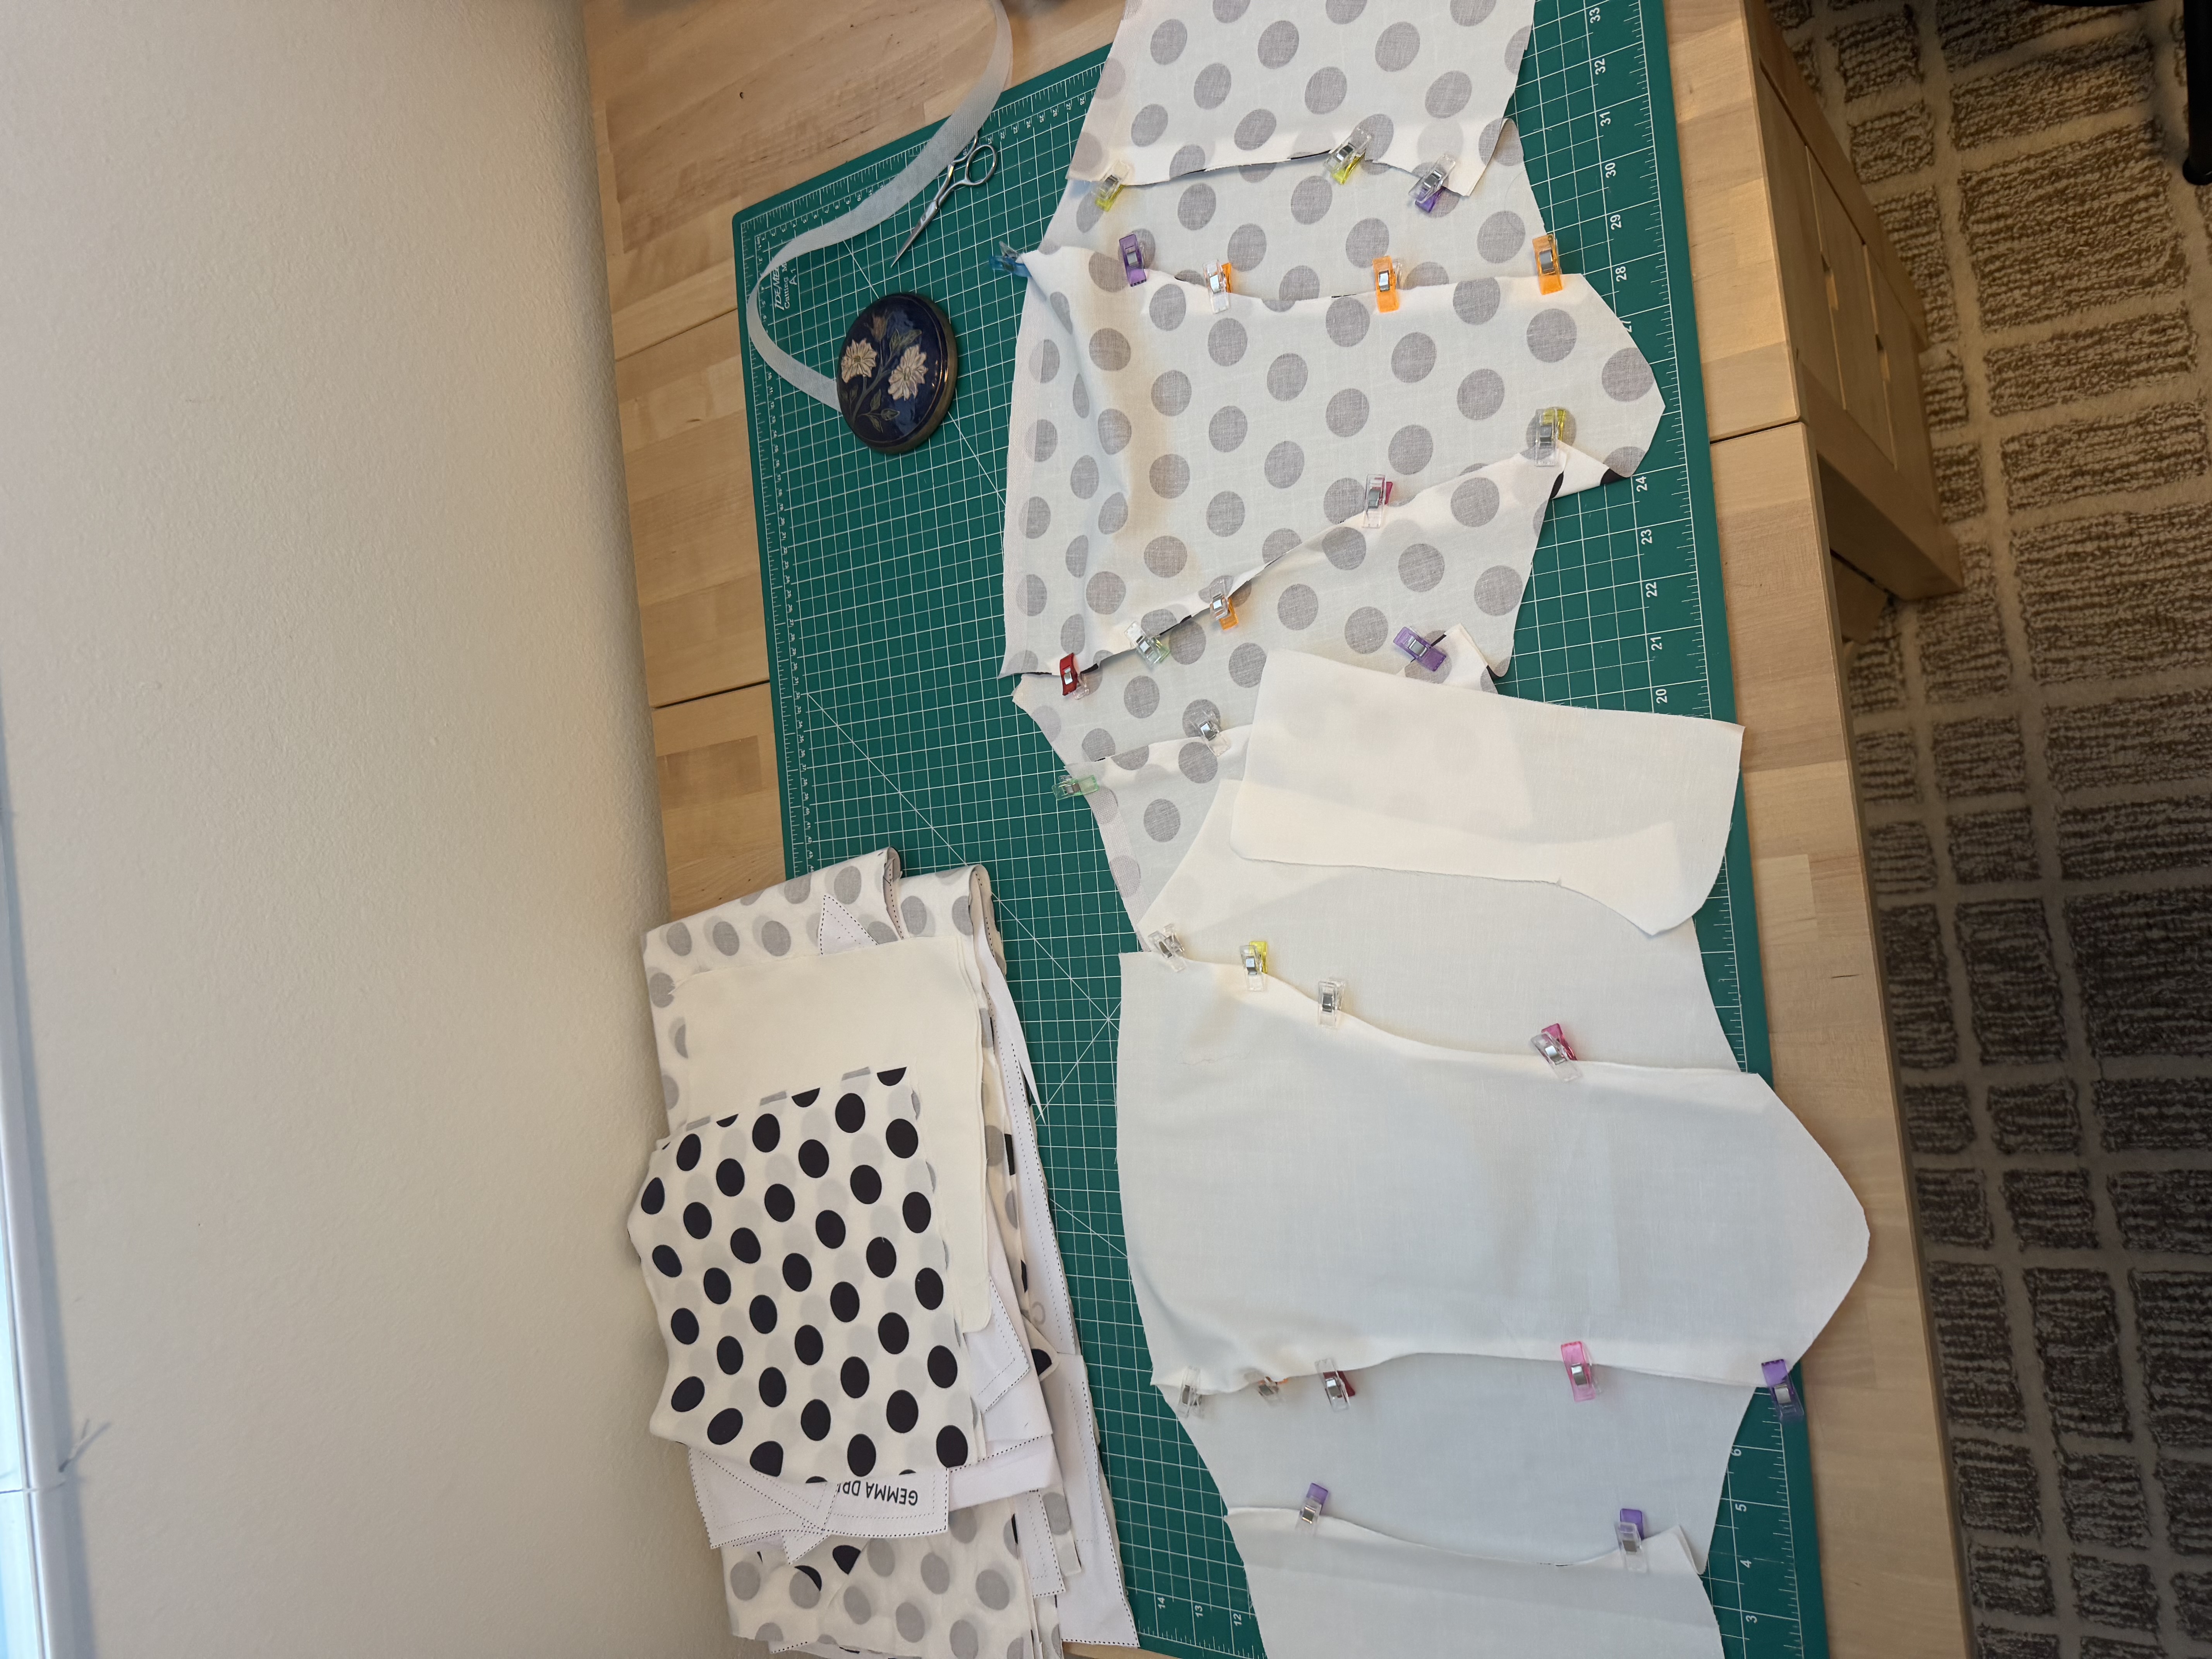
I made it strapless and full length. The pattern has a corset-style bodice with a V drop-waist seam, then side gathers at the hip before the skirt. I'd looked at the Etsy listing before buying and seen a bunch of examples other people had made, and they all turned out great. Depending on the fabric it can look really formal or pretty casual, and I liked that for this polka dot cotton. The corset top piece itself was straightforward to construct, just a few seams and darts to get the fit right.
Where It Started Going Wrong
The instructions were clear and the construction itself came together easily. The part that gave me trouble was shirring the two back bodice panels that attach to the zipper. That's what pulls the corset bodice in and gets it fitted.
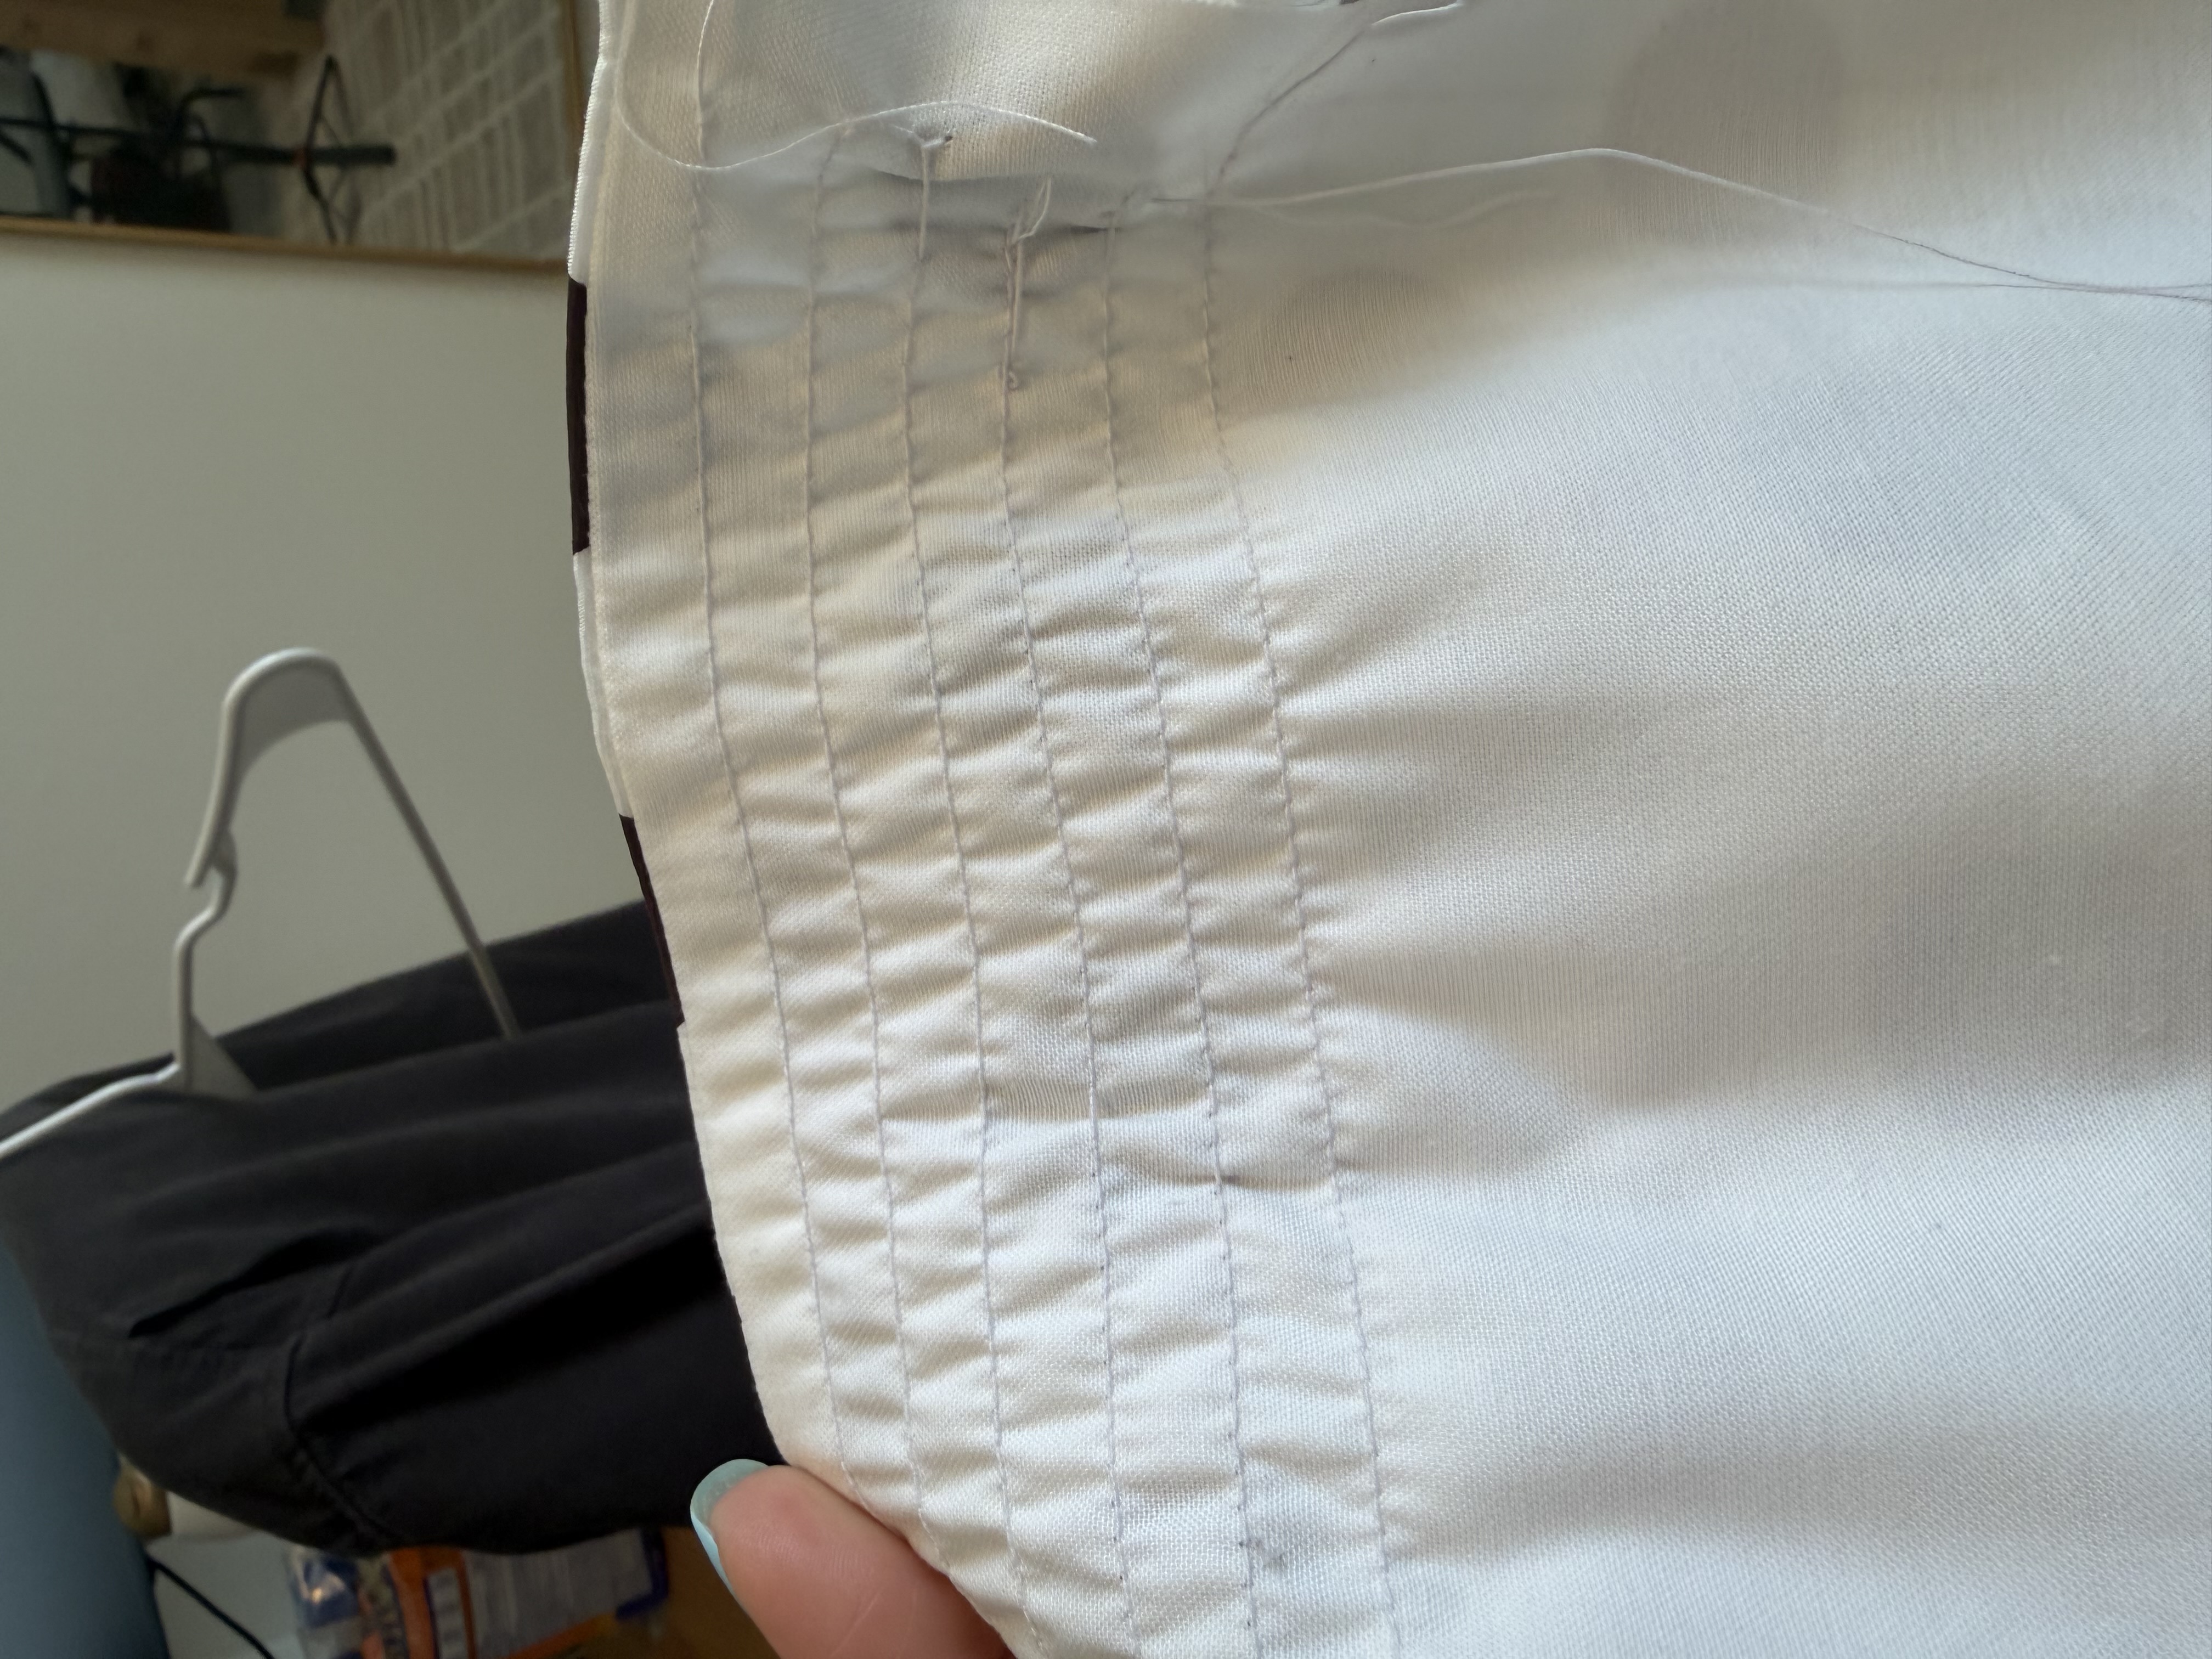
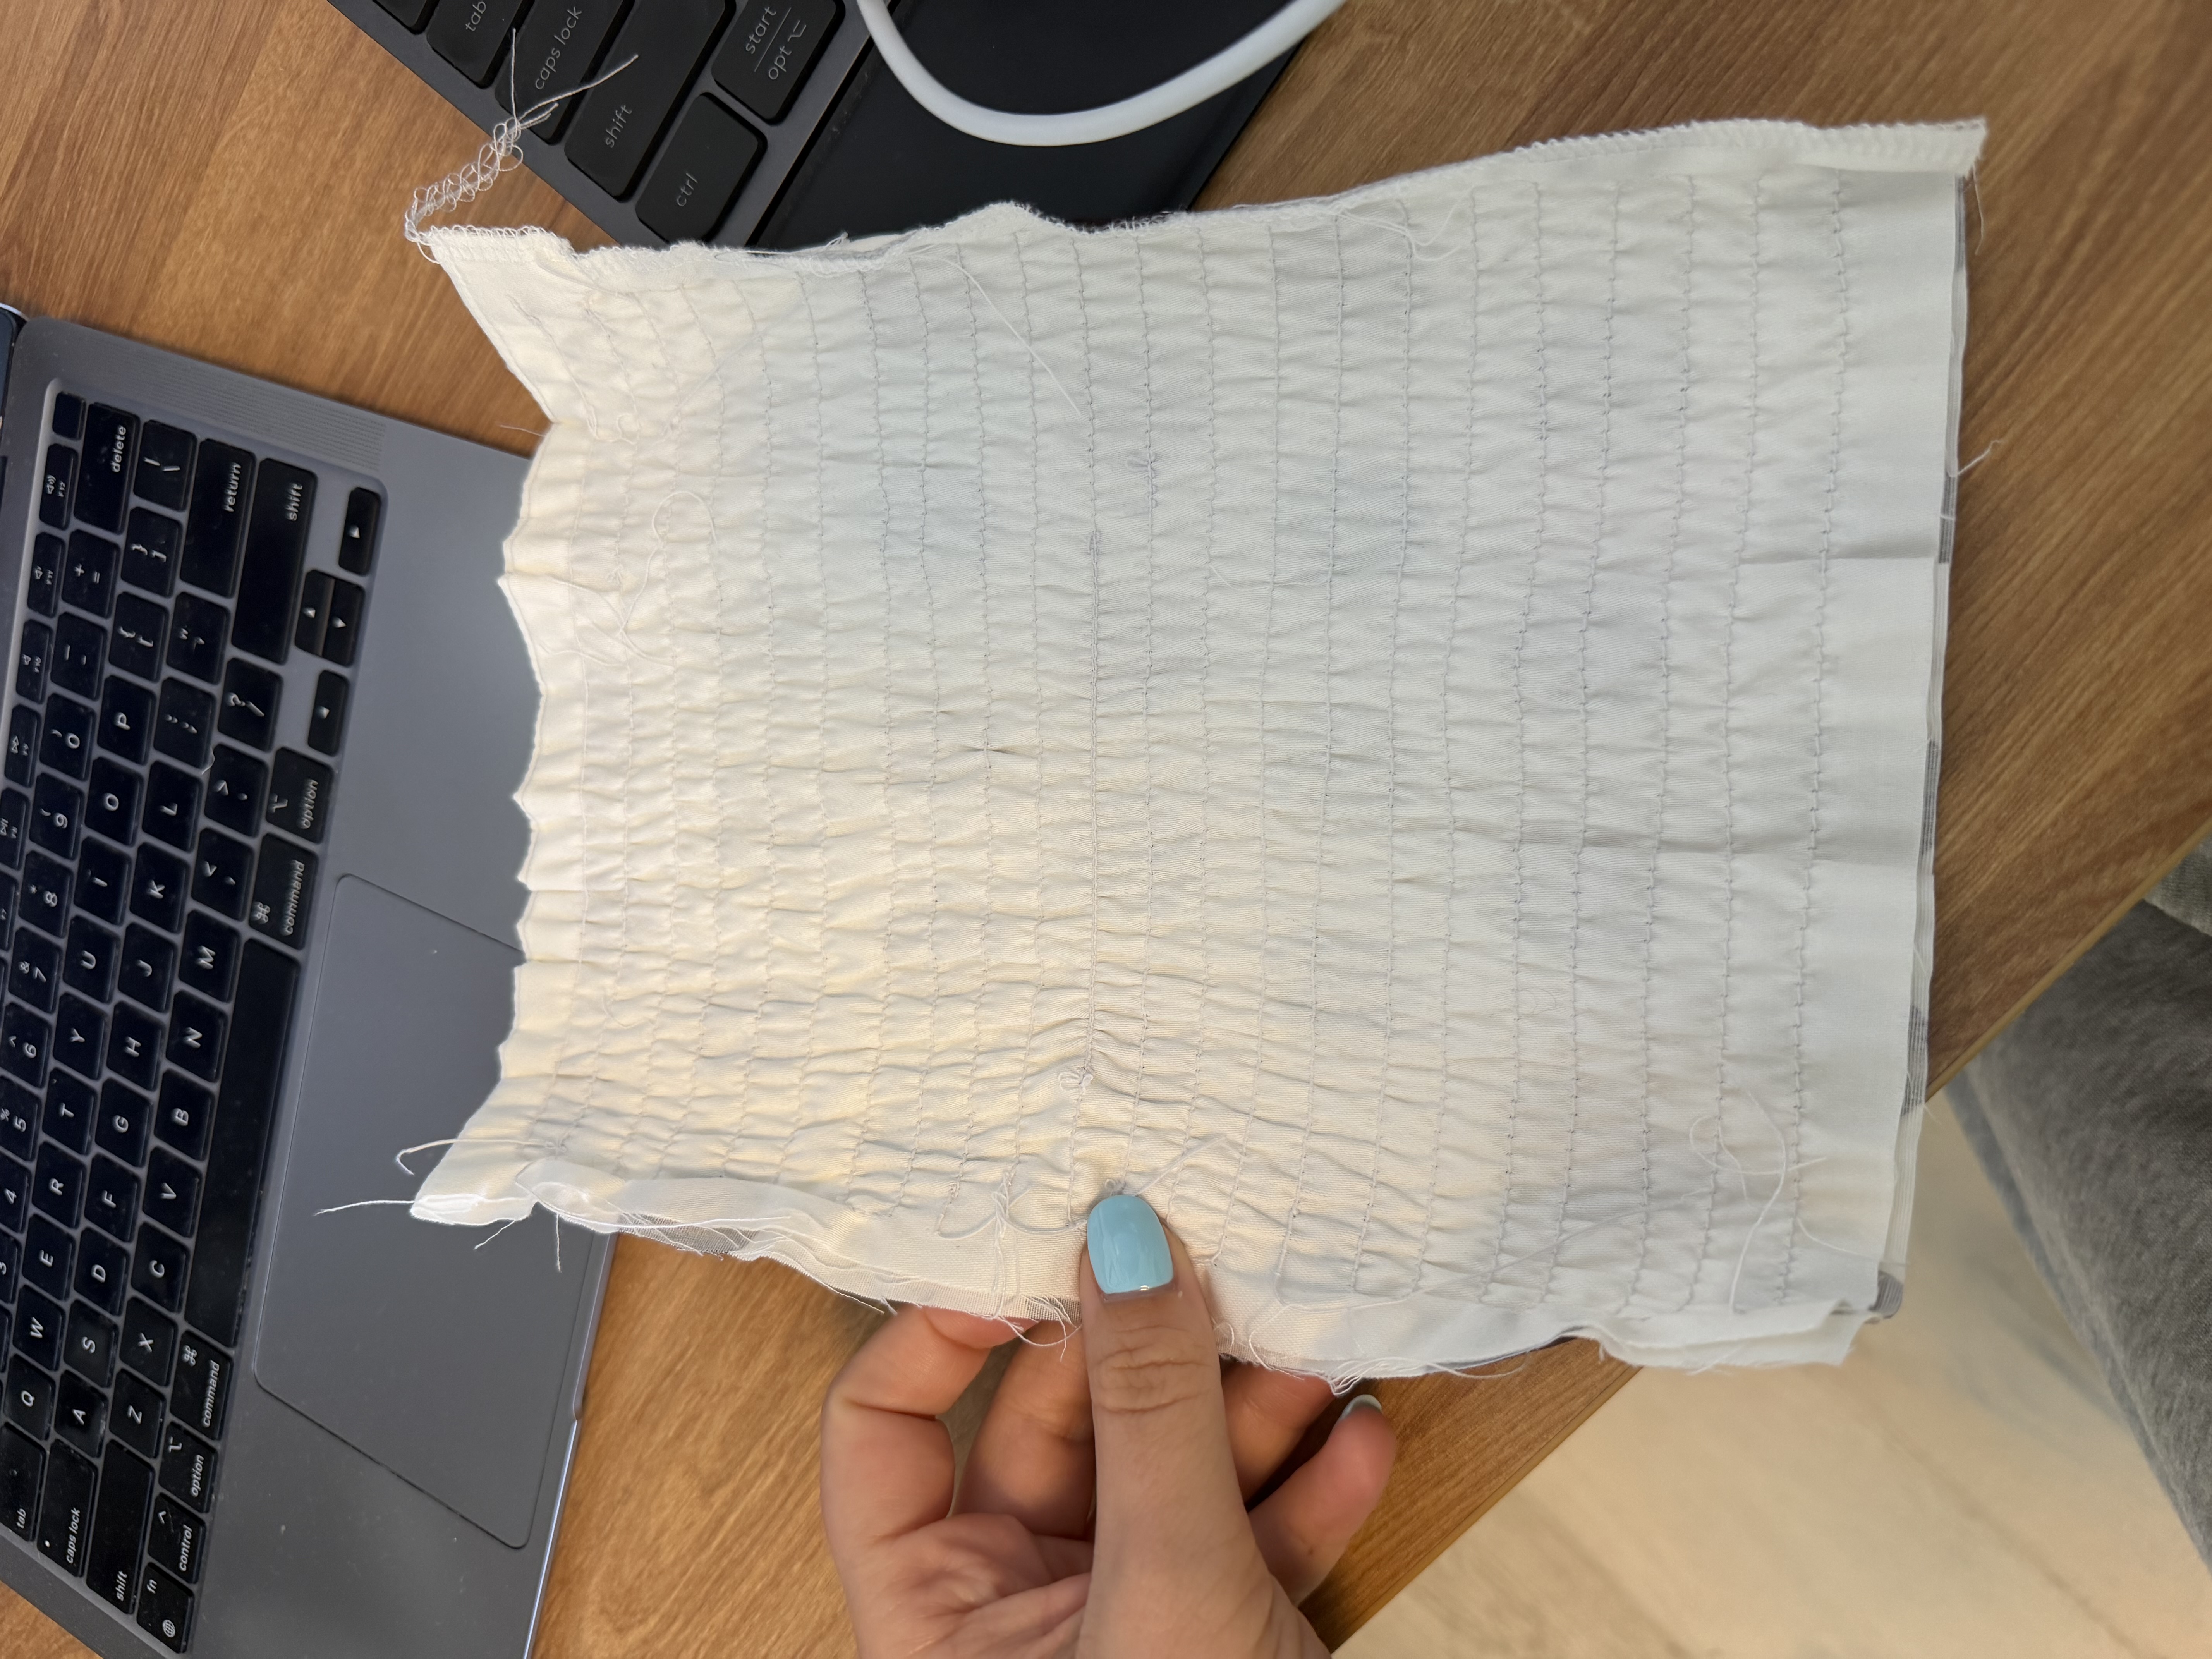
I've shirred a couple times before with elastic thread. There are tricks to it: long stitch length, tension turned way up, and you have to hand wind the elastic thread onto the bobbin yourself. Steaming the fabric after you sew is supposed to help it gather even more too, but it didn't do much for me. I did all of that and tested it over and over. Technically it worked, the fabric did gather, but not nearly as much as it was supposed to. The pattern said each back panel should shrink from 22cm down to about 11cm, and mine wasn't getting close to that. I was worried that without enough gather, the corset top wouldn't actually feel tight and fitted around my body.
I got pretty frustrated and started looking at other ways to do it.
Switching to Braided Elastic
I found thin braided elastic, .3cm, and decided to try pulling it directly onto the fabric instead of using elastic thread in the bobbin. Any width would work, that's just what I had on hand. First I marked lines on each back panel with a heat-erasable pen, about a centimeter apart, since the marks come out later with an iron. Then I cut the elastic into 11cm pieces, one for each line, and sewed it straight onto the fabric while stretching it as I went.
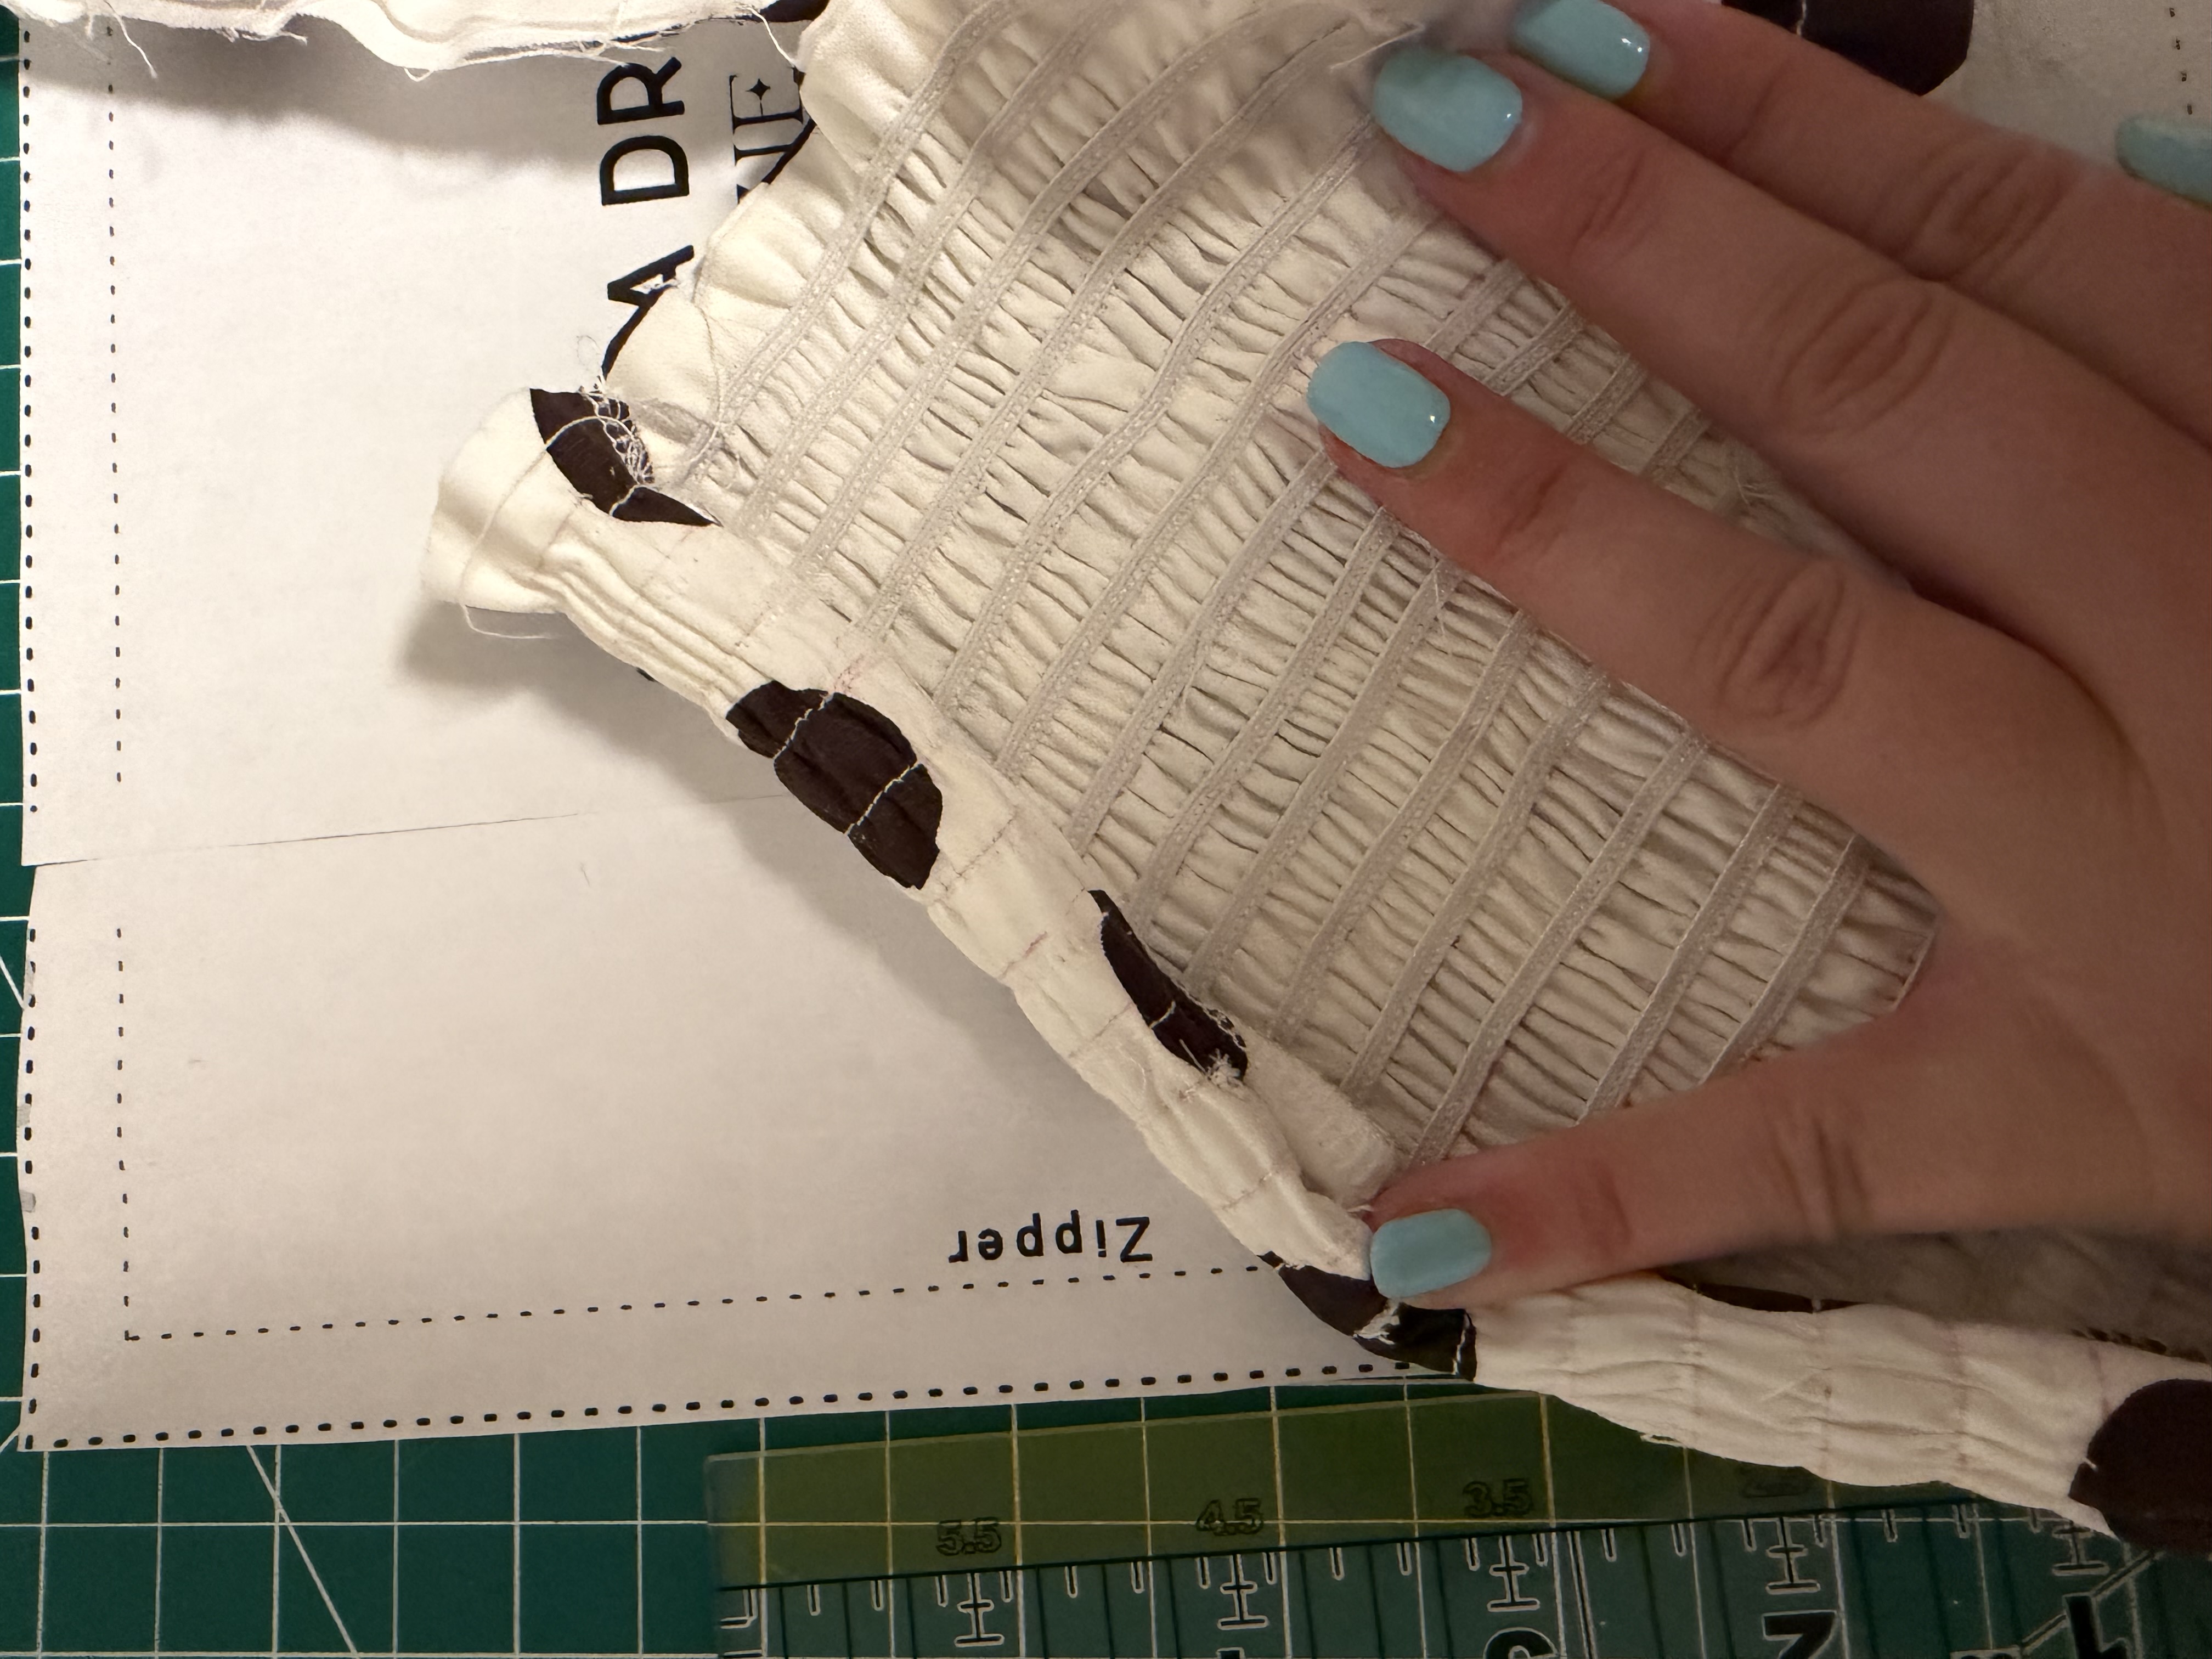
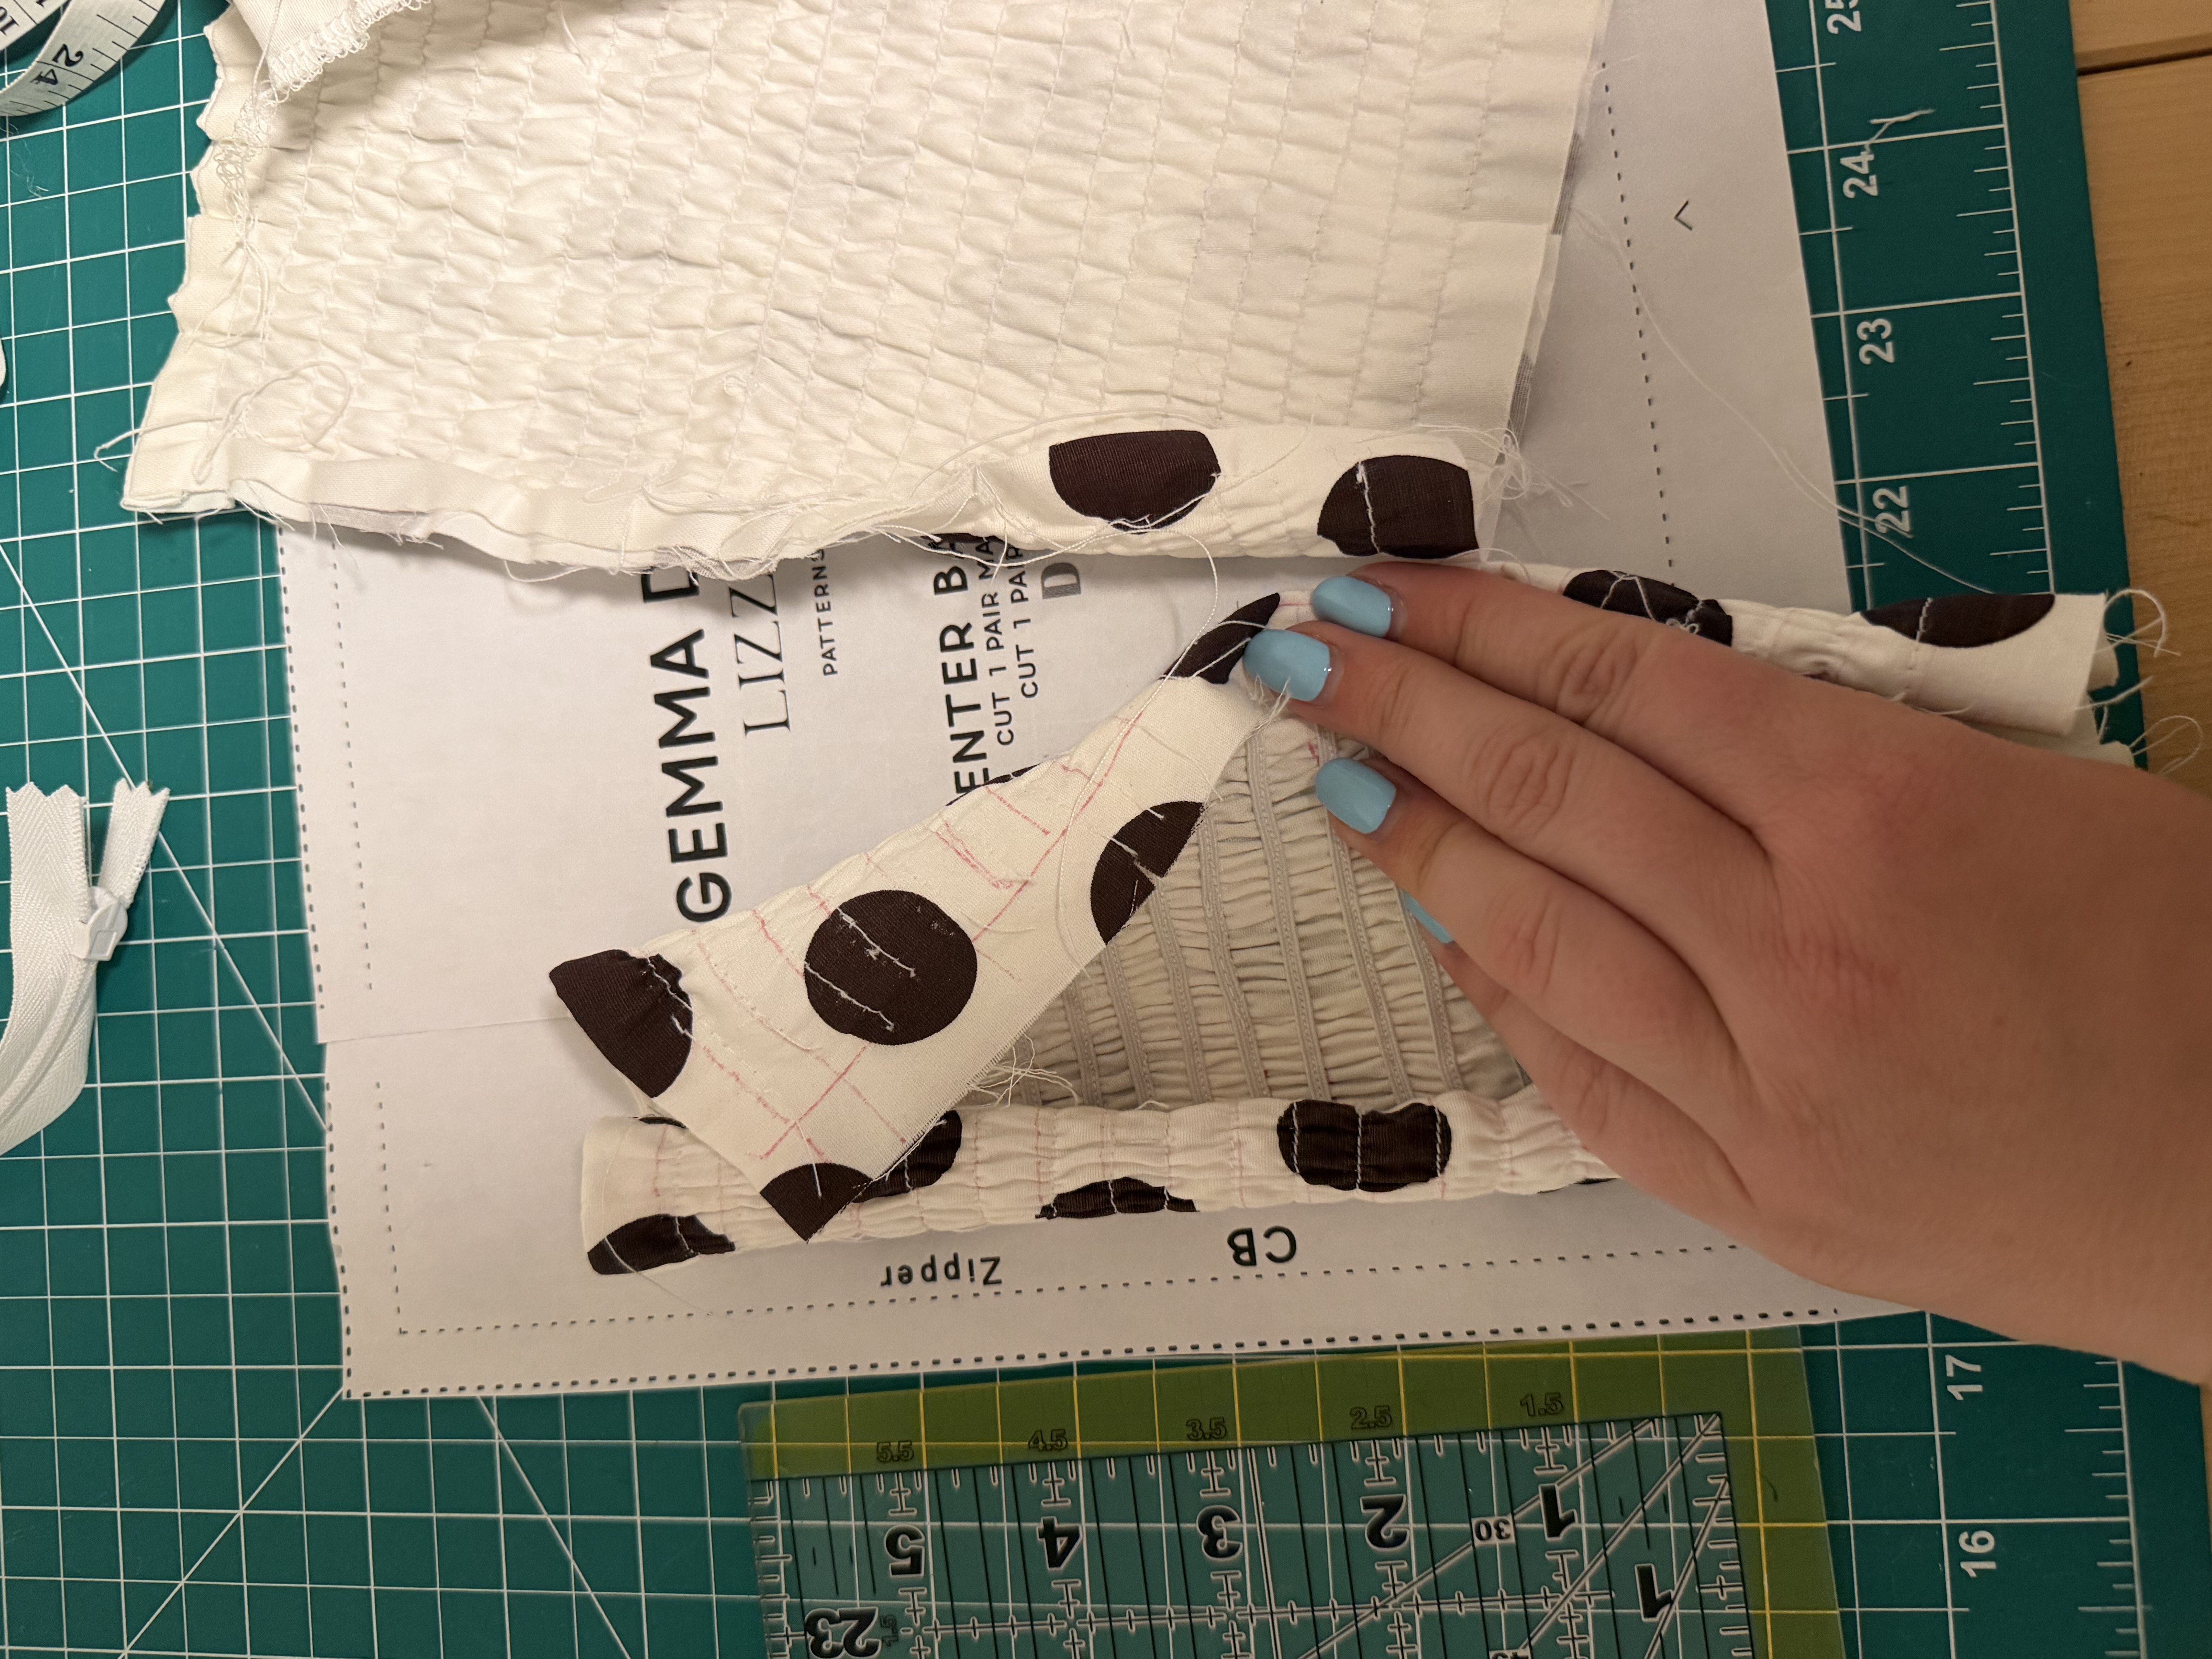
It got me the gathered effect I needed, but it took way longer than it should have, and my wrist was hurting by the end. It doesn't look as clean up close as I wanted, but it worked. Once that piece was done, the rest of the dress went together fast. I gathered the skirt and put in the invisible zipper, both things I've done plenty of times before, then hemmed the bottom.
The Finished Dress
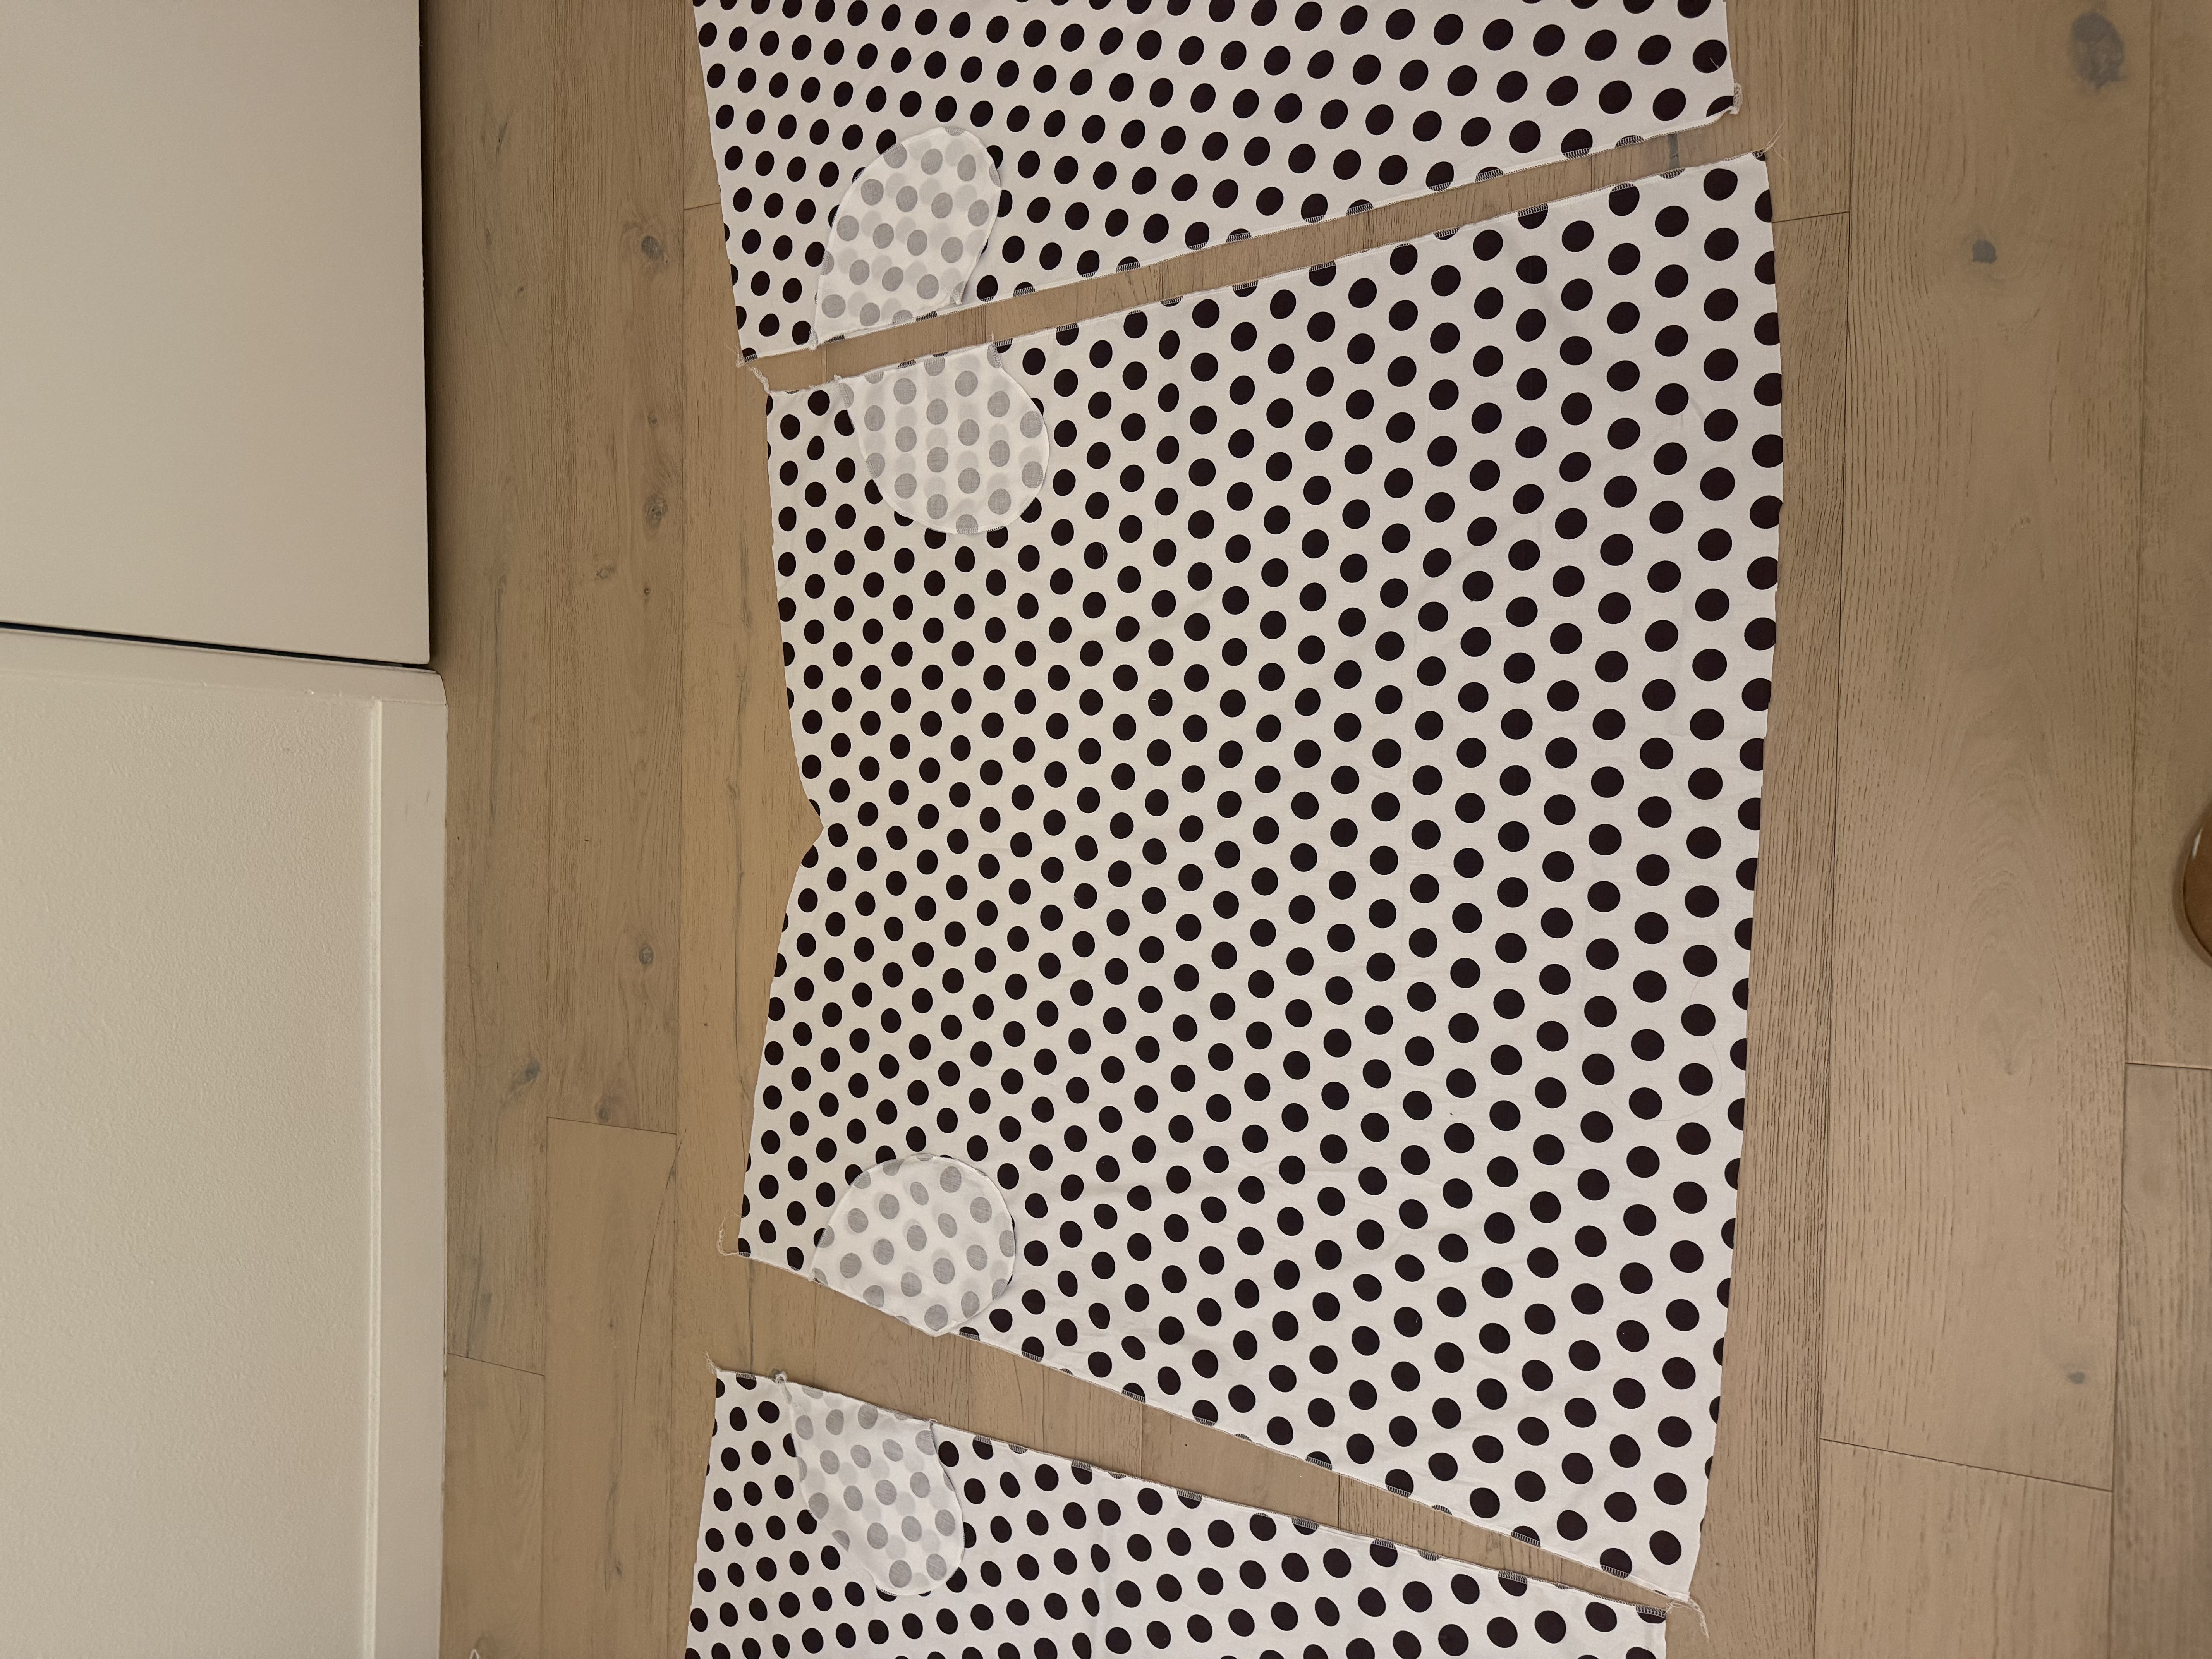
I'm happy with how it turned out. The shirring isn't as clean as I'd like, but you can't really tell unless you're looking closely, and the rest of the dress fits and moves the way I wanted it to. It also has pockets, which is always a win. We love pockets.
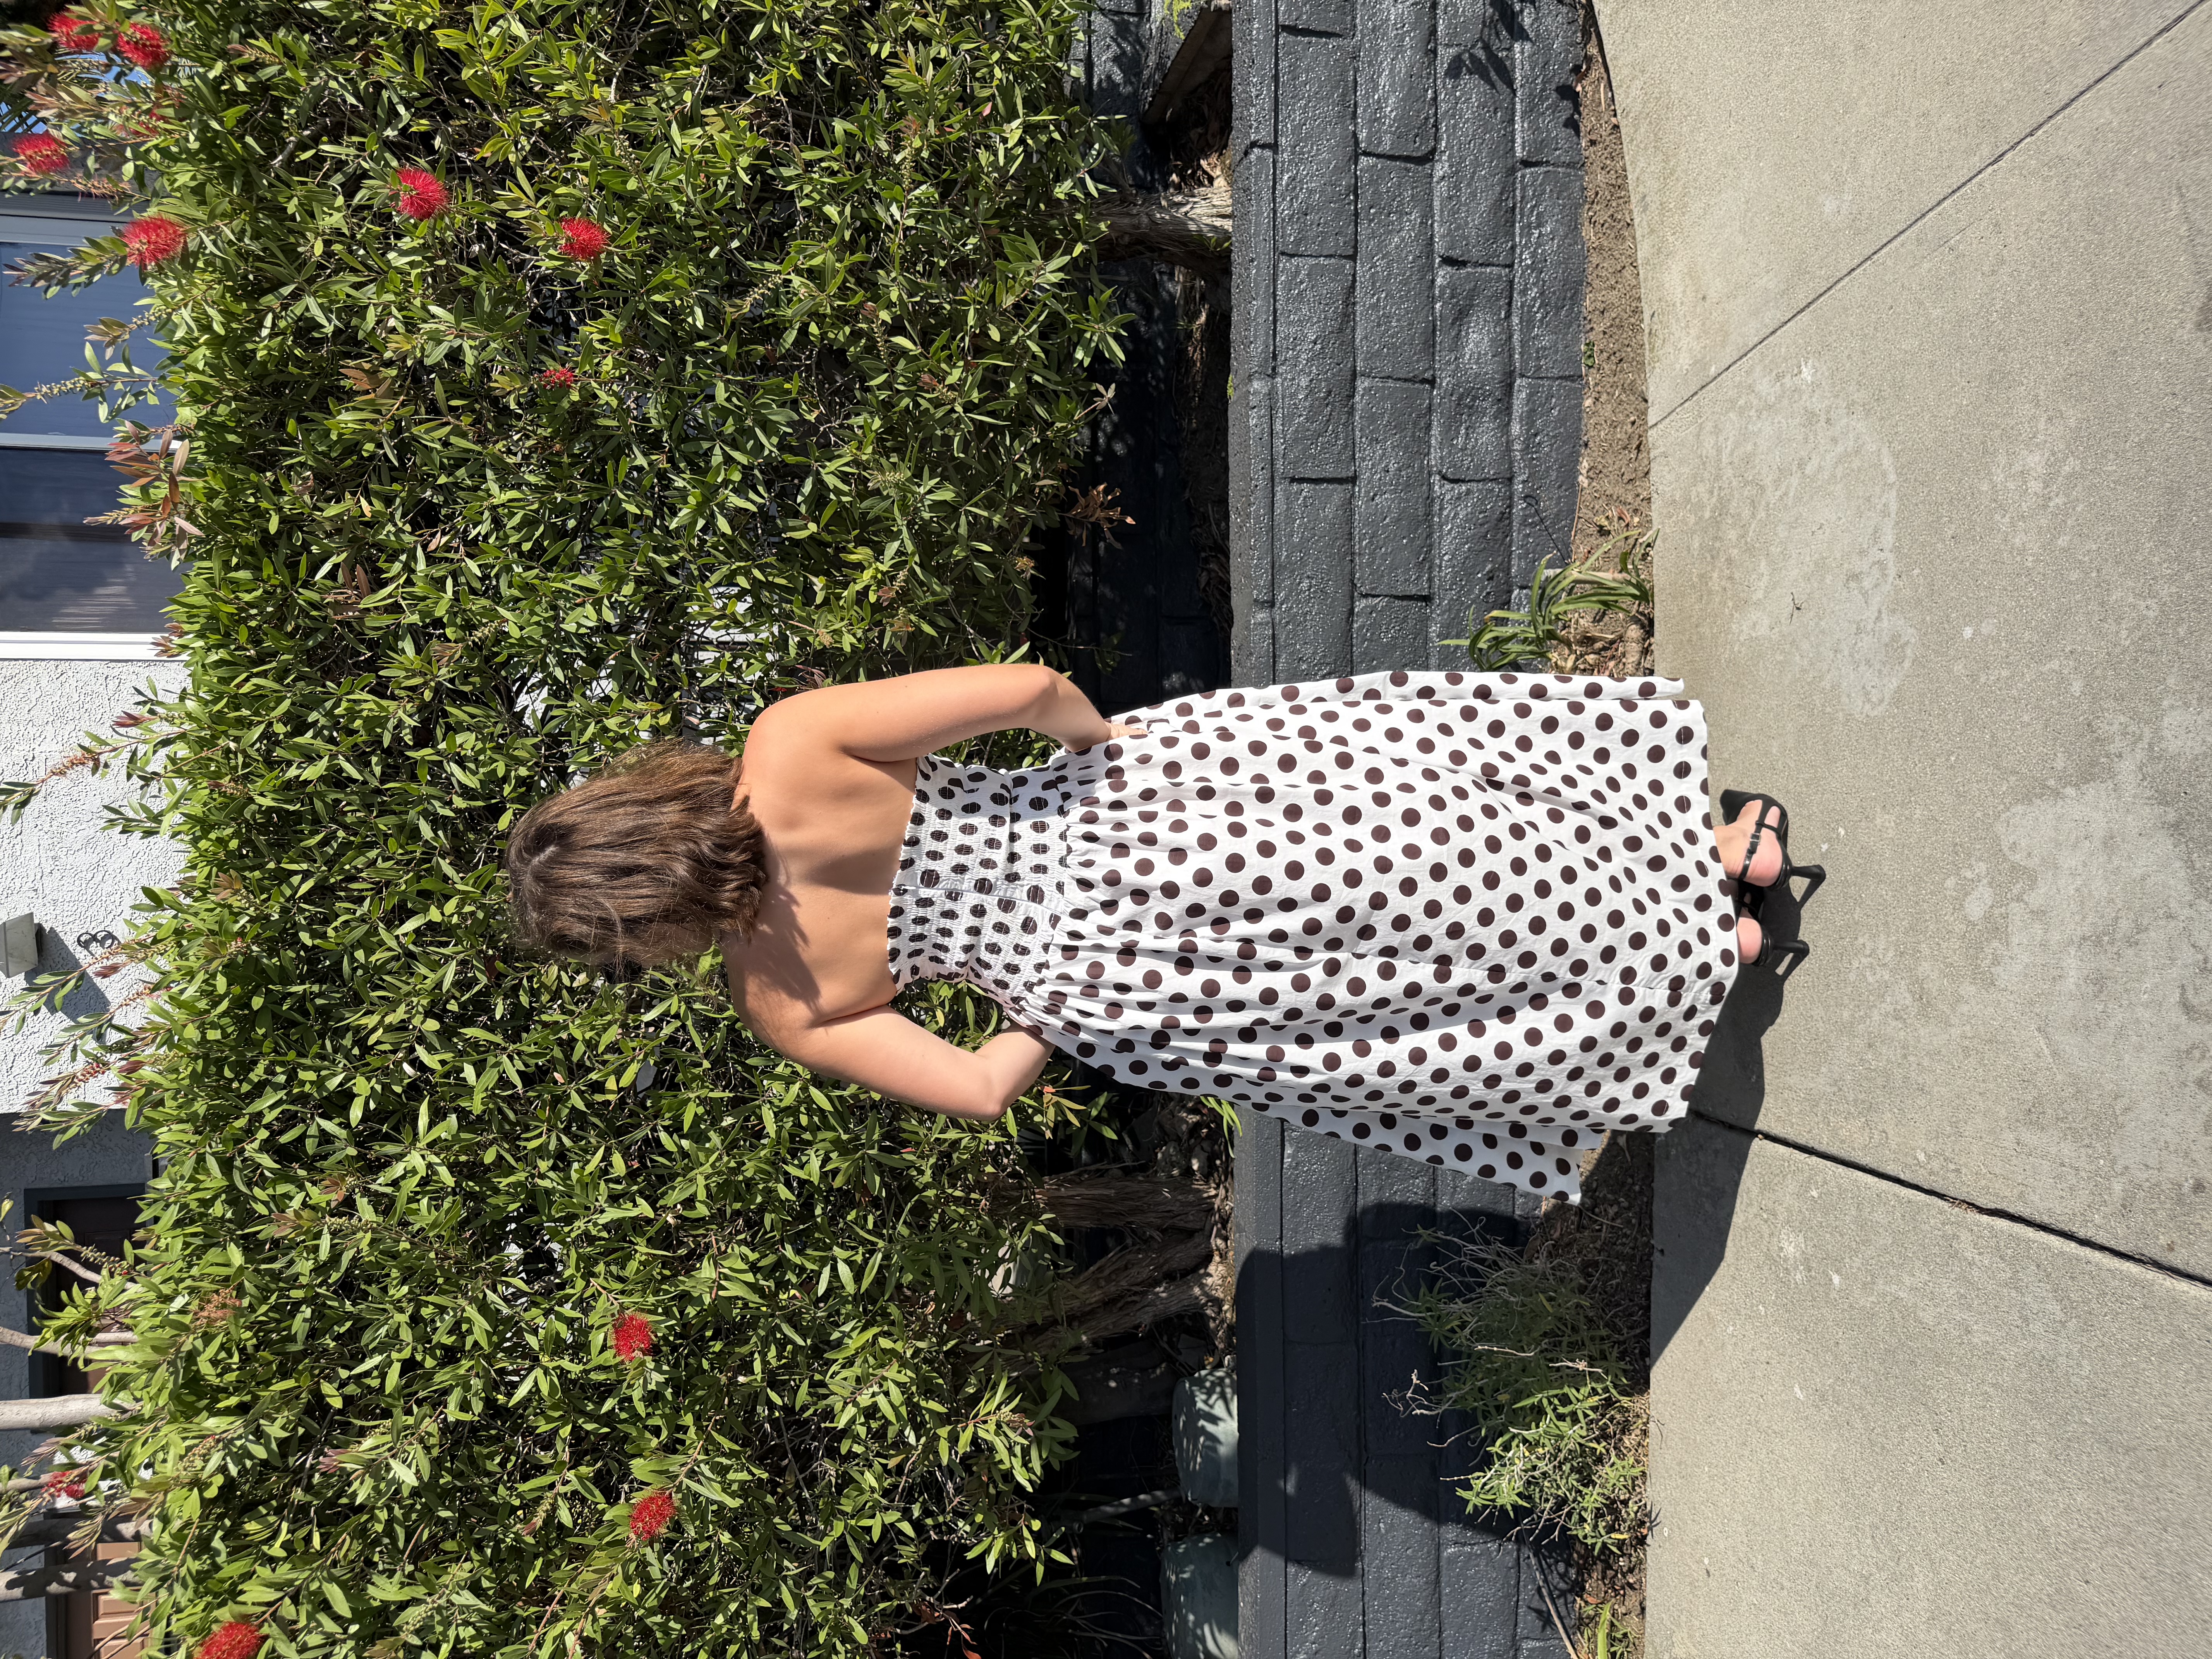
I'd make this pattern again. I want to try it at different lengths, and I've been thinking about doing just the corset top on its own too. Before I try the shirring again I want to get more comfortable with it, and maybe test it on a different fabric. The cotton I bought from Mood had a little bit of stretch to it, and my lining was a thicker cotton than I usually use, so one or both of those might be why it didn't gather the way the pattern expected.
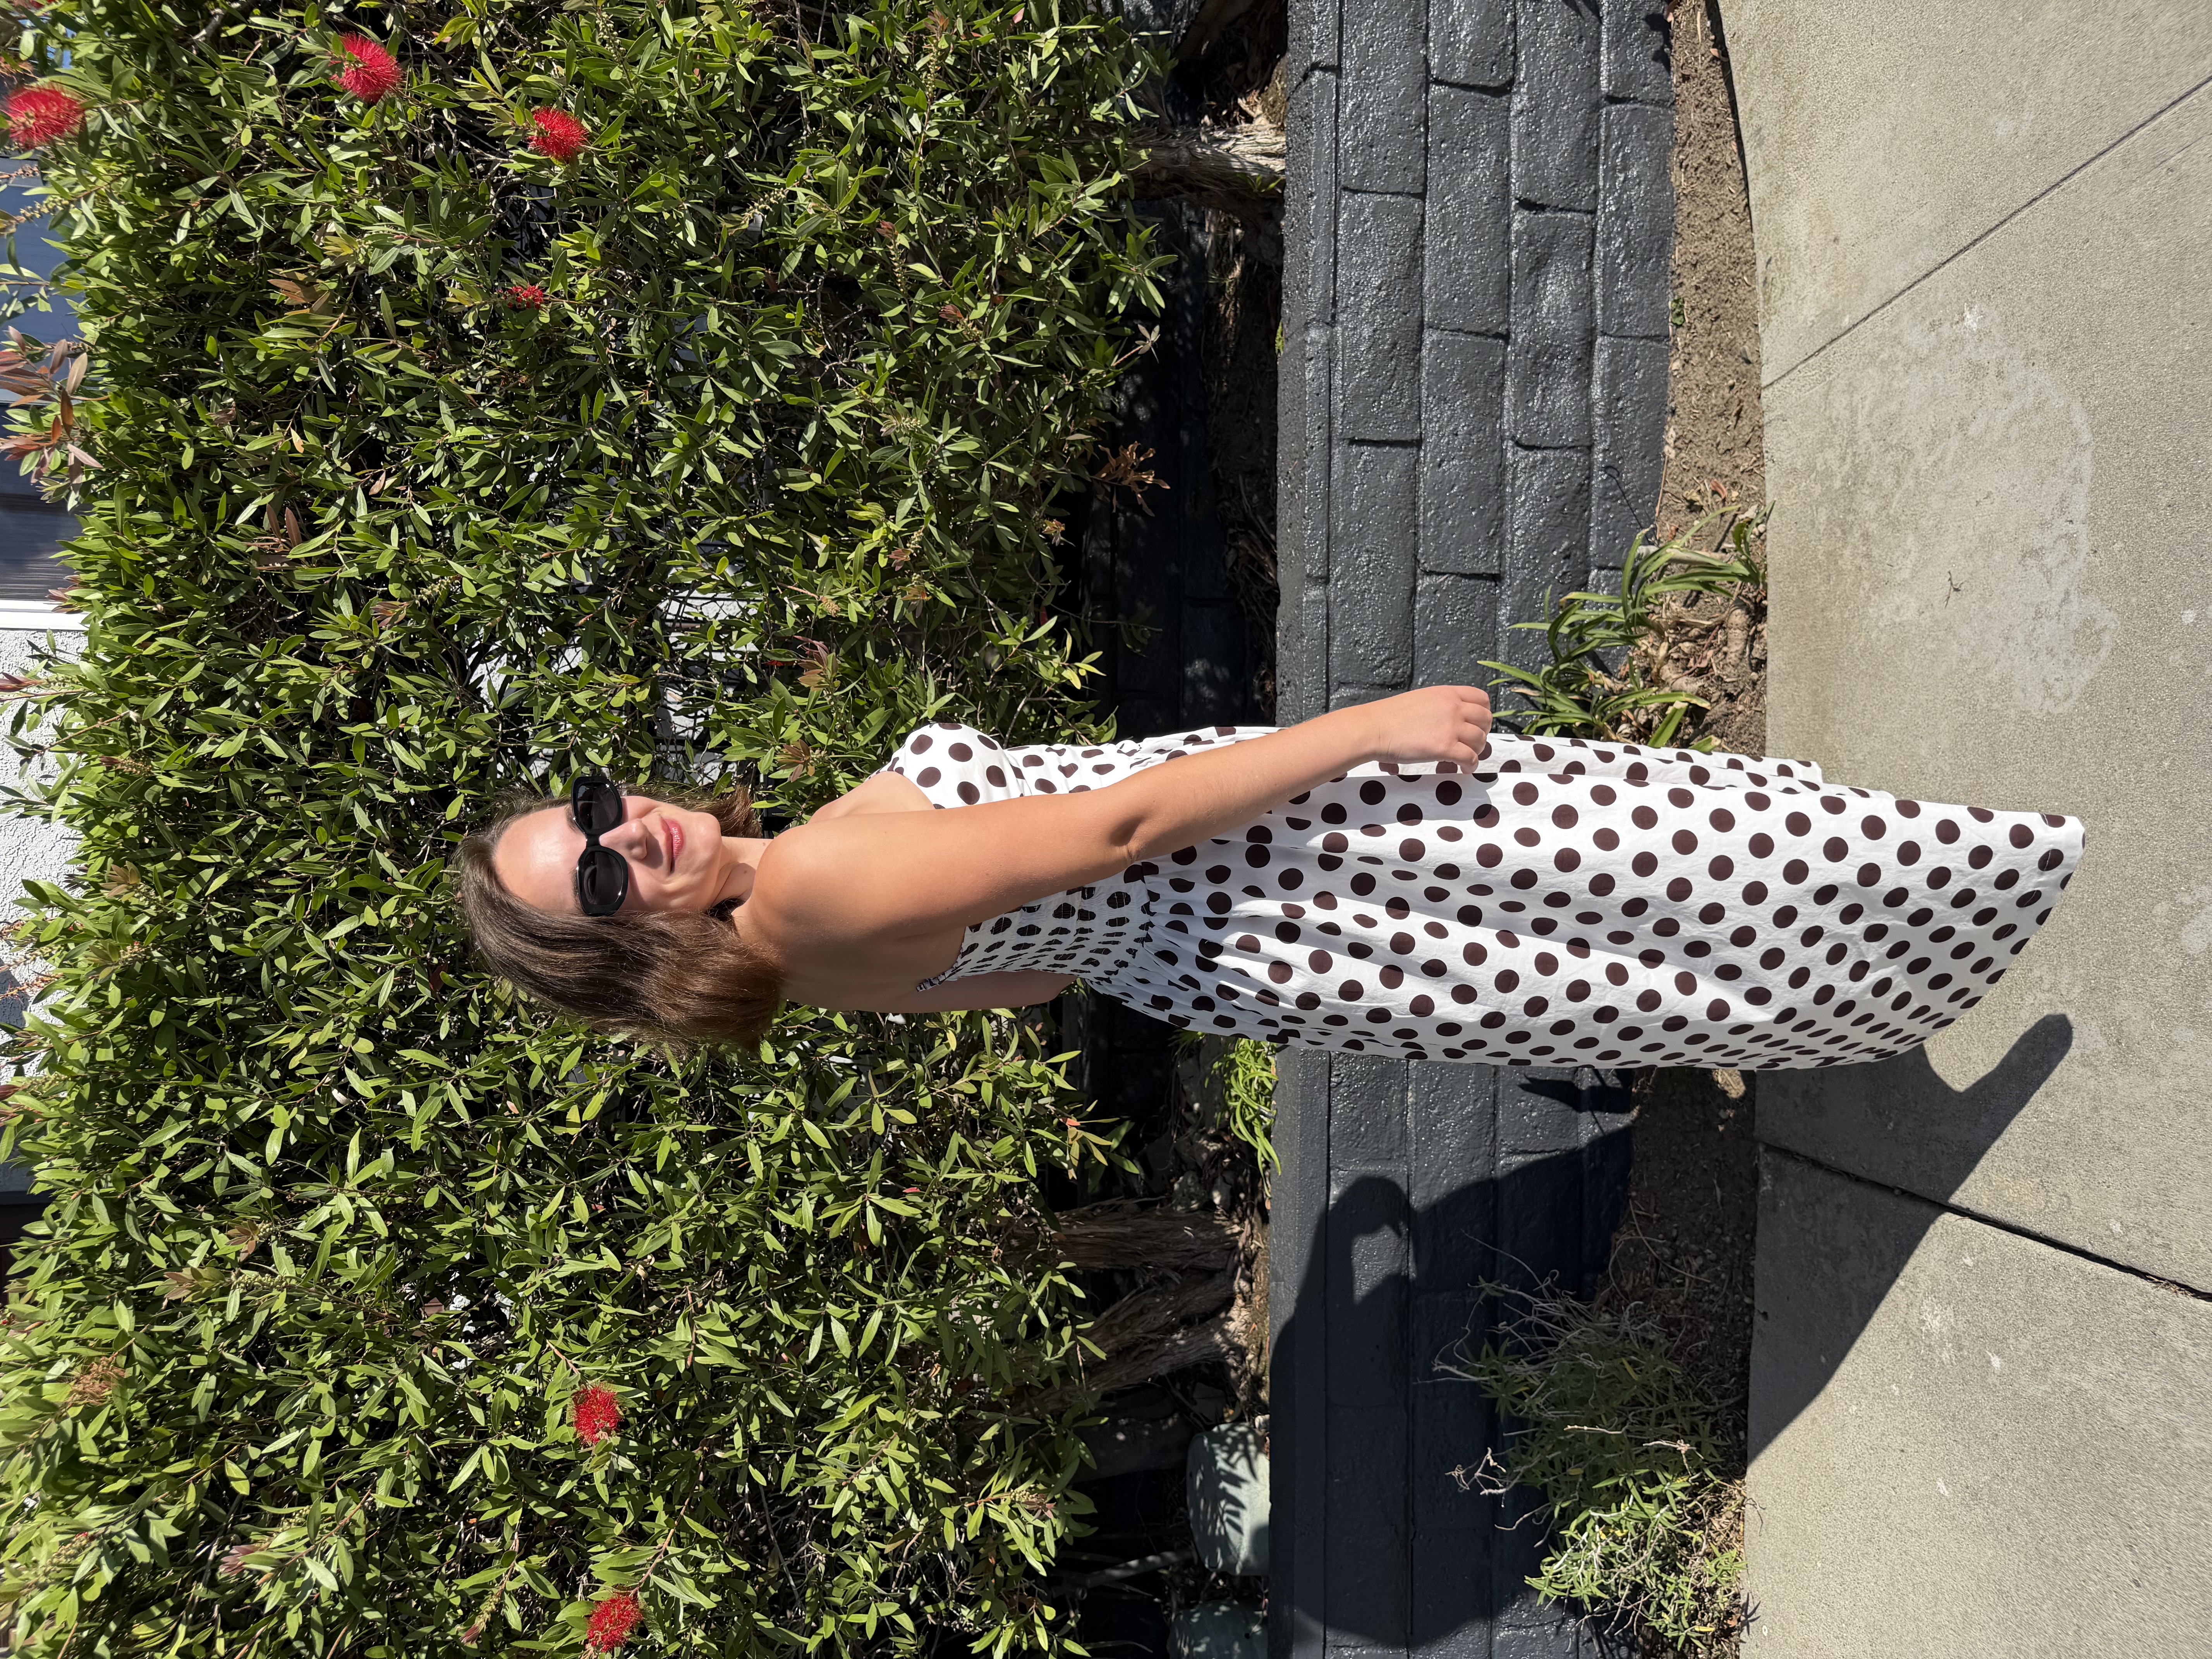
If you've tried shirring with braided elastic instead of elastic thread, I'd love to hear how you got yours to look cleaner. And if you make the Gemma Corset Dress, tag me on Instagram @DesignsbyERB. I want to see it.