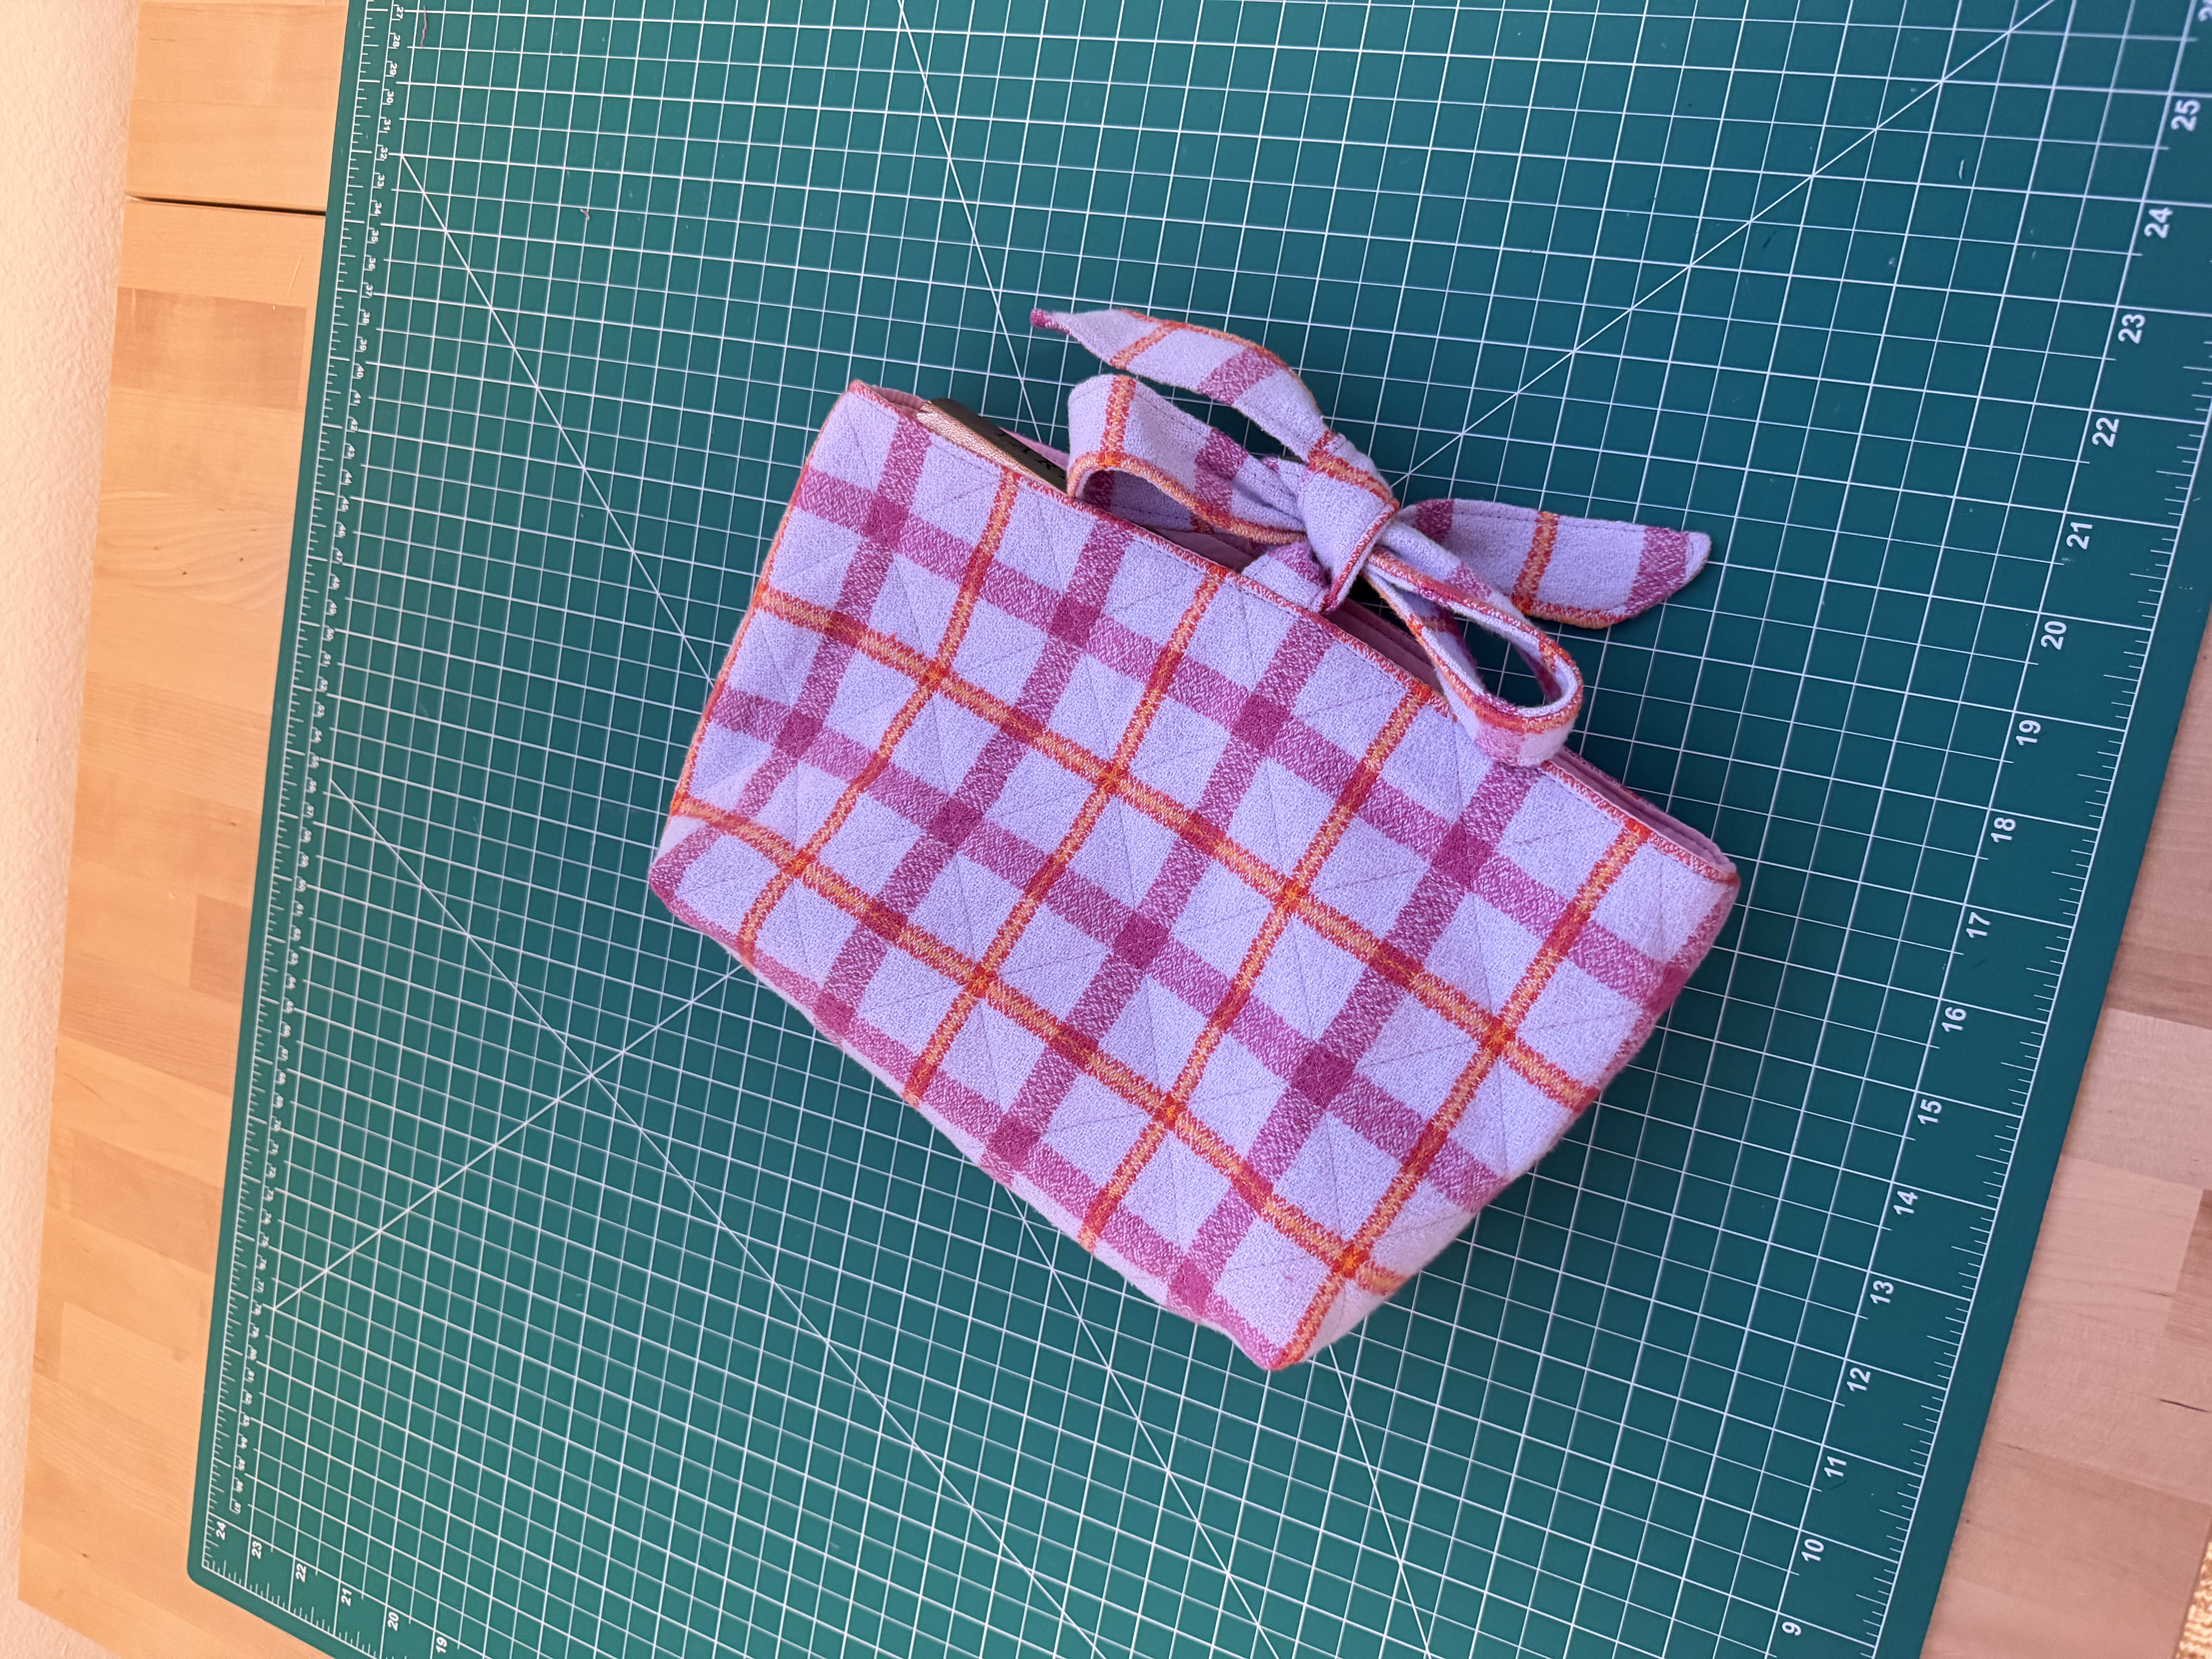
I've got a couple of sewing projects today for anyone who reads a lot, or knows someone who does. Both are small, both are good stash and scrap busters, and neither one takes very long.
The Quilted Book Sleeve
I've made this one a couple of times now. It's a padded fabric sleeve that a book slides into, so it doesn't get beat up loose in a bag with your water bottle and everything else in there. The quilting gives it a little bit of cushion, and it's a nice way to use two coordinating fabrics together.
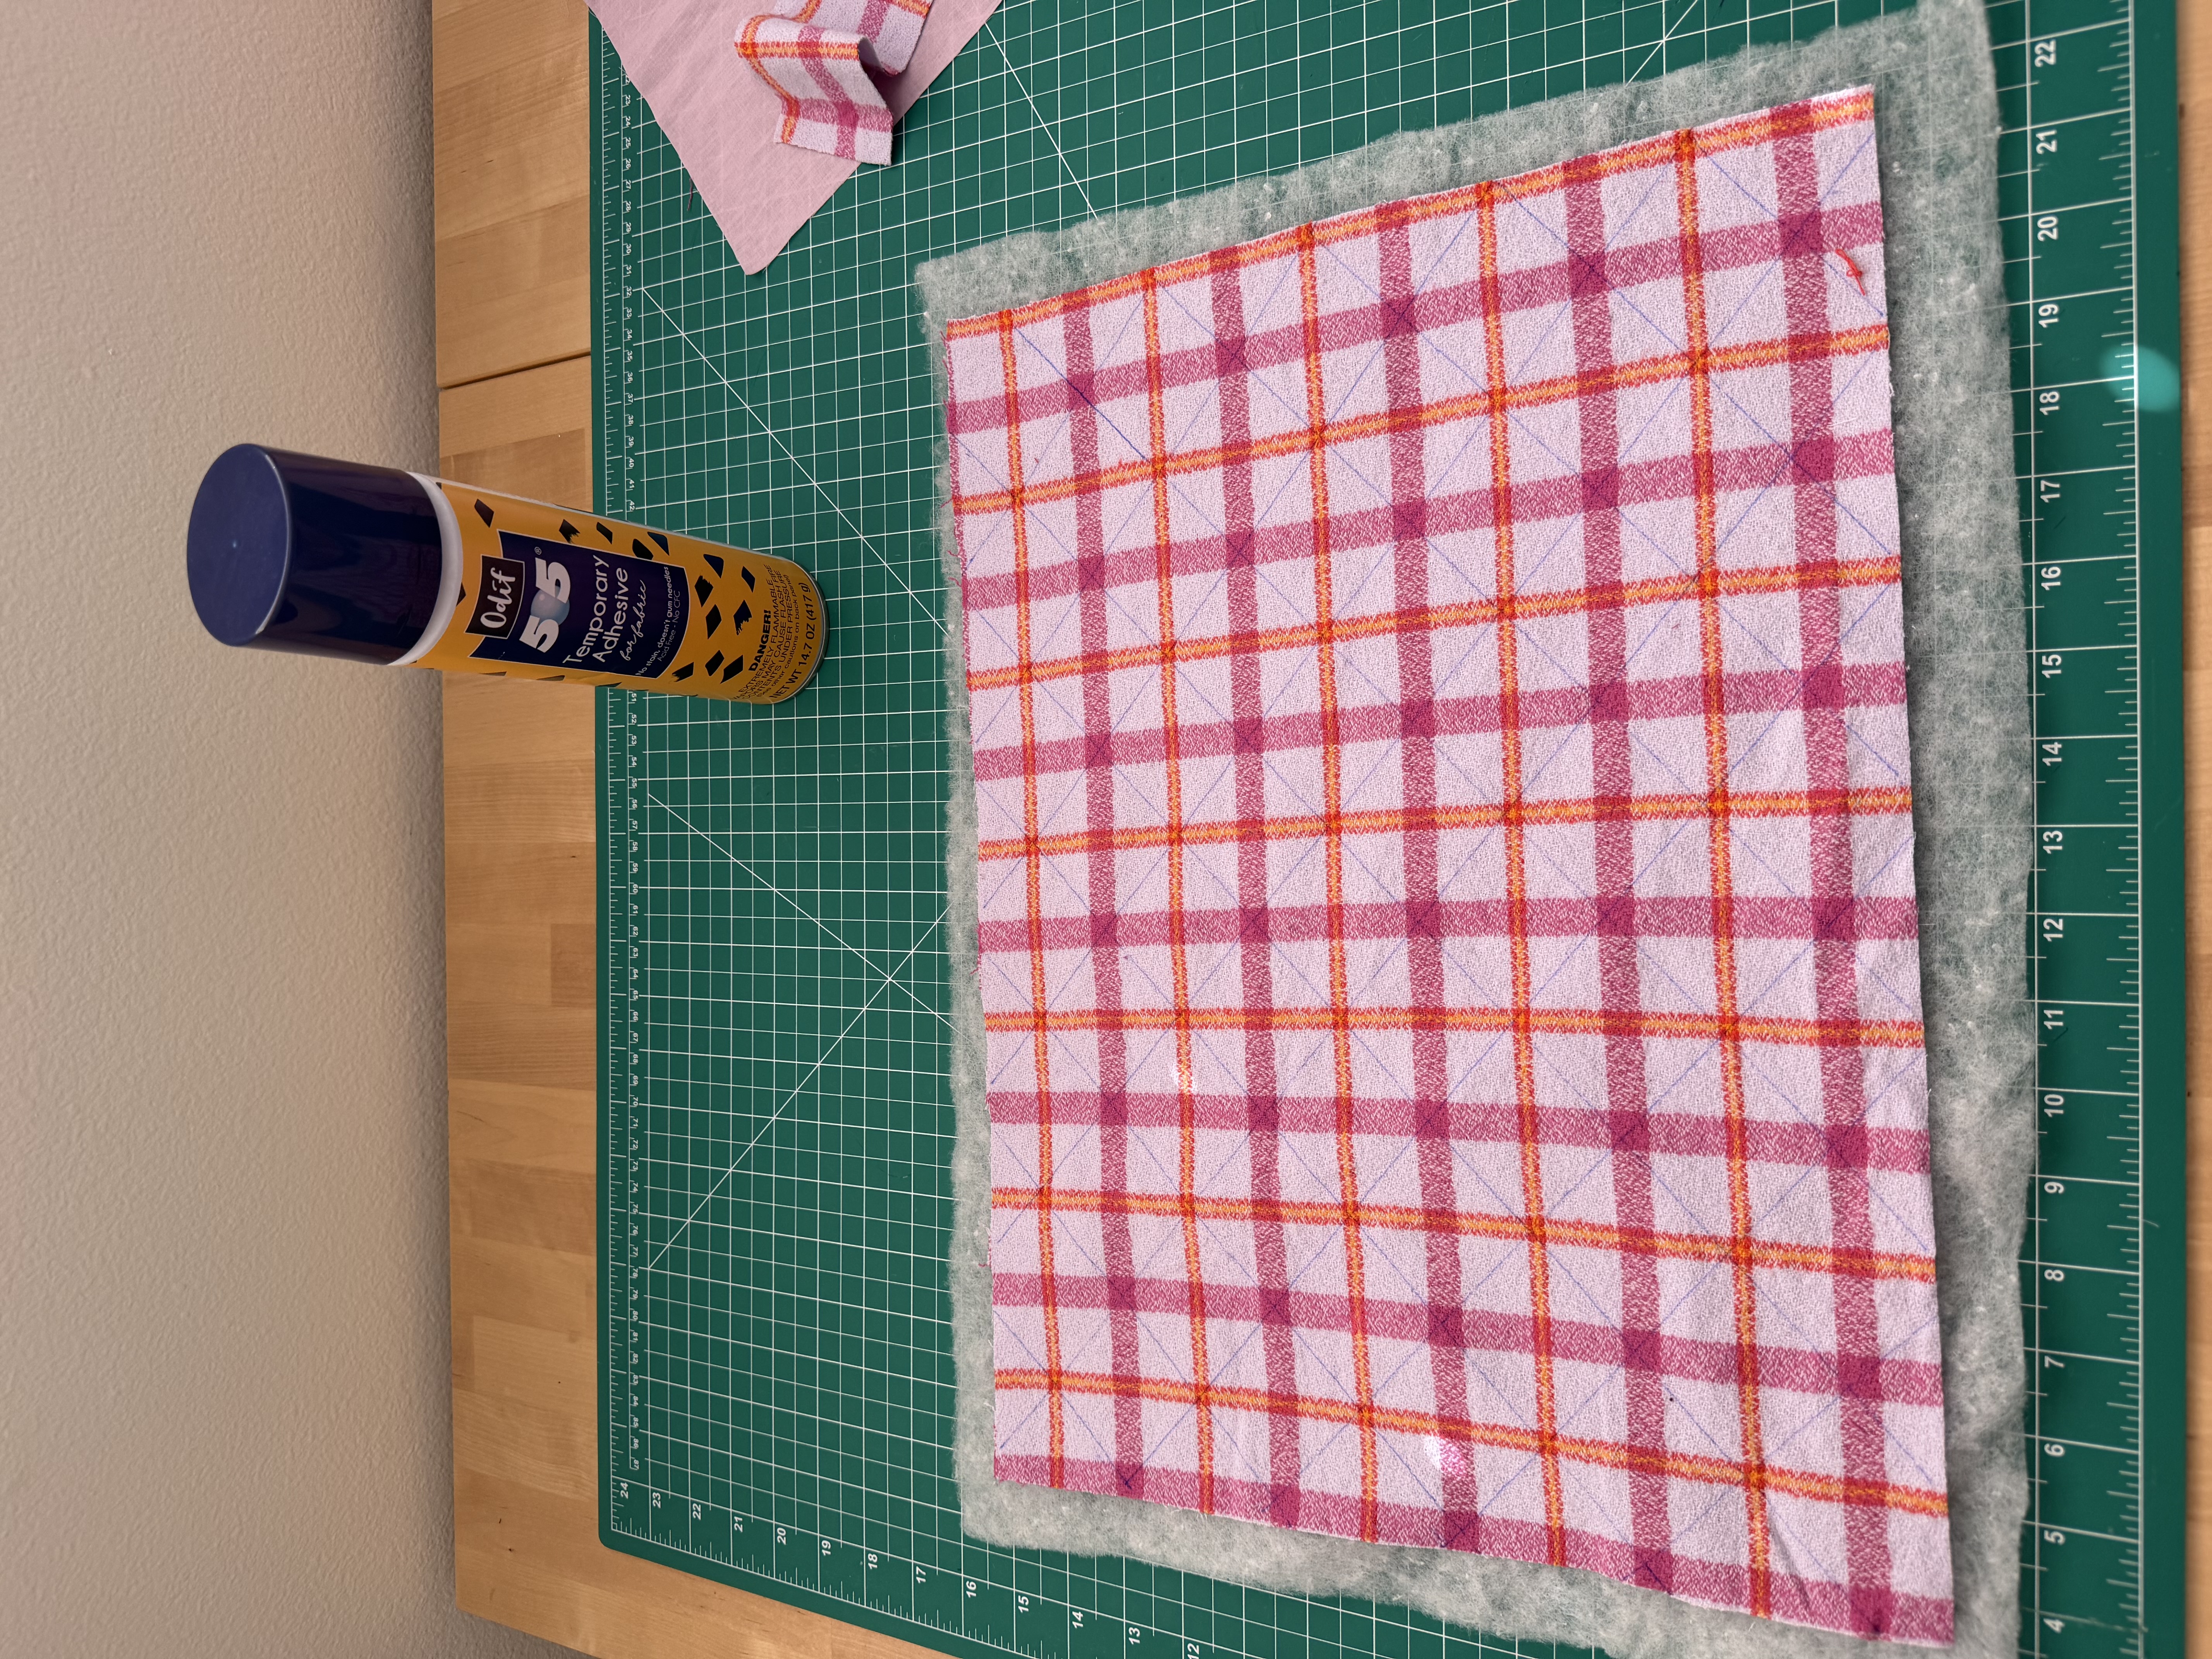
To baste the layers before quilting, I use a temporary fabric adhesive spray (Odif 505) instead of pinning everything. You spray it between the batting and fabric, it holds the layers in place while you quilt, and it washes out after. Way faster than pinning, and nothing shifts around while it's under the machine.
If you want to make your own, here's the rough method:
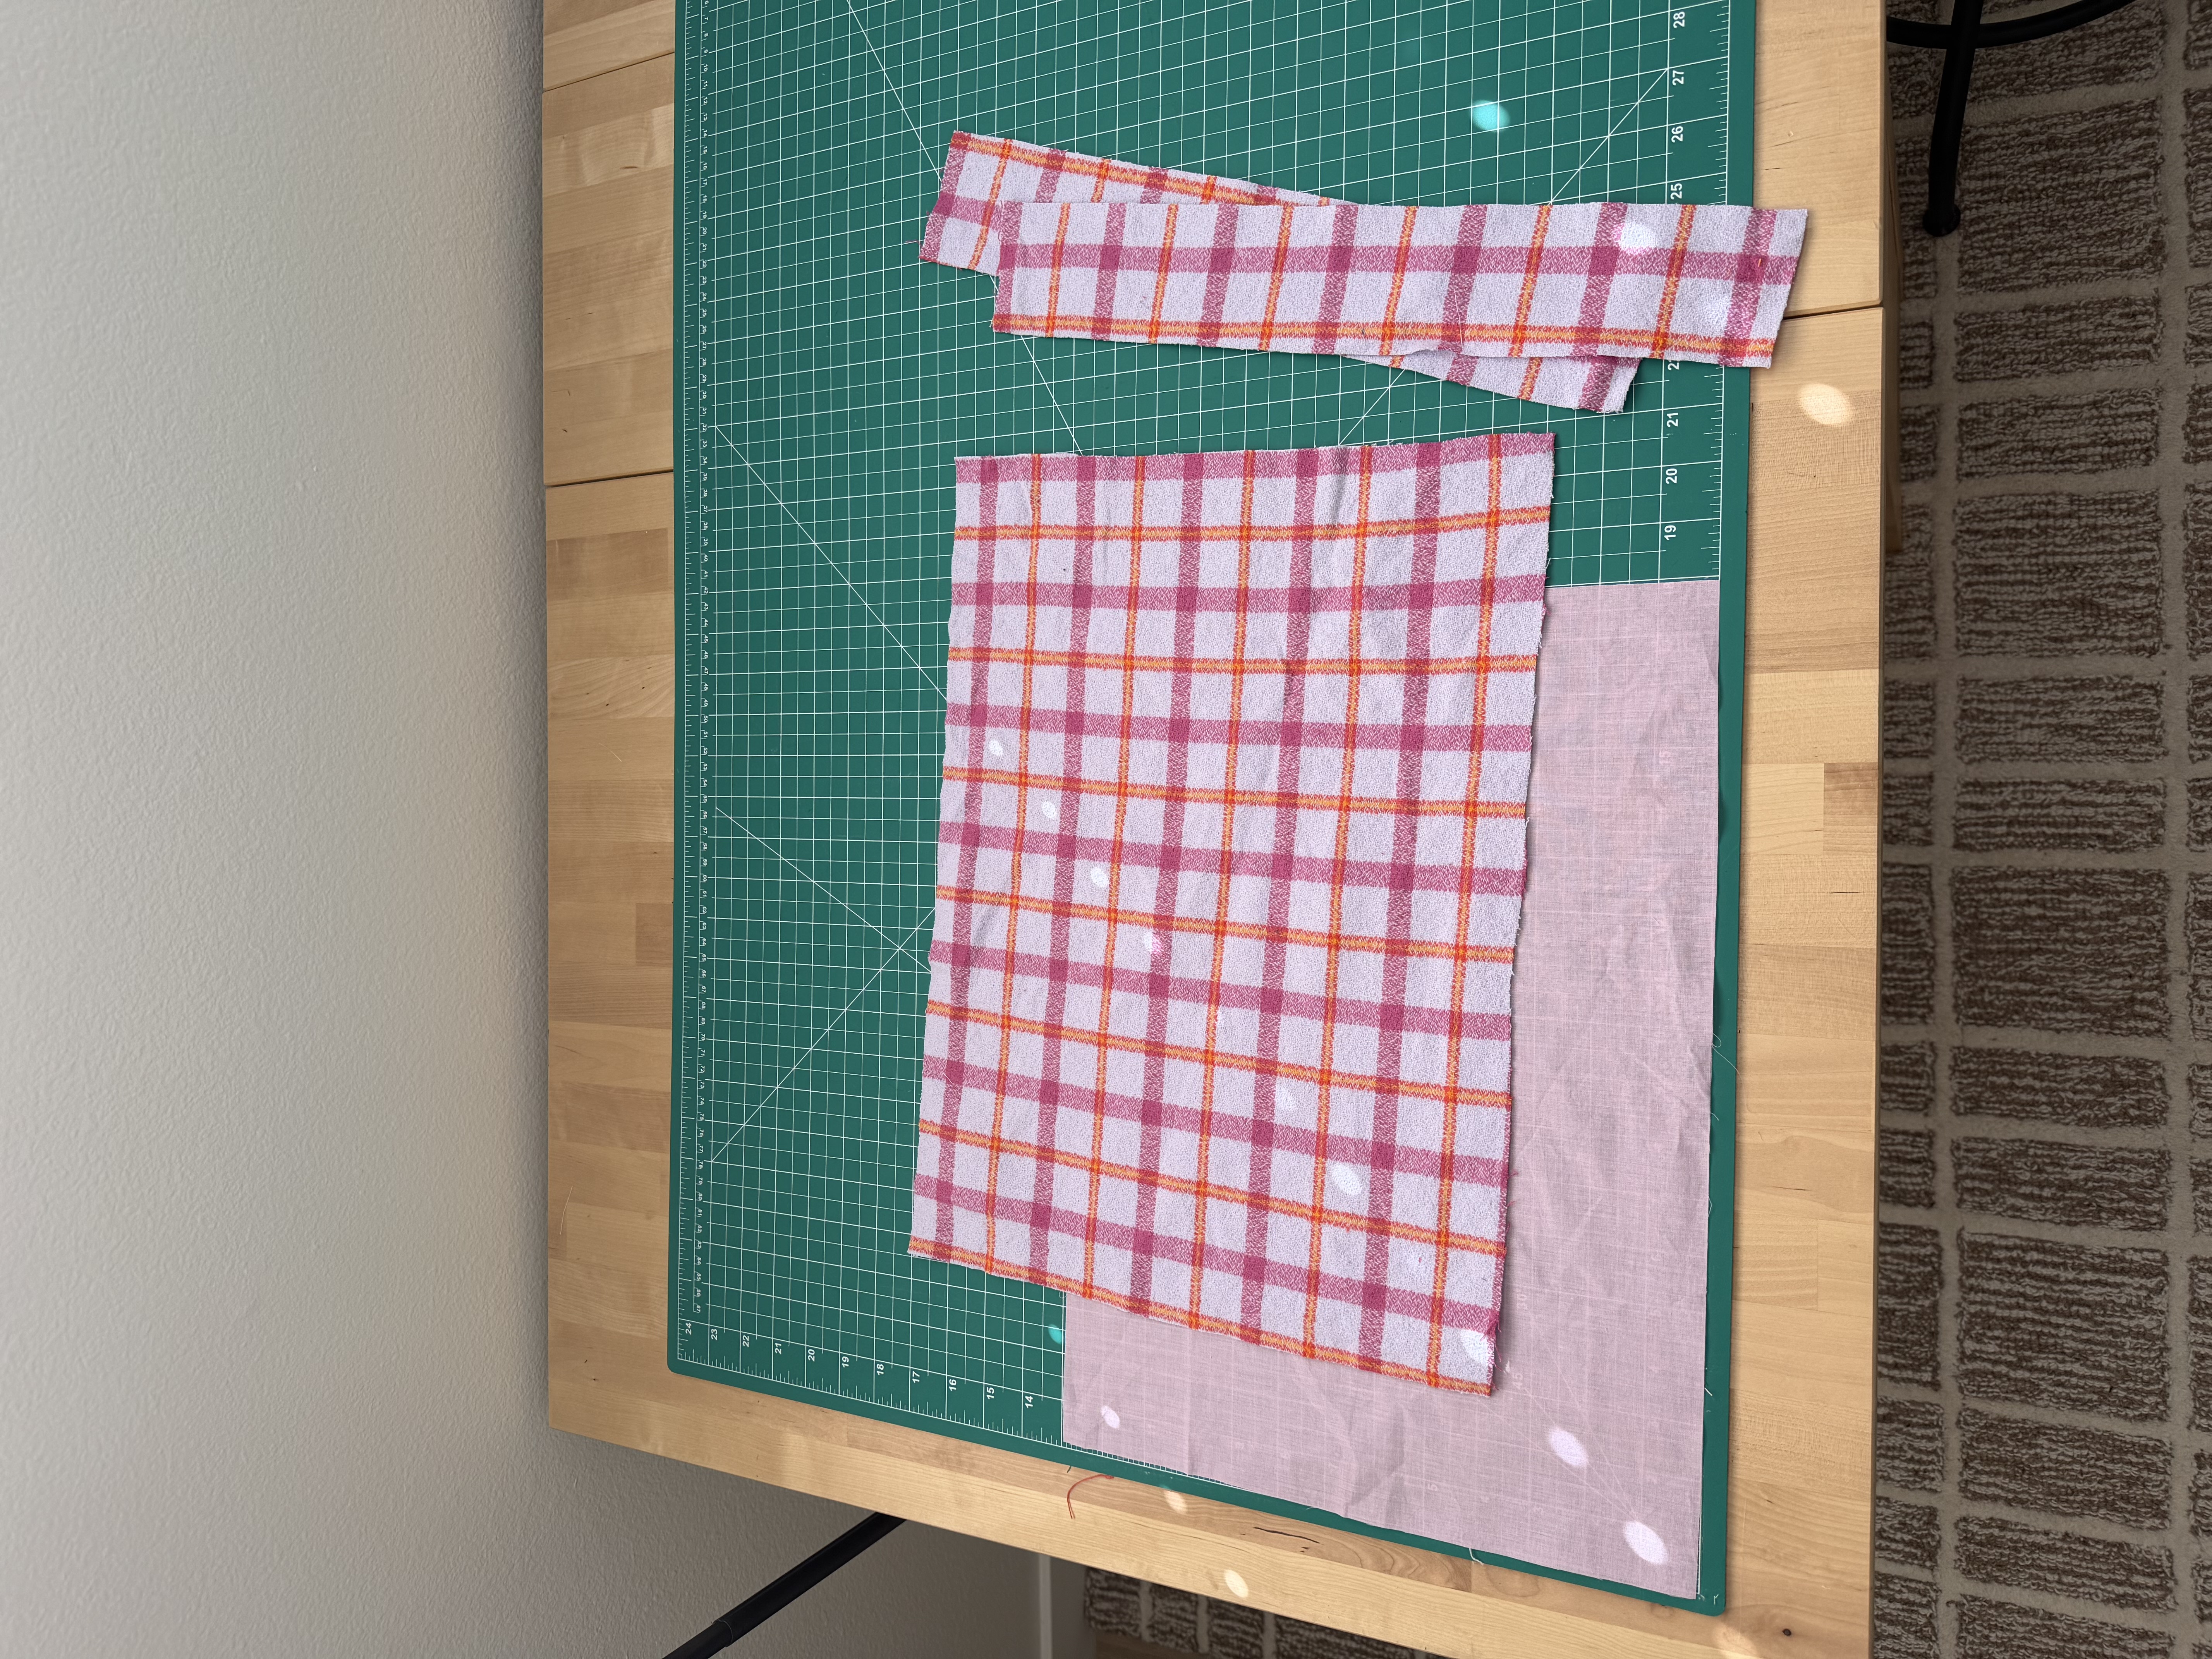
- Cut two outer pieces, two lining pieces, and two pieces of batting, sized to your book plus a couple inches of ease.
- Spray baste the batting to the wrong side of each outer piece and quilt them in whatever pattern you like. Straight lines or a grid both work fine.
- Cut a long strip of fabric, fold and stitch it into two ties, and sew those into the top corners of one outer piece before you assemble anything else.
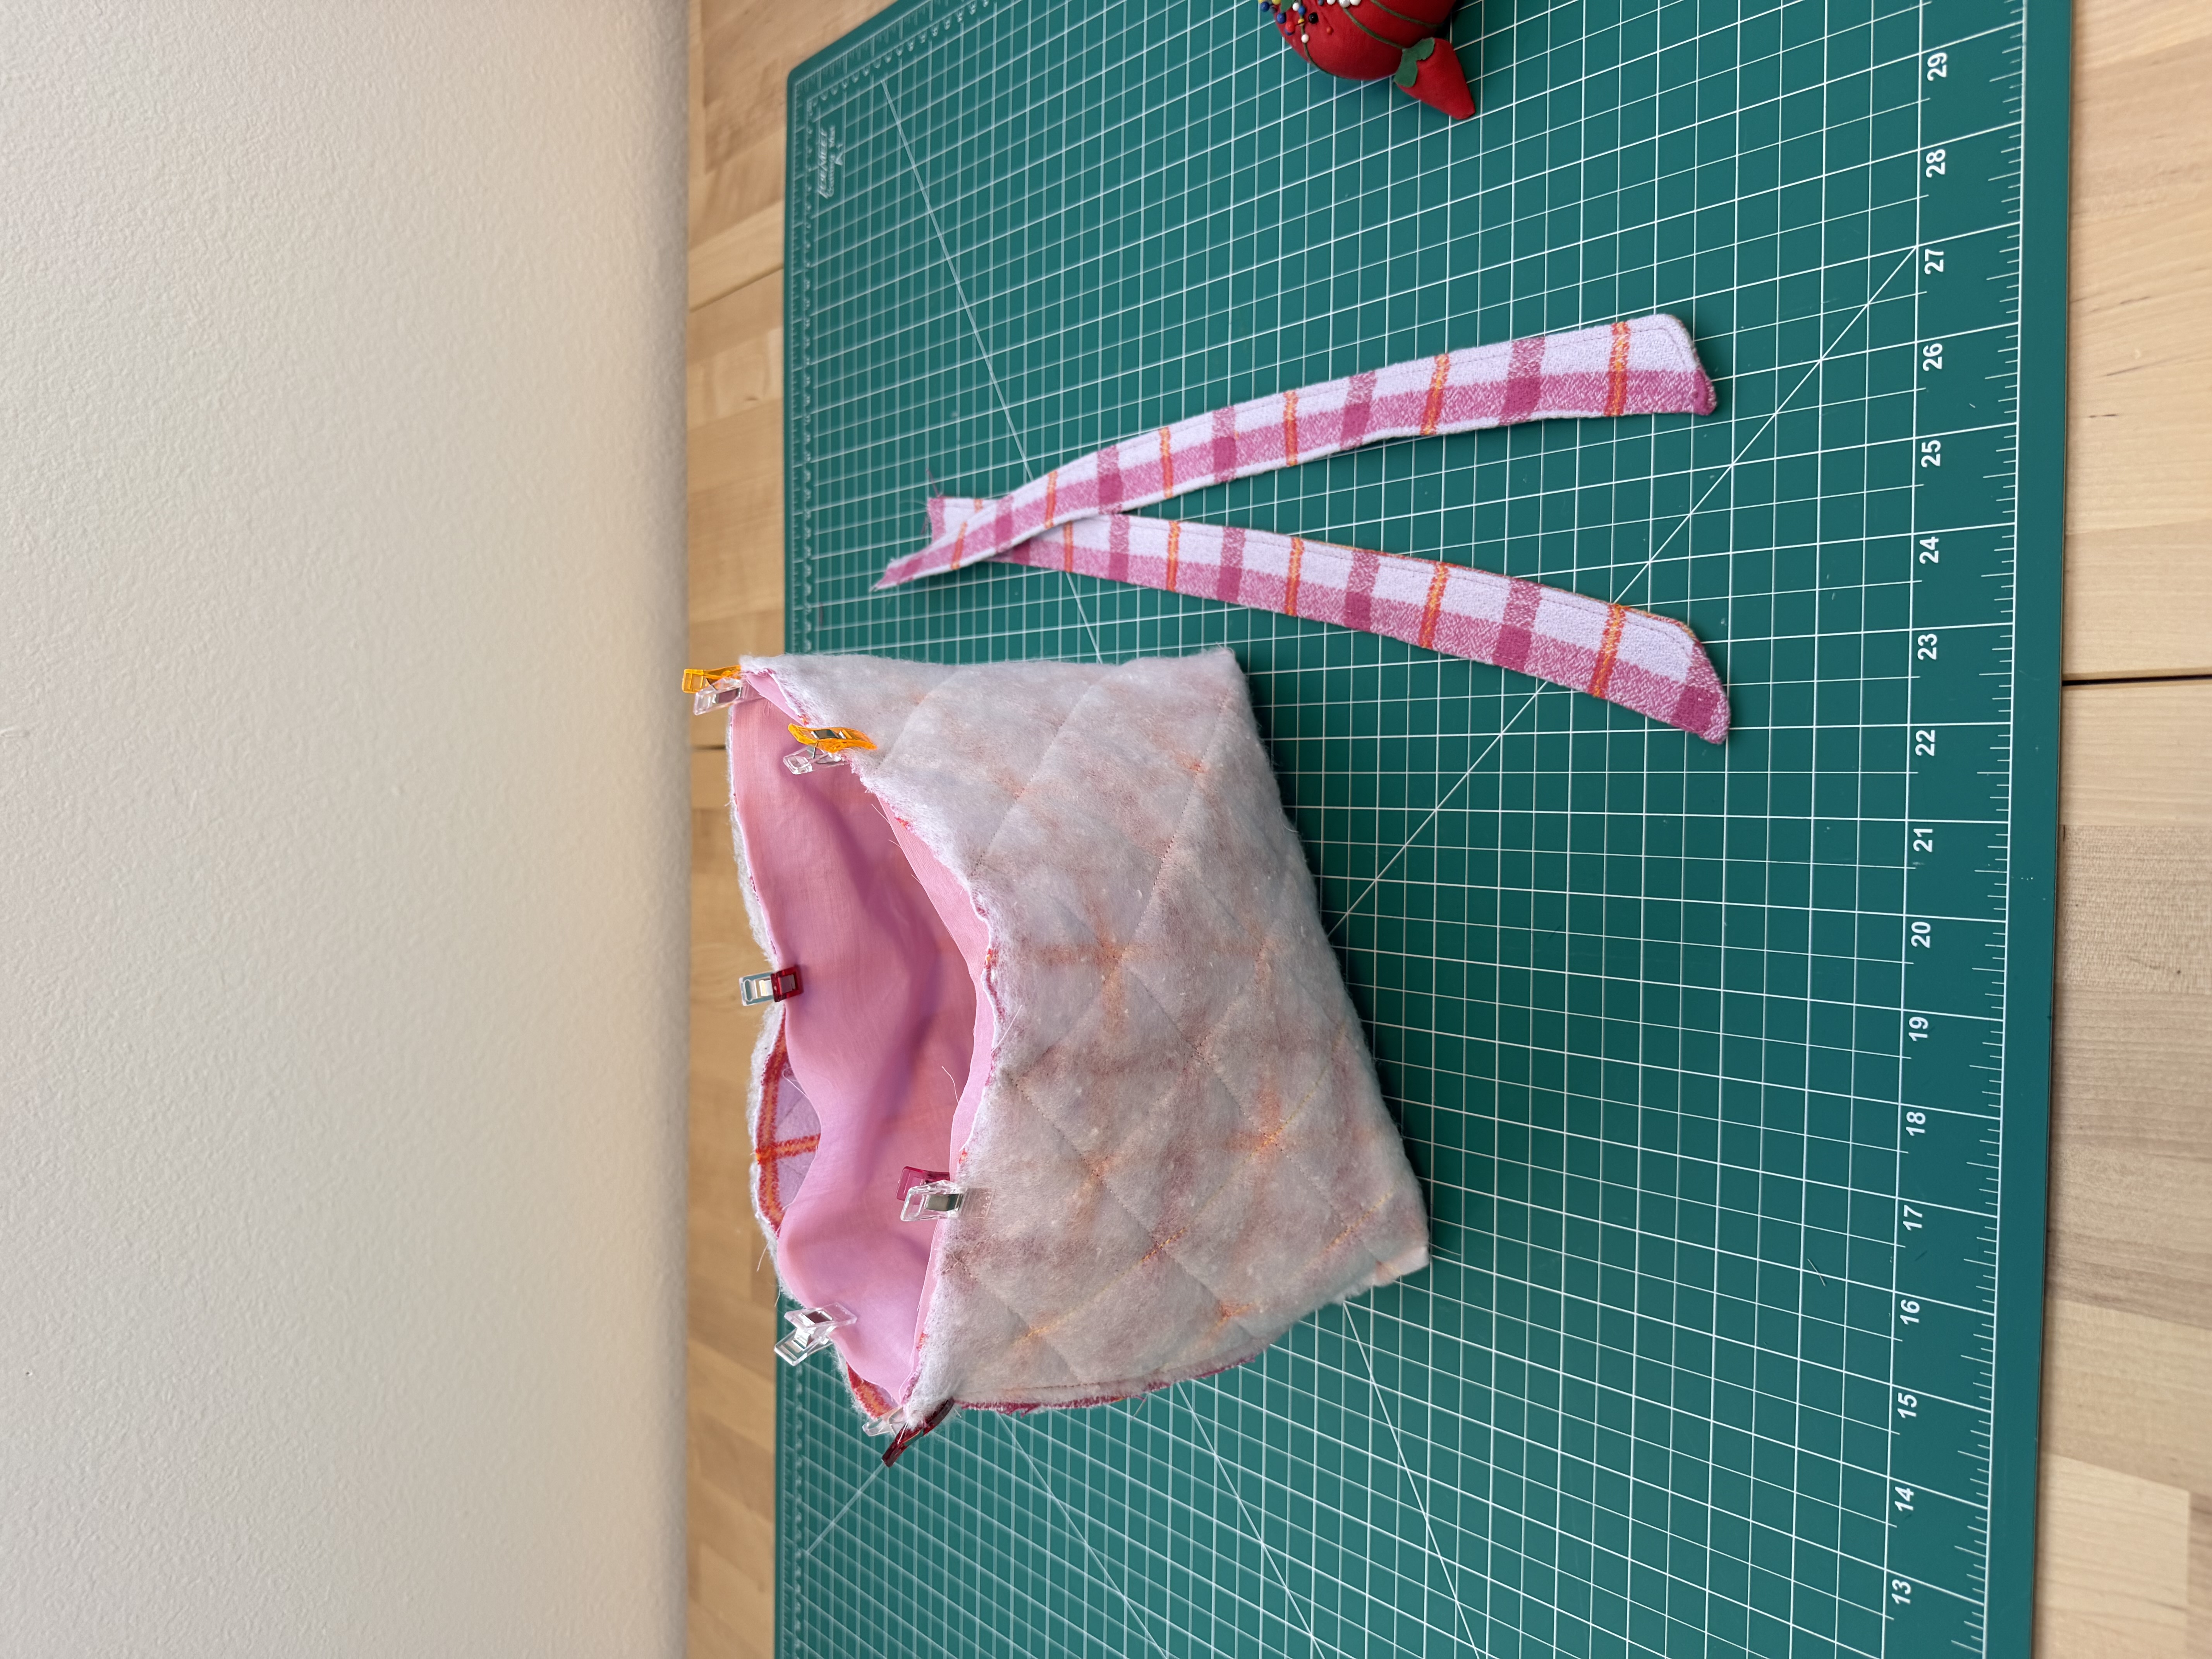
- Sew the two outer pieces right sides together around the sides and bottom. Do the same with the two lining pieces, but leave a 2 to 3 inch gap somewhere in the seam for turning. That gap ends up tucked inside, so it won't show.
- With the outer piece right side out, tuck it inside the lining piece, right sides together, and sew around the top opening.
- Turn the whole thing right side out through the gap in the lining, push the lining down inside the outer, and press. Stitching the gap closed is optional since it's hidden anyway.
- Cross the ties over the top and tie in a bow to close the sleeve.
Book Sleeve Details
- Finished dimensions: size it to your book plus about an inch of ease on all sides. As a rough guide, a mass market paperback sleeve finishes around 7.5 x 9 inches, and a trade paperback or hardcover closer to 9 x 11 inches
- Materials: outer fabric, batting for the quilted layer, lining fabric, a strip of fabric for the tie closure
- Odif 505 temporary fabric adhesive spray, for basting the layers before quilting instead of pinning
Corner Bookmarks (Easy Scrap Buster)
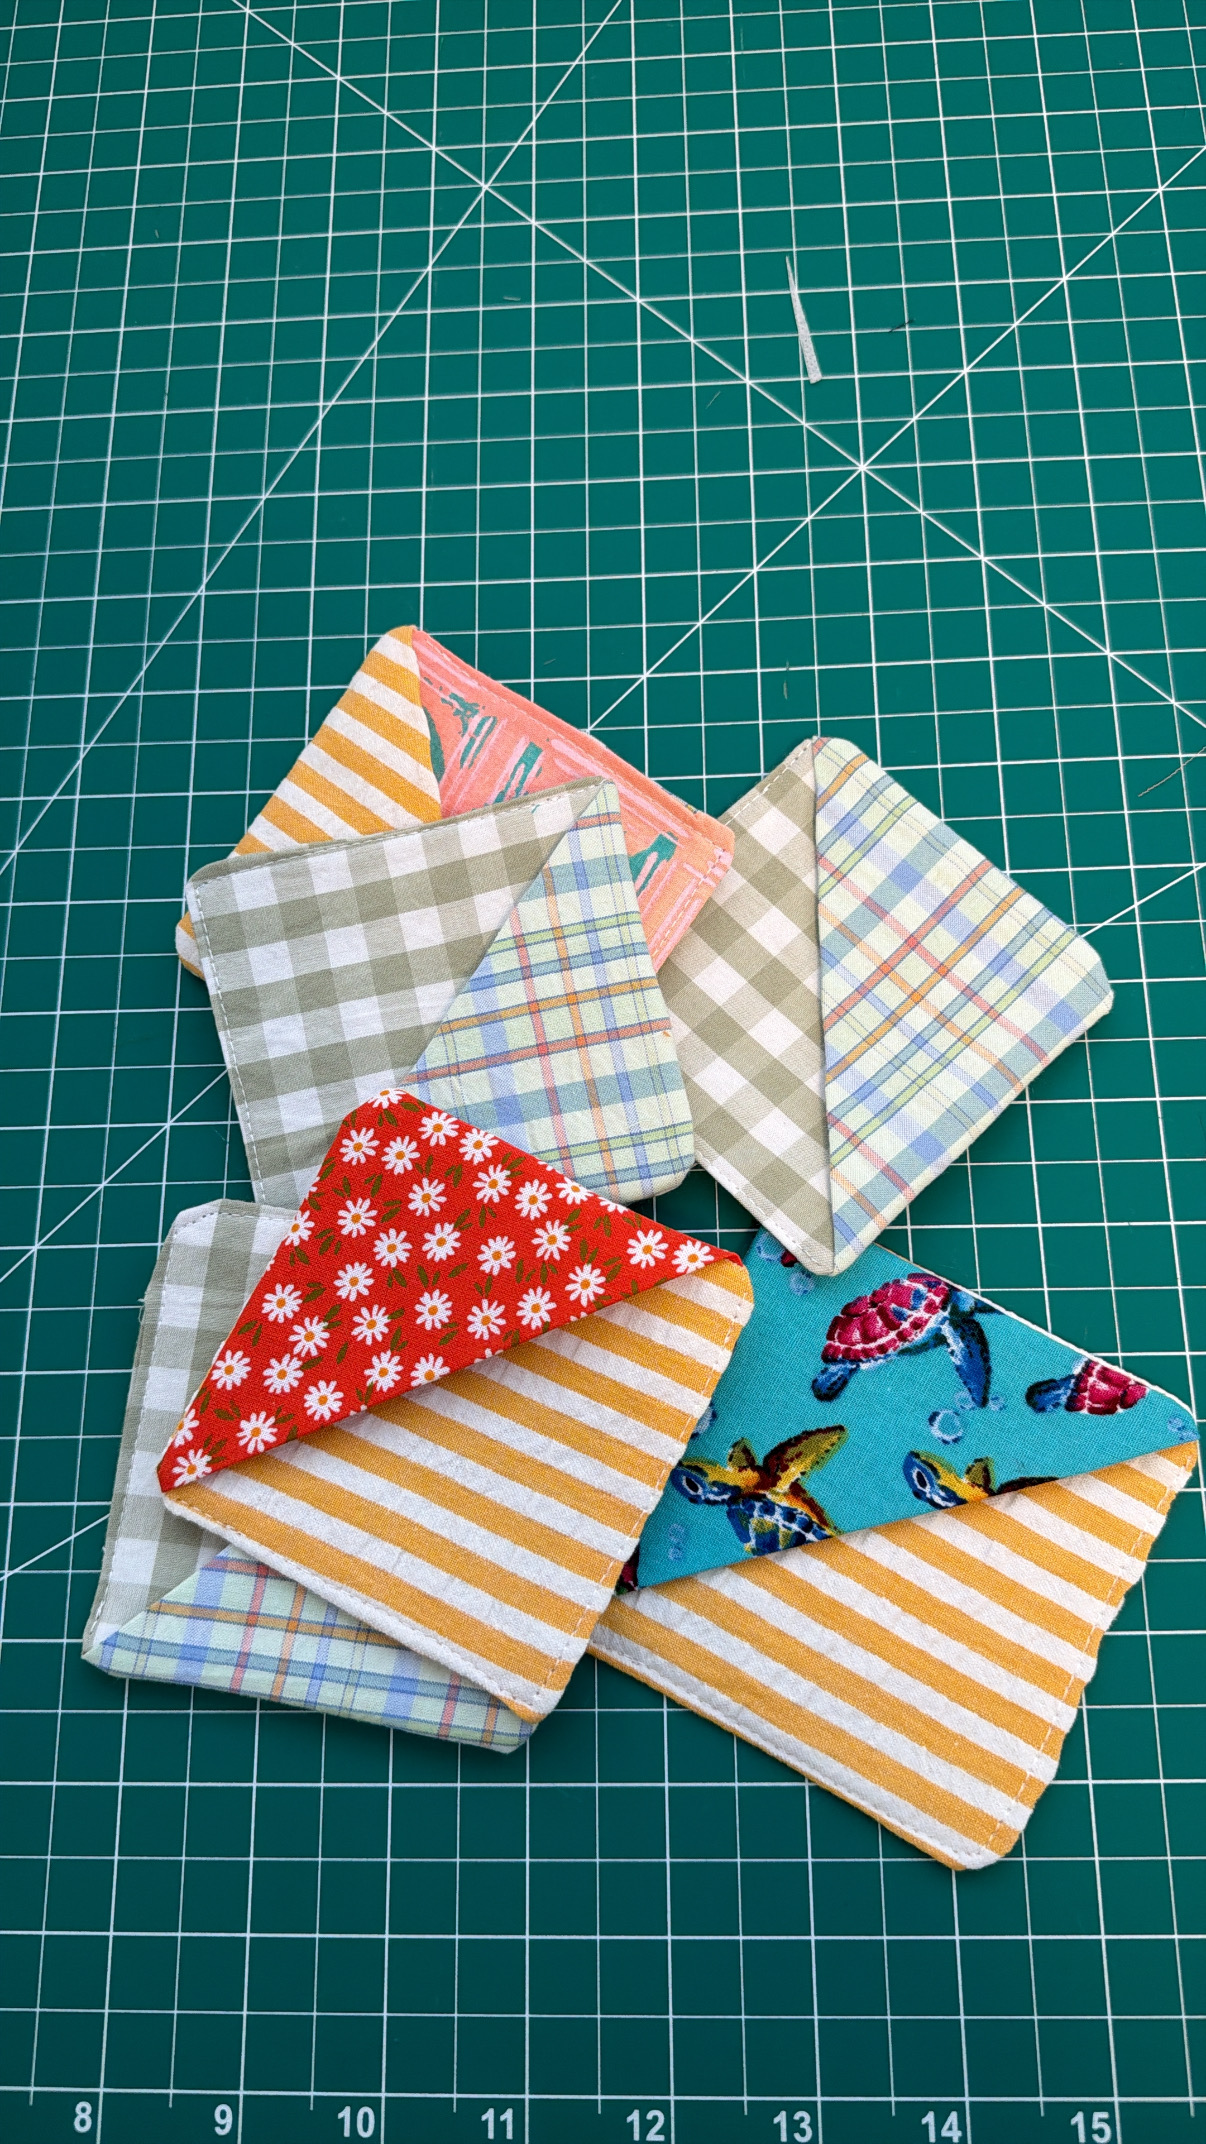
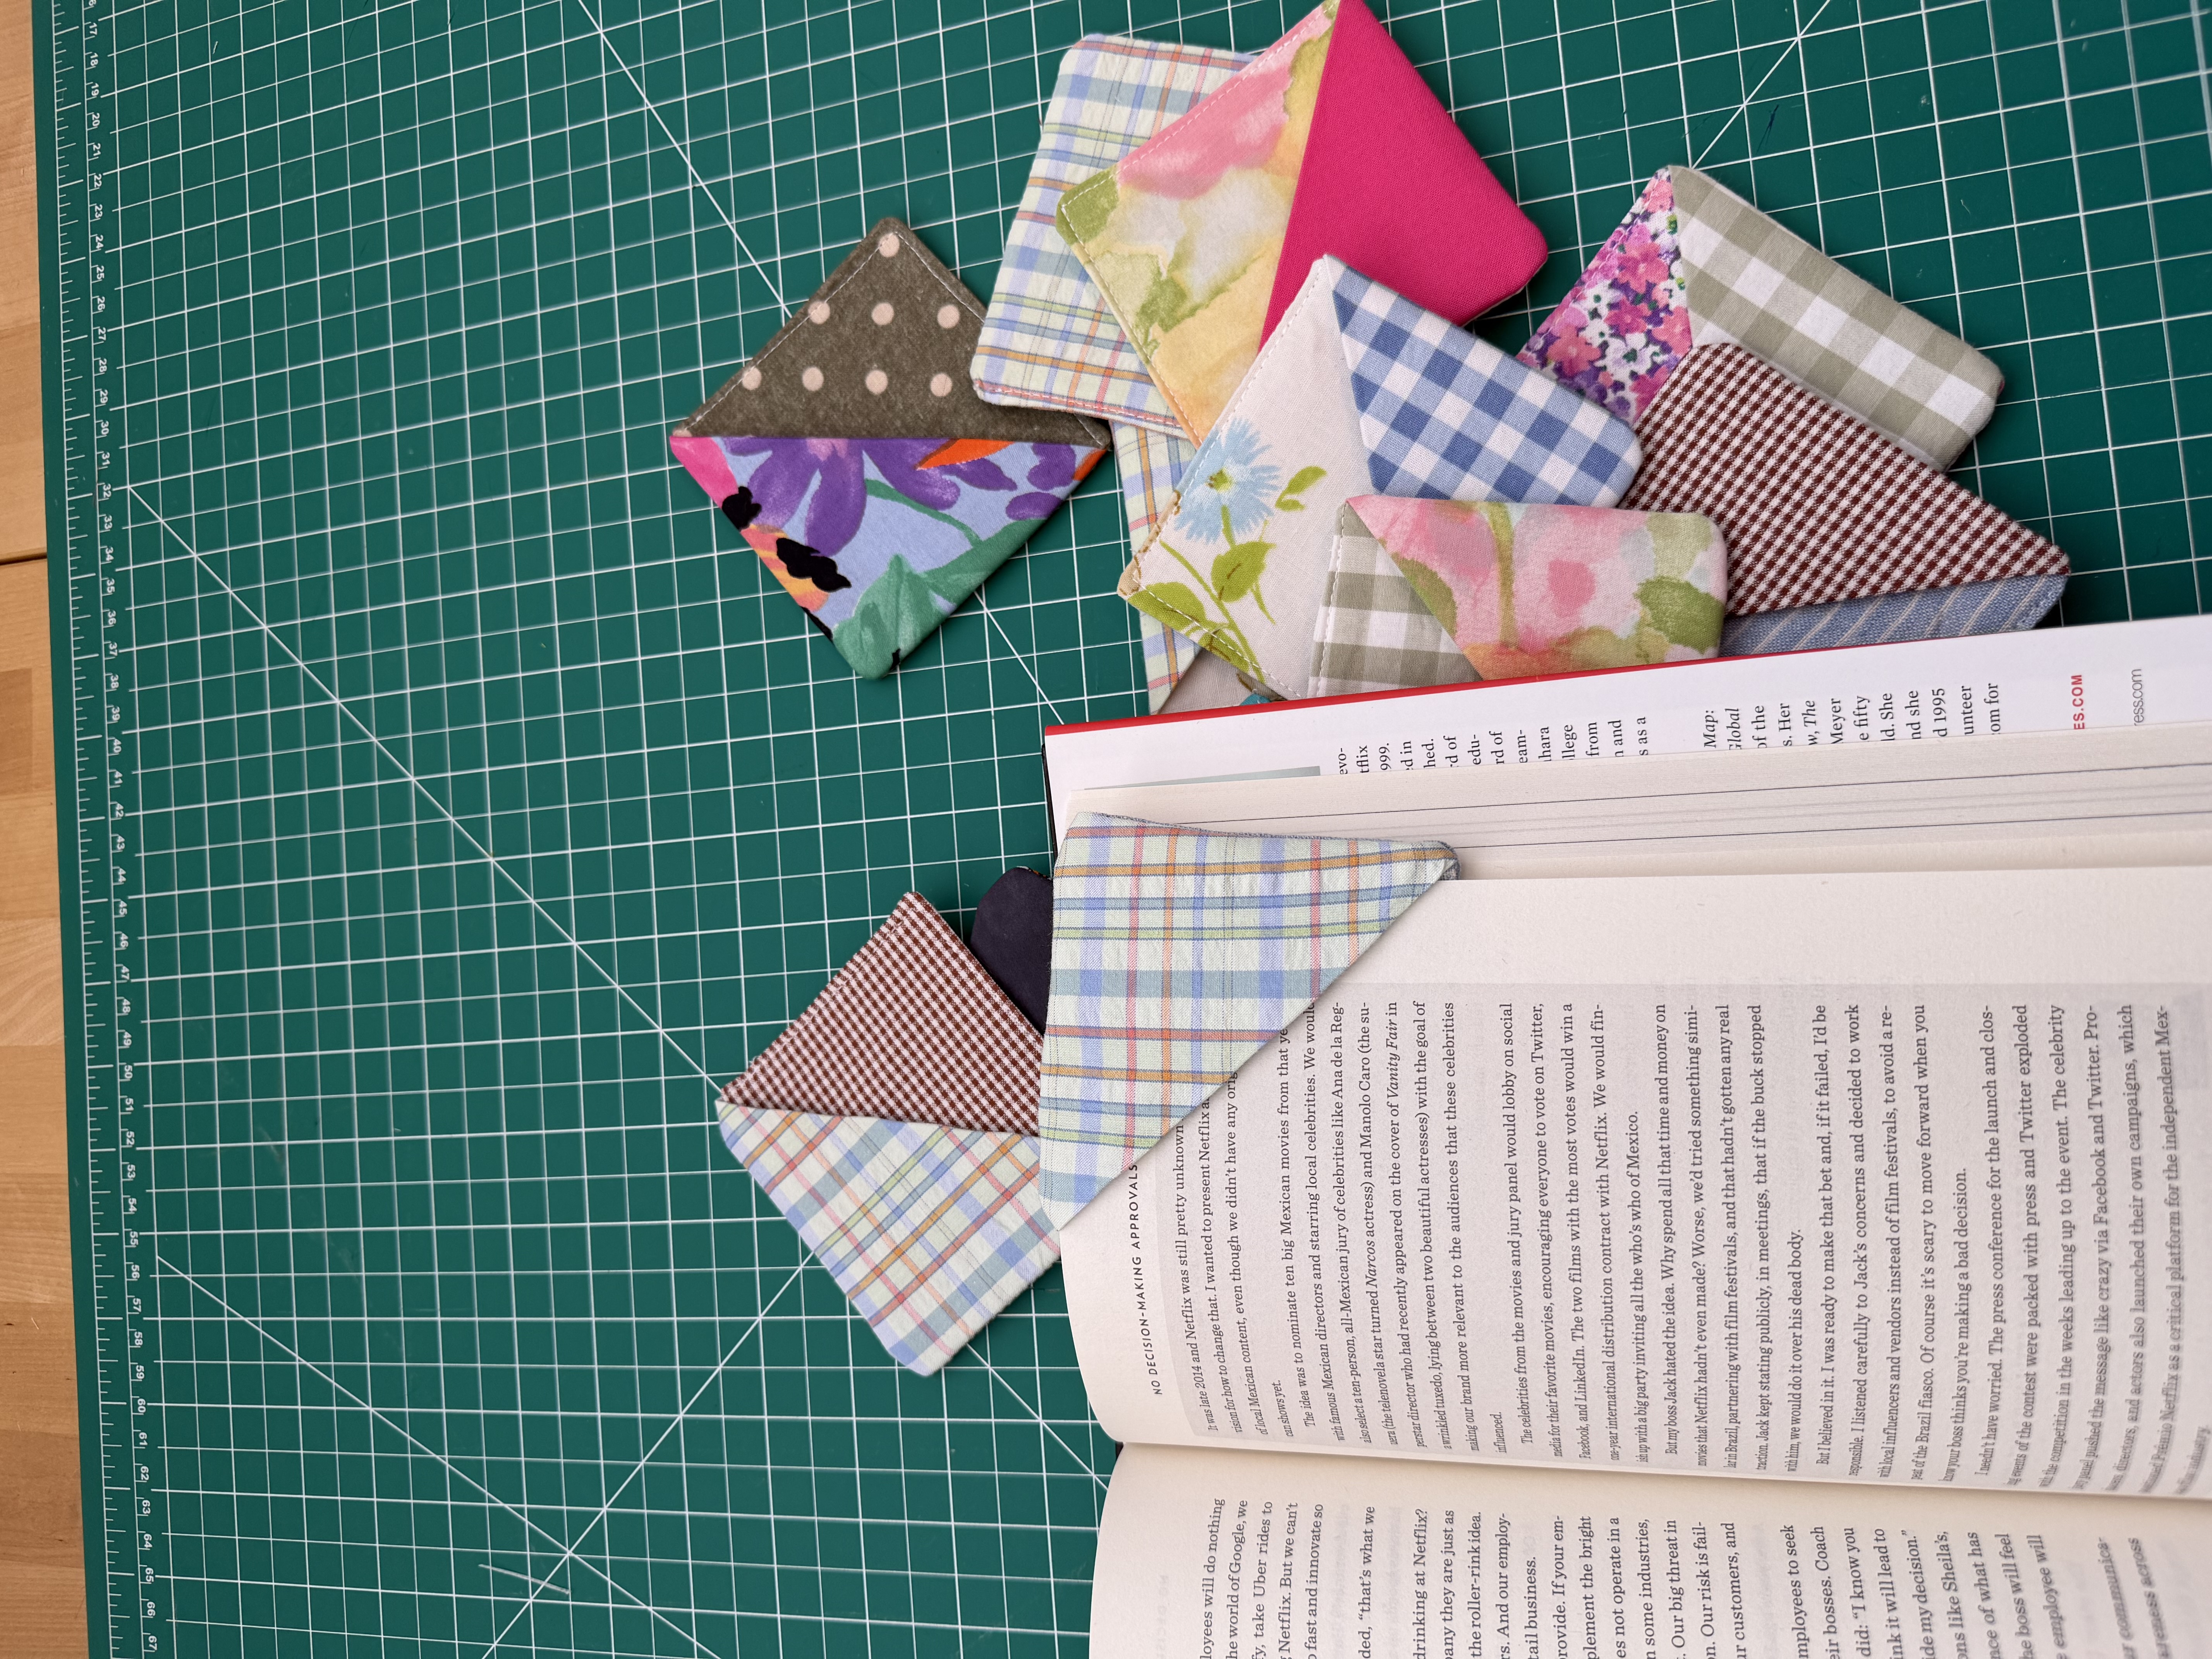
These are little fabric corners that slip right over the corner of your page, like a paper corner bookmark but fabric instead. They're a really good project if you've got small scraps left over from something bigger and don't want to throw them out. You don't need much fabric at all.
To make one:
- Cut three 4 inch squares, two for the back and one for the front triangle, plus interfacing to match.
- Fuse interfacing to one of the back squares, and iron a triangle of interfacing onto the front square.
- Fold the front square in half diagonally, wrong sides together, along the interfaced edge, so it makes a triangle pocket.
- Layer the two back squares right sides together with the folded triangle tucked between them at one corner, raw edges lined up. Sew around the outside with a small seam allowance, leaving a gap to turn.
- Clip the corners, turn right side out, press, and topstitch the opening closed.
Corner Bookmark Details
- Cut size: three 4 inch squares of fabric (two for the back, one for the front triangle), plus two 4 inch squares of interfacing
- Finished size: about 4 inches square, folded on the diagonal to slip over the page corner
- Materials: small fabric scraps (front and back), fusible interfacing to give it some body
- Good for: using up leftover fabric from bigger projects
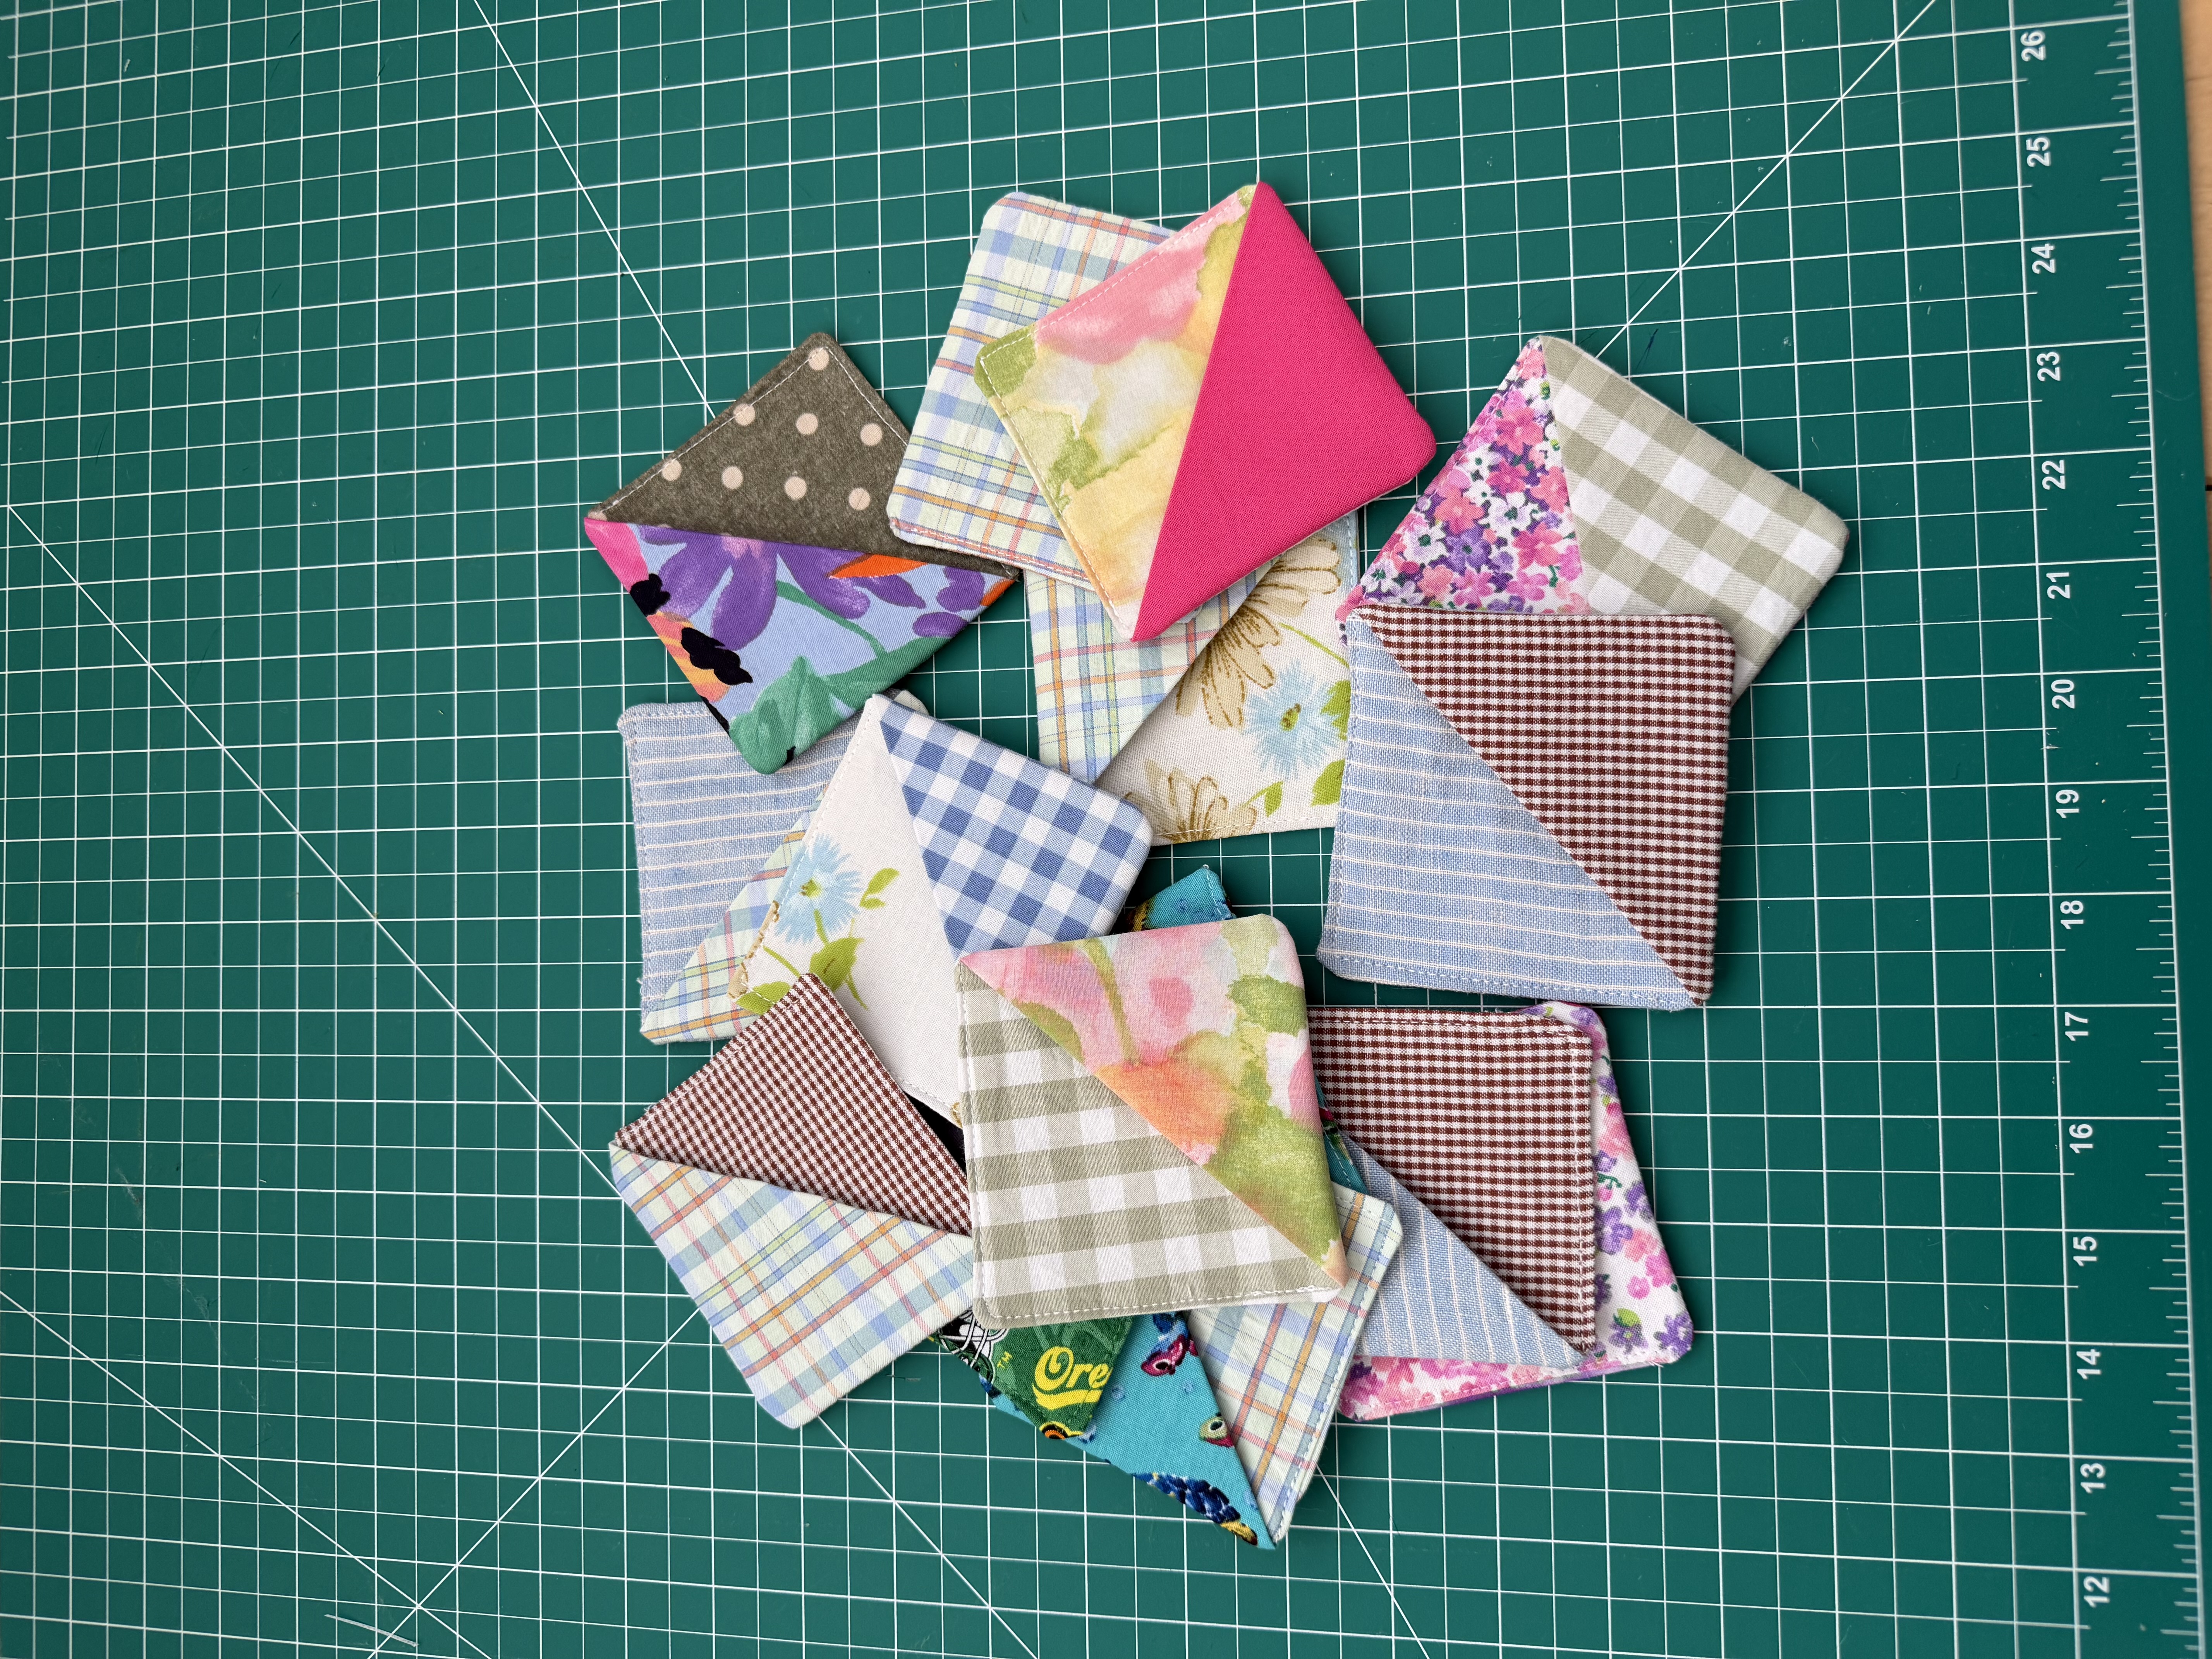
There's also just regular fabric bookmarks that aren't for the corner or the cover, flat ones, ribbon style, that kind of thing, if you want to keep it even simpler.
If you make either of these, tag me on Instagram @DesignsbyERB. I'd love to see what fabric you used.